I tend to prefer charro beans, but tonight, given my mission to work through saved recipes, I opted for this recipe (that & we were having fajitas). I’m so glad I did – I found these to be absolutely perfect!
They’re called “cheater” refried beans because they’re made from a can as opposed to buying dried beans, sorting out the pebbles/ stones & then allowing to cook all day. At the end of the day, beans are beans – might as well save some time & crack open a can.
Ingredients:
2 cans of 15oz or 1 can of 28oz pinto beans (not drained)
1 tbsp chili powder
1 tbsp flour
2-3 tbsps oil
1/2 cup Colby Jack cheese, shredded
3/4 tsp Kosher salt
Preparation:
In a medium saucepan, heat the oil to medium heat. Whisk in the chili powder & flour, stir in the beans, & mash. Allow it to thicken. Once thickened, add in shredded cheese, salt, & stir to combine.
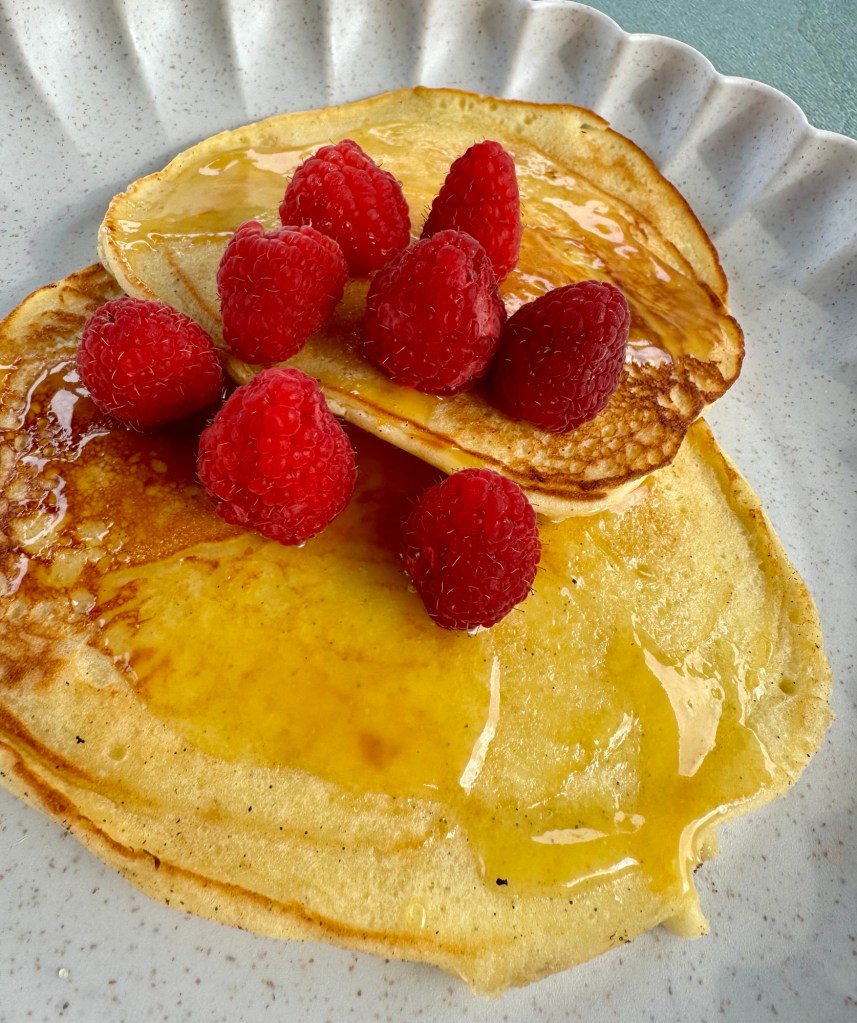
This summer we’ve had an unusual amount of early morning rain showers. It’s simultaneously out of the norm & refreshing. The other day upon waking, it wasn’t raining yet, but the thunder was rumbling as if to announce the rains arrival which later rolled in with the darkened sky. With the back door open & the rain coming down, I opened up a playlist of music & got to work singing along (it is always a sing along) & tried my hand at these pancakes.
Oh my yum! They were freaking delicious! My sing along quickly turned into my feet doing a happy clappy dance party as I ate them standing in the kitchen. That’s what we call celebrating the little moments in the morning of a random day in the week.
Ingredients:
4 eggs, whites & yolks separated
12 oz Ricotta cheese
1 1/2 tbsp granulated sugar
1 1/2 tbsp lemon zest
The juice of one lemon
1/4 tsp vanilla bean paste or extract (optional)
1 tsp salt
3/4 cup flour
Lemon curd
Fresh raspberries
Preparation:
In one bowl, whip the egg whites until stiff peaks form; set aside. In another bowl, blend together the egg yolks, ricotta cheese, sugar, lemon zest, lemon juice, vanilla bean paste/ extract & salt. Stir in the flour until there are no remaining white streaks. With a spatula, gently fold in the egg whites until smooth.
Heat a griddle over medium heat. Grease griddle with butter or canola oil & drop batter to preferred size. Cook until lightly browned on both sides.
Add pancakes to a plate & top with lemon curd & fresh raspberries or blueberries.
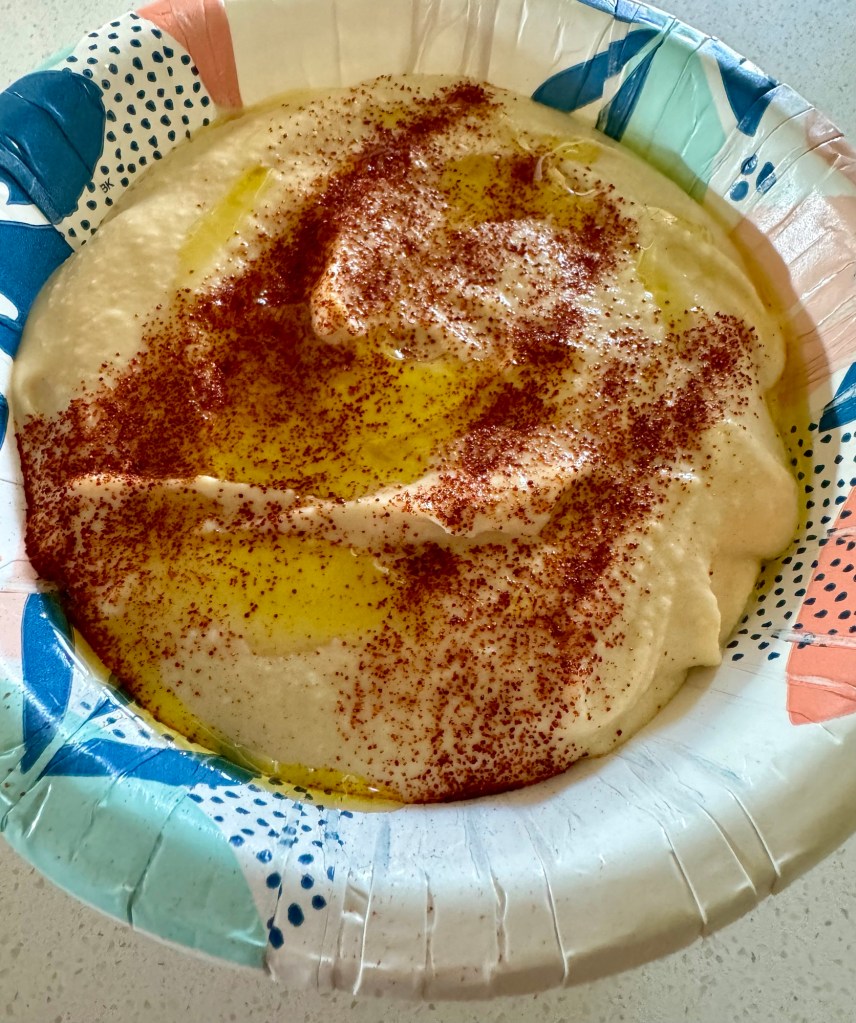
In all fairness, I never imagined I’d have more than one hummus recipe, but here we are at the 4th one. I mean, hummus has all of 4 or 5 ingredients. What could make such a major change to warrant another post?
Preparation.
This recipe, has now become my favorite. It’s so smooth!
Ingredients:
1 15.5 oz can of Garbanzo beans/ chick peas, drained & rinsed
1/2 tsp baking soda
1-2 garlic cloves
Juice of 1 lemon
1/4 cup tahini
Salt to taste
3 ice cubes
Paprika
Olive oil
Preparation:
Fill a medium size saucepan with water, add baking soda & bring to a boil. Add the garbanzo beans/ chick peas & boil for 10 minutes. As the beans cook, the outer skins start to come off. Discard these. Once done cooking, drain & rinse with cold water, removing more of the outer skins until nearly gone.
Transfer beans to a food processor & pulse a few times until course & mealy. Scrape down the sides, add the garlic cloves, juice of lemon, sea salt, & tahini. Blend for 3-5 minutes. Add in 3 ice cubes to emulsify. Blend until incorporated. Transfer to a bowl. Top with smoked paprika & drizzle with olive oil.
As a kid, I remember my mom compiled so many recipes she’d cut out of magazines she started storing them in photo albums tucked into the corner of the kitchen where she stored all her cookbooks. Now, in the digital age, I’ve accumulated my own version kept all nice & neat in the confines of my phone. In an effort to clear things out, I’ve decided to work my way through some recipes I have saved.
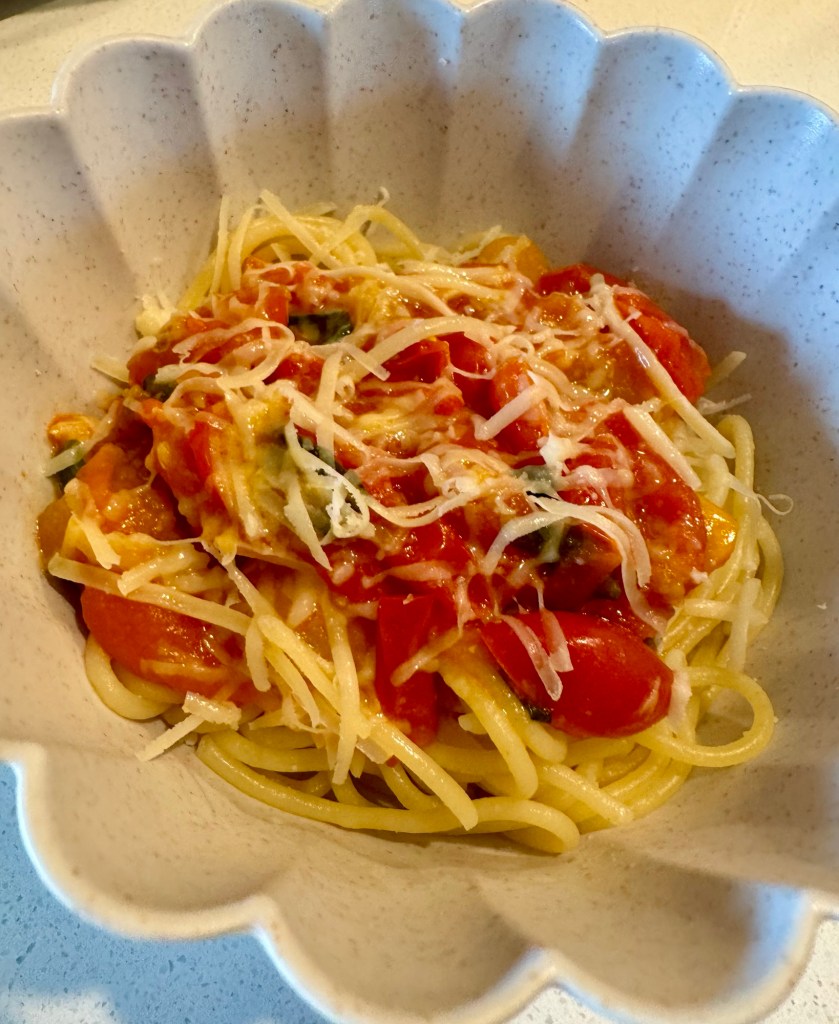
With it being the height of summer, tomatoes are at their finest & my basil plant is threatening to take over like a weed so I opted for this recipe for dinner last night. Light, fresh, & fragrant, it’s a perfect summer meal.
Ingredients:
8 oz spaghetti
1 1/2 cups of cherry tomatoes, halved
4 large garlic cloves
Handful of fresh basil
1/3 cup of Olive oil
1/2 cup of water
Salt
Freshly grated Parmesan/ Asiago cheese
Preparation:
Heat olive oil, in a large skillet over medium high heat. Once heated, add in the garlic cloves & cook for 1 minute to infuse the olive oil. Stir in the tomatoes, season with salt, and rip apart several basil leaves right into the mixture; stir together to incorporate. Add about a 1/2 cup water, cover & cook for 5 – 10 minutes, stirring occasionally.
Cook spaghetti al dente, according to package instructions.
At the end of the cooking time, remove the garlic cloves from the tomato mixture, smear the cloves into a paste & stir back into tomato mixture. Drain the spaghetti, reserving a 1/2 cup pasta water. Add the spaghetti to the skillet, pour in the pasta water, drizzle with more olive oil, add in another leaf or two of freshly torn basil, mix/ toss to incorporate. Add freshly grated cheese to the top.
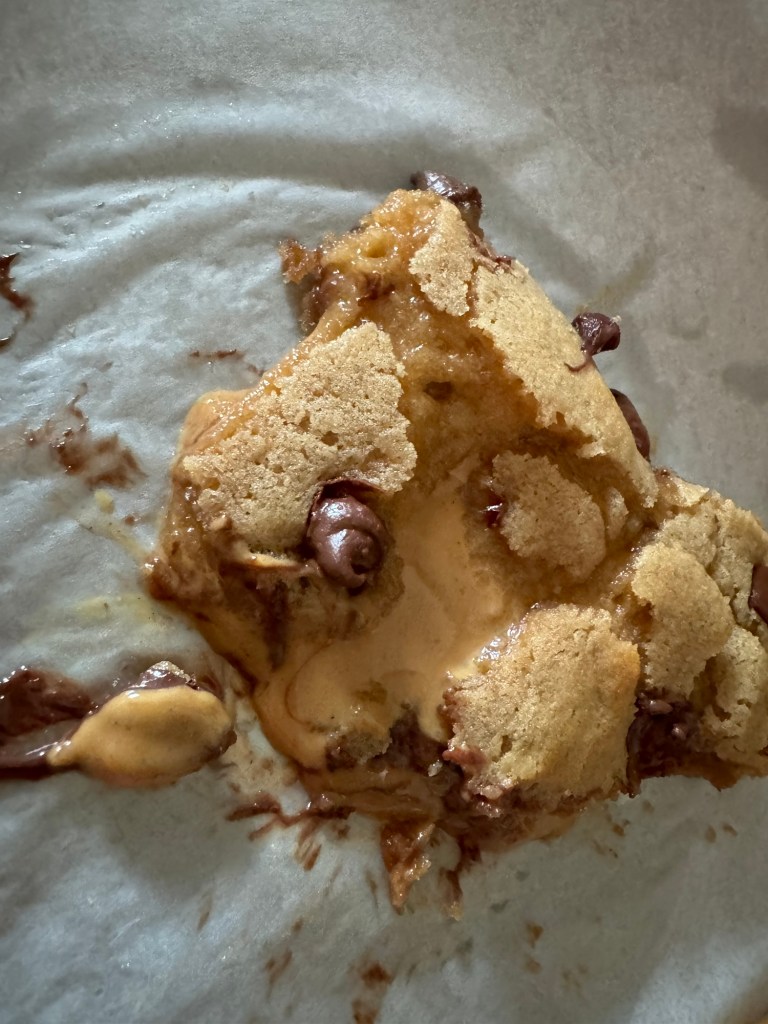
Sometimes the body’s need for a sweet treat requires nothing more than to meet its demands. This is where this recipe for a singular big ass cookie comes in handy. I say big ass cookie because this could easily have been made into two, but alas, when your body has needs you might as well go all in. You could eat half & save the other, but honestly, I can’t begin to even fathom the idea…
Ingredients:
2 tbsp brown sugar
1 tbsp granulated sugar
2 tbsp butter, melted
1 tbsp peanut butter
2 tsp scoop of peanut butter, frozen
1/4 tsp vanilla extract
1 tbsp of a whole whisked egg
Pinch of salt
1/4 tsp baking soda
5 tbsp flour
2 tbsp chocolate chips, divided
Preparation:
Using a 2 tsp cookie scoop, scoop out peanut butter onto a piece of parchment paper and place in freezer.
Preheat oven to 350° F degrees.
In a small bowl, melt the 2 tablespoons of butter & whisk in 1 tablespoon peanut butter until smooth. Add 2 tablespoons brown sugar & 1 tablespoon granulated sugar; mix well. Beat in a 1/4 tsp vanilla extract & 1 tablespoon of whole whisked egg. Sprinkle the baking soda over the mixture & stir in 5 tablespoons of flour until just combined. Fold in 1 1/2 tablespoon chocolate chips, reserving some for once the cookie is assembled.
Remove the frozen peanut butter scoop from the freezer. Divide the dough in half & place the frozen peanut butter scoop between the two halves; seal together. Place on a parchment lined baking sheet, press remaining chocolate chips on top/ sides of the dough ball & bake for 11-12 minutes.
Allow to sit on the baking sheet for several minutes.
Pour yourself a tall glass of milk & enjoy!
I ate this right off the pan & had to use a fork once I got to the pool of melted peanut butter 😋
Evidence A:
Luckily, I remembered to snap a picture before I ate it all. I may have ruined my dinner tonight, but it was worth it 😉
Source: TikTok buuckfarmsbakery
Note: In the video, she says you can also bake in the air fryer. Preheat air fryer to 325° F & bake for 10 minutes. I made mine in the oven.
Once upon a former life, while in college, I shared a home with 6 other people, one of those roommates made a quick, delicious breakfast for dinner dish: Migas.
We are in the throes of moving out of state: sorting through belongings, packing, deep cleaning, more packing & endless cleaning for our home that just went on the market. In the spirit of getting shit done, and because our realtor thinks a home sells better when it looks as though no one is living there (whilst still living there), I packed our dishes & decided to work our way through paper plates & bowls. With an open house this afternoon and knowing I had all the ingredients on hand, I quickly assembled breakfast for me & my husband. So good & tasty!
Ingredients:
Canola oil
5 corn tortillas, chopped into bite size pieces
7 eggs, whisked
1 diced jalapeño
1/3 cup chopped tomato
1/4 – 1/3 cup diced onion
S & P
Preparation:
In a large skillet, heat the oil over medium-high heat. Once heated, add the bite size tortillas & cook for 5 minutes until golden brown & crispy. Add the jalapeño, tomato, & onion & cook with the tortillas for another 2 minutes. Pour in the whisked eggs, stirring to incorporate. Season with fresh ground salt & pepper & cook until eggs are set.
When the outside temperature is high & the humidity is sweltering sometimes the last thing I want to do is turn on the oven. Thankfully, forfeiting the extra heat in the kitchen doesn’t also mean sacrificing great taste. This dinner comes together in no time & the leftovers are just as good.
Ingredients:
20 oz package of fresh tortellini of your choice
1 bottle of Restaurant Style Italian Dressing
1 zucchini, quartered & chopped
1 container/ bag of cherry tomatoes, halved
1/3 red onion, diced
S & P, to taste
Preparation:
Heat a large pot of water to boiling. Once boiling, toss in some salt & add tortellini & boil to package specifications, usually only 3-4 minutes.
While the pasta is cooking, chop up the vegetables, transfer to a bowl & season with salt & pepper; set aside.
Once the pasta is done, immediately remove from heat & rinse with cold water to stop the cooking.
Transfer tortellini to a large bowl, pour in the desired amount of Italian dressing, & stir in the vegetables to incorporate.
I’ve eaten it immediately after making & have also made it the night before. Both are good. The overnight method allows it to marinate in the dressing locking in the flavor.
There’s so much flexibility in this dish. You can add in all kinds of vegetables like olives, diced peppers, chopped broccoli or cauliflower.
Recently, the phrase: “if you can buy it, you can make it” has been milling around in my head. Along with that makes me think of a quote by Michael Pollan, “Eat all the junk food you want as long as you cook it yourself.” Not that English Muffins are junk food, it’s just these are thoughts that sometimes occupy my mind.
It had never occurred to me to make my own English Muffins, but I had a hankering & my FYP on TikTok has provided plenty of videos so this morning I turned my hankering into breakfast.
Ingredients:
1/2 cup warm milk
2 tbsp honey
2 tbsp melted butter
1 tsp fast-rising yeast
1 egg
1 3/4 cups all-purpose flour
1/4 tsp salt
Corn meal, for dusting
Preparation:
In a large bowl, whisk together milk, honey, & melted butter. Sprinkle yeast over top of mixture & let sit for 5 minutes. Whisk mixture, add egg, & whisk again.
Add the flour & salt & stir until dough forms. It will be sticky. Cover with a towel & put in a warm place for an hour to rise & double in size. (For a warm place, you can turn the oven on to 200° F & then turn off & place in oven with door cracked.)
Once risen, transfer dough to a lightly floured surface & spread to a 1/2 – 1” thickness. Using a cutter, or glass jar, cut out circles (without twisting) of dough. This recipe should yield 4 – 5 muffins.
In a large cast iron skillet, heat to medium low. Dust tops & bottoms of muffins with cornmeal. Transfer to heated skillet, cover, & cook for 4-6 minutes on each side or until lightly browned.
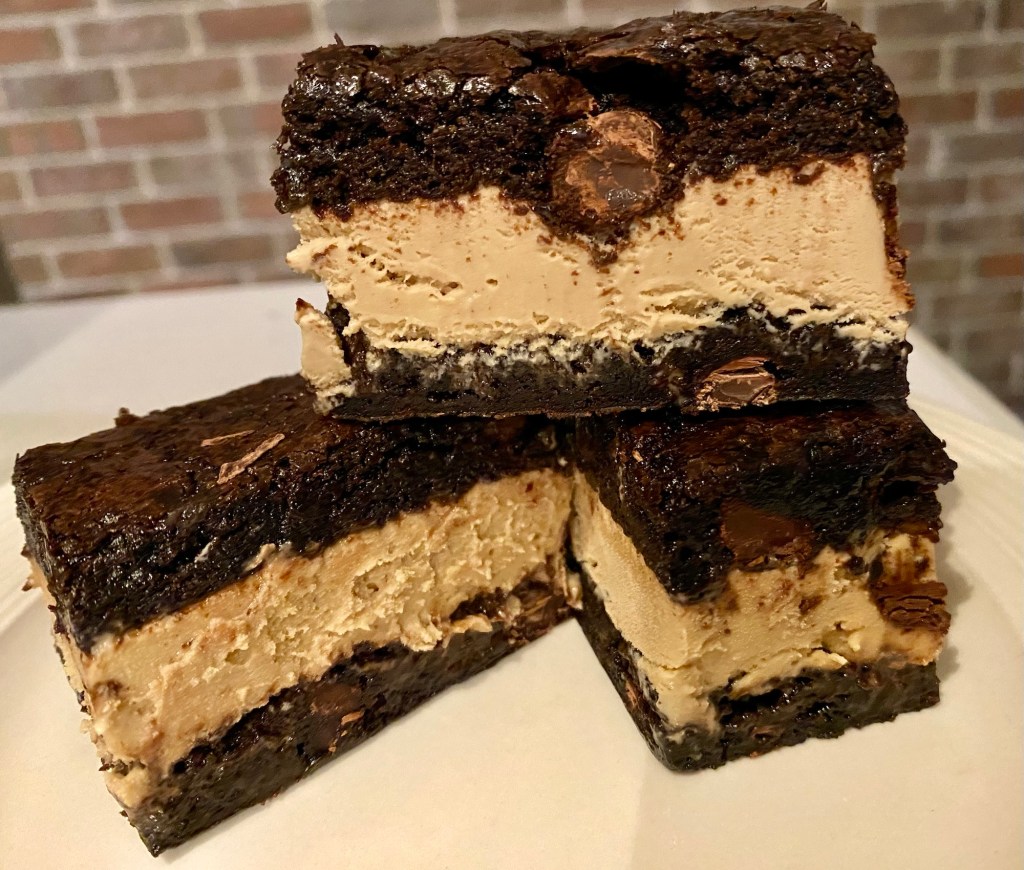
In our immediate family, all 4 of our birthdays happen within 22 days. It starts with mine, 5 days later it’s our eldest’s, 13 days later my husband, & lastly, 4 days after his, our youngest’s. I’ve often said I don’t just happen to have a sweet tooth, I have a sweet mouth because I rarely turn away sweets, but after all our birthdays & goodies in a short amount of time, the reprieve is welcomed. However, with that said, you best believe, we all enjoyed these! Bonus: they were incredibly easy to make. Extra bonus: there are plenty in the freezer for when the need for something sweet strikes again – and it will.
2. Line a 9×13” pan with parchment paper, ensuring enough paper to hang over the edges. Spray with nonstick spray; set aside. Using one box of brownies at a time, prepare according to package instructions. The box will specify use of an 8×8 or 9×9 pan, but for this recipe you’ll use the 9×13 pan.
3. Once ingredients are mixed together, spread batter over prepared pan. Bake for 20 minutes, but begin to check at 18.
4. Once brownies are set in middle, transfer pan to a wire rack to cool completely.
5. Once completely cooled, remove brownies from the pan using the overhang of parchment paper & transfer to a cookie sheet. Place in freezer.
Repeat steps 1-4 with the next box of brownies. Now, instead of removing the brownies with overhang of the parchment paper, place pan of cooled brownies in freezer for a few hours to firm up.
Remove ice cream from freezer & allow to soften on counter for 15 minutes (or 30 minutes if ice cream had been in deep freezer). Spoon softened ice cream onto brownies still in the pan & spread evenly. Remove the parchment paper from the other brownies on cookie sheet & place right side up on top of ice cream. Return to freezer for at least 5 hours, or overnight.
When ready to serve, cut with brownies still in the pan (I used a food scraper which worked perfectly) & then using the overhang of parchment paper, remove from pan. Serve immediately. Place remaining in a Tupperware container, placing parchment paper between layers as needed, & store in freezer.
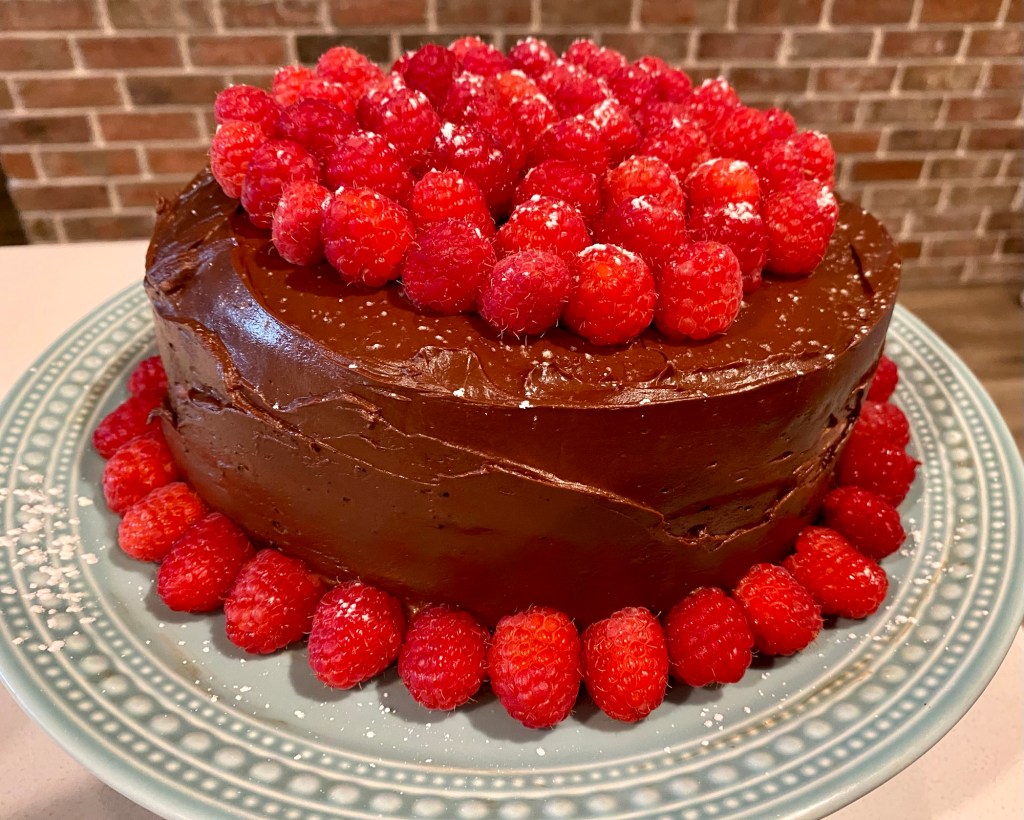
Birthday season is upon us in our family. This one was a request, and despite some snafus along the way (what was supposed to be 4 layers of cake ended up with 3 as one slid off on its way to the freezer!) The taste did not disappoint. I mean chocolate and raspberries are always a win in my book.
Ingredients
For the cake:
1 3/4 cups all-purpose flour
3/4 cup dark unsweetened cocoa powder (I used 1/2 cup unsweetened cocoa powder & 1/4 cup black cocoa powder)
1 teaspoon baking powder
2 teaspoons baking soda
2 cups granulated sugar
1 teaspoon salt
1 cup buttermilk at room temperature
1/2 cup vegetable oil
2 eggs at room temperature
2 teaspoons vanilla extract
3/4 cup boiling water
For the homemade raspberry jam:
Note: you can omit this step & buy seedless raspberry jam in lieu of making it yourself
12 oz. frozen raspberries thawed
1 1/2 tablespoons cornstarch
2 tablespoons lemon juice
1/3 cup granulated sugar
For the chocolate ganache:
12 oz chopped bittersweet chocolate (not to exceed 61% cacao)
1 2/3 cups heavy cream
1 tablespoon corn syrup
For the chocolate mascarpone filling:
6 oz mascarpone (I used the entire 8 oz container)
1 1/4 cups heavy cream
1/2 cup plus 1 tablespoon confectioners’ sugar
3/4 teaspoon vanilla
1/2 heaping cup ganache
For the garnish:
2 6oz containers fresh raspberries
Dusting of powdered sugar
Preparation
For the cake:
Preheat oven to 350° F. Choose between either 2 8” or 9” cake pans. Line each pan with parchment paper and grease or spray paper & sides, then flour; set aside.
In a medium bowl, sift together the flour, cocoa, baking powder and baking soda. Whisk in the sugar and salt; set aside.
In a large bowl, whisk together buttermilk, oil, eggs, and vanilla until combined. Incorporate dry ingredients into the wet ingredients until just until combined, being careful not to overmix.
Evenly divide the batter between the cake pans and drop a few times on the counter to get rid of air bubbles. For 8” pans, bake at 350° F for 32-38 minutes, for 9” pans bake for 22-28 minutes OR until a toothpick inserted in the center of the cakes comes out clean and/ or with just a few moist crumbs.
Cool cakes in pans for 10 minutes then transfer to a wire rack to cool completely before frosting. Once cool, level cakes if needed.
For the raspberry jam:
Add raspberries (and any juices from thawing) to food processor and puree. Add puree to a fine mesh sieve over a bowl to discard seeds. Press down on the puree with the back of a spoon or spatula, until only seeds remain. Wipe the back of your sieve to get all of the puree. You should end up with about 1 ¼ cups of puree.
Add raspberry puree, cornstarch, sugar and lemon juice to a small saucepan. Bring to a simmer over medium-high heat, stirring constantly then reduce heat to medium (medium-low if your stove runs hot) and continue to cook and stir continuously until puree is thickened. Refrigerate until completely chilled.
For the chocolate ganache:
***Only start the ganache when the cakes are cooled.
Add heavy cream to a large microwave safe bowl. Microwave for 2 – 3 minutes. Remove from microwave, add chocolate, & cover with plastic wrap. Let stand 1 minute, then whisk vigorously until melted and smooth. Whisk in 1 tablespoon corn syrup.
Remove a heaping ½ cup ganache to use in chocolate mascarpone. Let remaining ganache stand at room temperature to cool until barely lukewarm, about 20 minutes or until thickened but spreadable.
For the chocolate mascarpone:
Immediately after making the ganache, make chocolate mascarpone (so you can start assembling your cake before the Ganache cools completely).
Using a mixer, beat the mascarpone, cream, sugar and vanilla on low until no lumps remain. Add reserved cooled heaping of ½ cup ganache and increase speed to medium high and beat until thick, and stiff peaks form m, like thick whipped cream; being careful not to over beat.
To assemble:
Cut cooled cakes in half horizontally using a long serrated knife to create 4 even layers. Place 1 layer, cut side up, on a serving plate or cake pedestal then evenly top with one third of the raspberry jam (about ⅓ cup). Top jam with one third of chocolate mascarpone about 1 cup. Top with 2nd cake layer, cut side down, and repeat jam and mascarpone layers. Top with 3rd cake layer and repeat jam and mascarpone layers. Add final cake layer, cut side down.
Separate out 1 cup lukewarm Ganache and frost top and sides of cake in a thin crumb layer. Freeze cake for 30 minutes to set ganache. After 30 minutes, frost cake with desired amount of remaining ganache. If ganache is beginning to harden then add 1 teaspoon vegetable oil and microwave for 10 seconds then whisk. If it is too runny, then whip it with a hand held mixer to stiffen.
Arrange raspberries in concentric circles on top of cake and dust lightly with powdered sugar.
Serve immediately or cover & store in refrigerator.