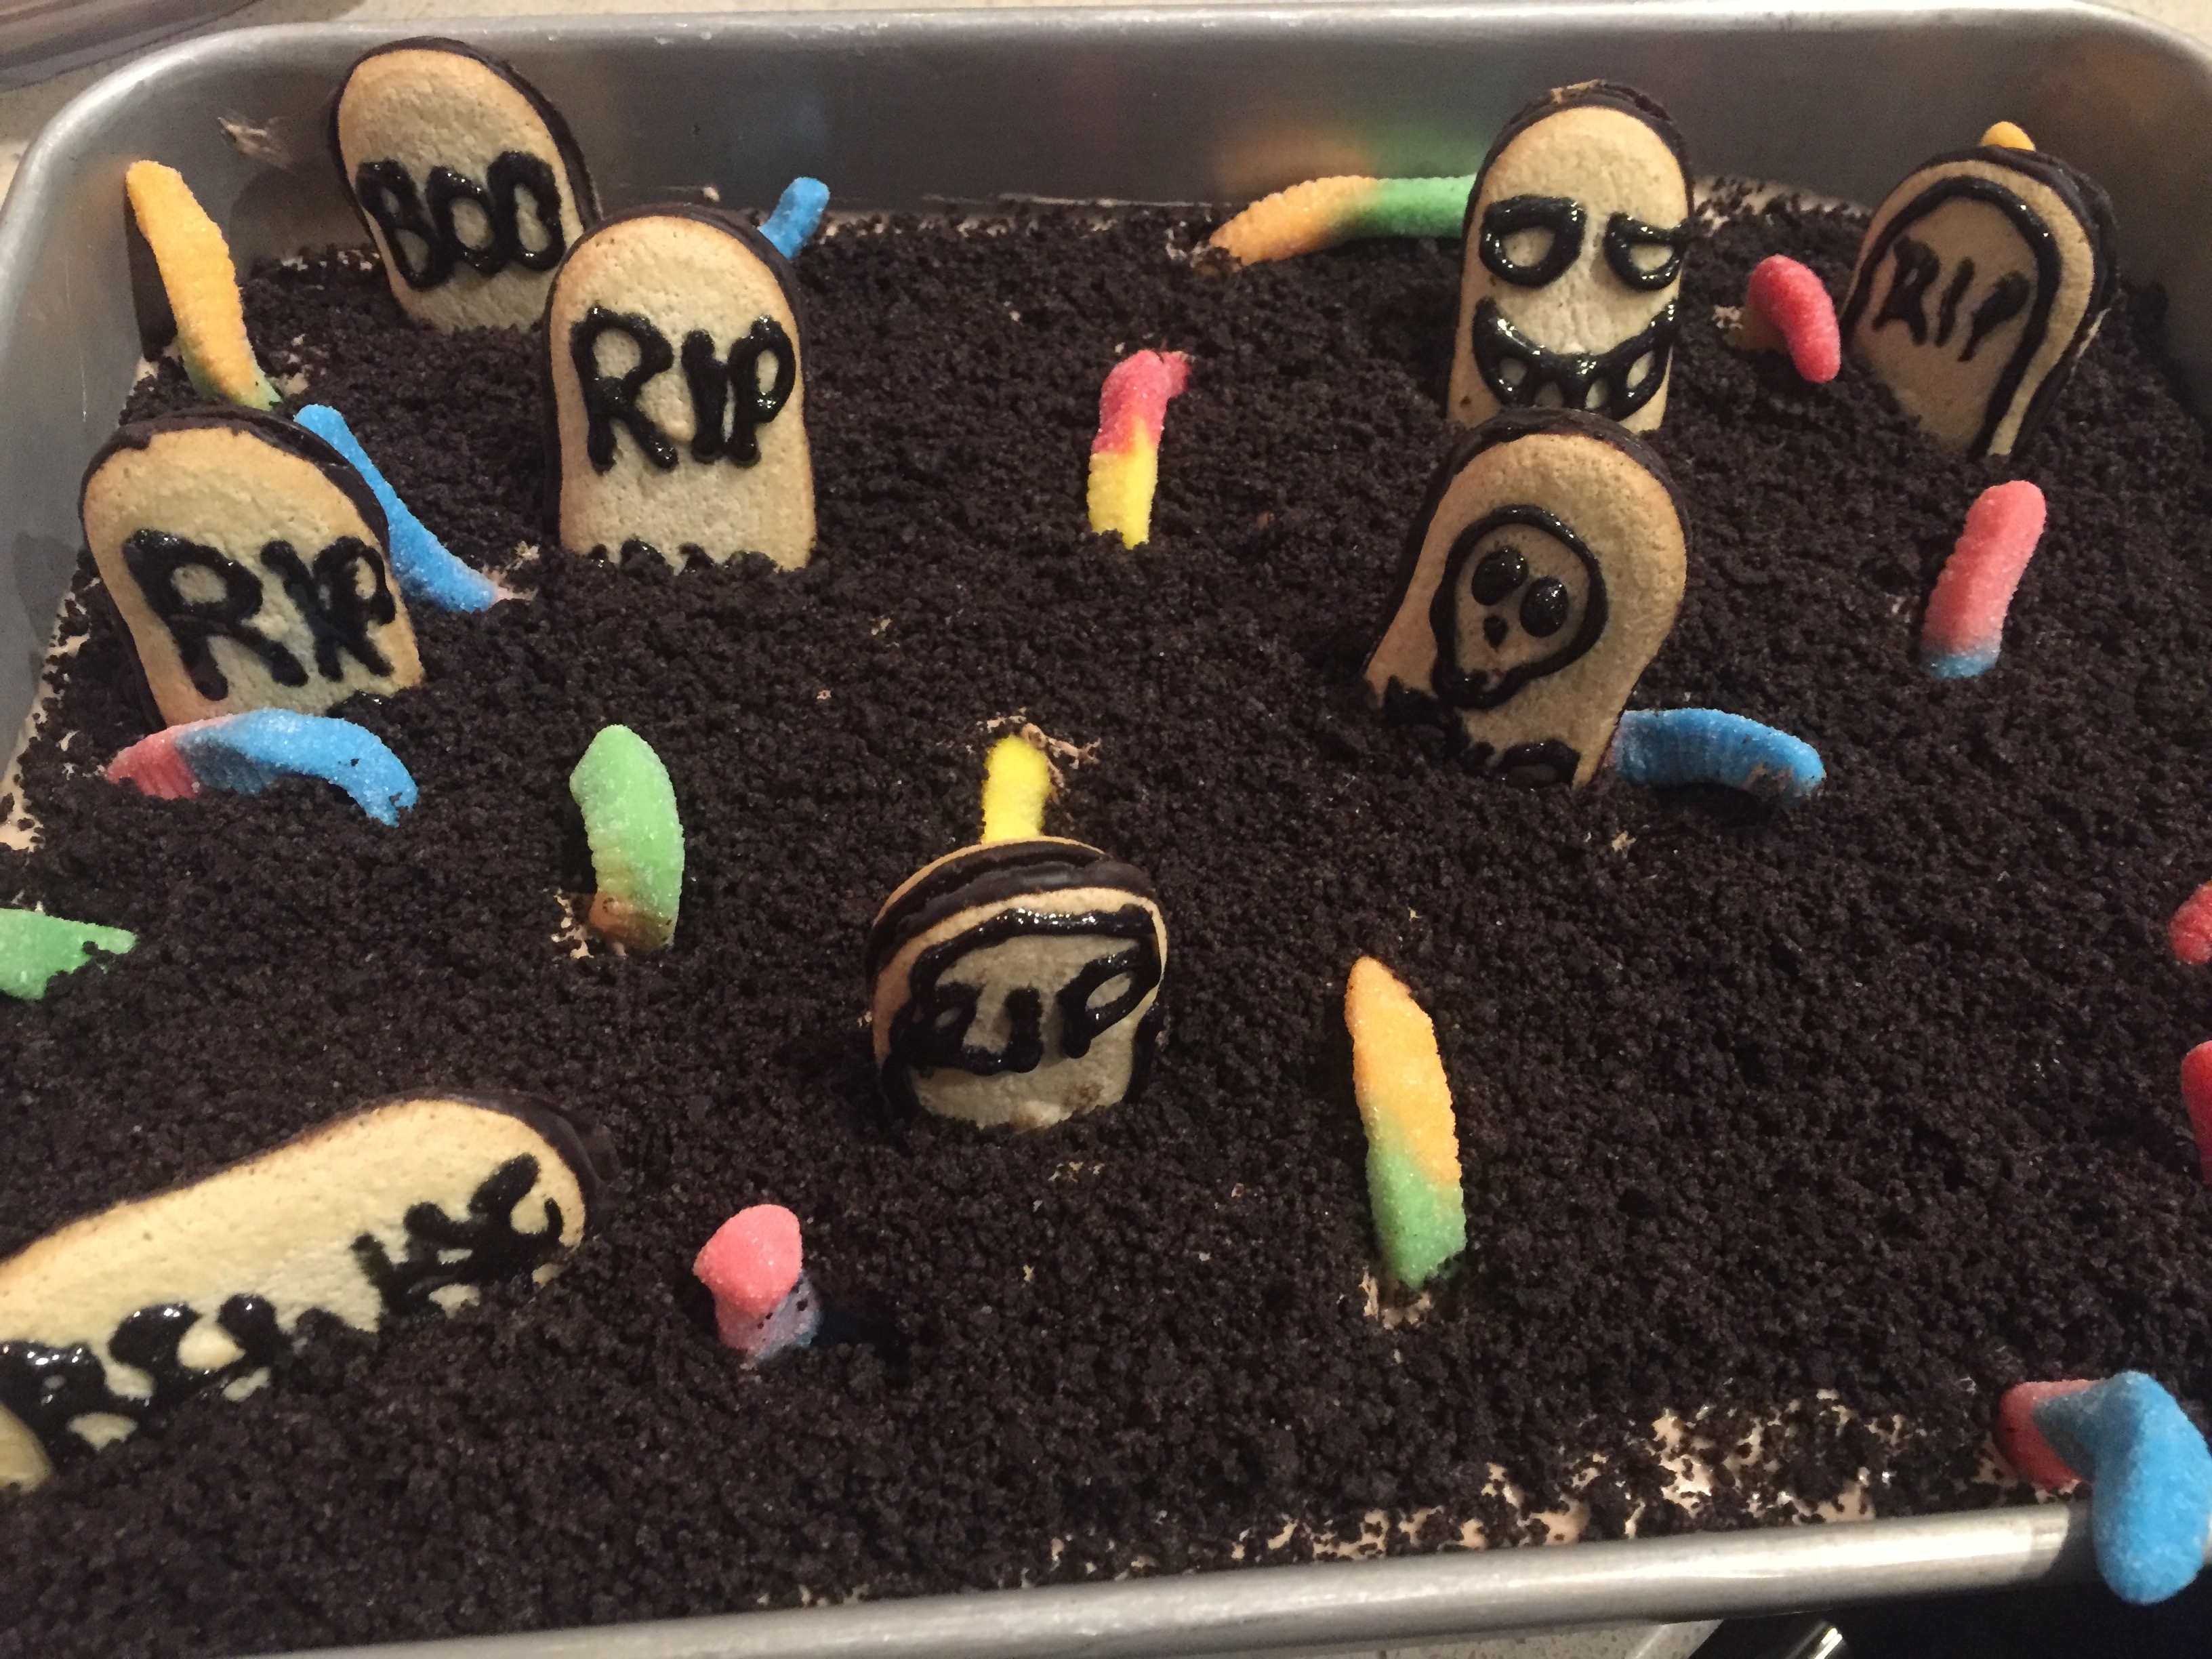
Halloween Graveyard Dirt Dessert

Halloween Graveyard Dessert


With Halloween falling on a Saturday this year, we knew last year we would allow the girls to have another Halloween party at our house. It’s nice to host because you know where your kids are at and it’s fun memory making. Since they’re older, I didn’t go all out. We ordered pizza, I made this dessert, and some of the girls’ friends brought different snacks and drinks to share.

Ingredients:

  • 1 8oz. package of cream cheese, at room temperature
  • 4 tbsp. butter, at room temperature
  • 1 cup powdered sugar
  • 1 package of chocolate Oreos
  • 1 6oz. box of sugar free instance chocolate pudding
  • 3 cups of milk
  • 1 12 oz. container of Cool Whip, thawed
  • gummy worms
  • Pepperidge Farm Milano cookies, or other oval/ rectangle shaped cookies
  • edible gel

Preparation:

Crush 3/4 of the Oreos to a fine crumb; separate in two. With the remaining 1/4 of the Oreos, break into larger pieces; set aside. In a bowl, mix the cream cheese, butter, and powdered sugar together until thoroughly combined; set aside. In a stand up mixer, combine the pudding and milk (cover with a towel so you don’t have chocolate splatters on the counters, walls, and ceiling!) and beat on high for 5 minutes, stopping periodically to scrape the bottom of the bowl and the sides. Add in the creamed cheese mixture, stirring on low to incorporate. Fold in the whipped cream. Mix in half of the Oreo crumbs and larger pieces. Pour into a 9×13 pan and top with the remaining Oreo crumbs.

Decorate the Milano cookies accordingly the edible gel and place throughout the pudding. Insert gummy worms into the pudding. Refrigerate for 1-2 hours before serving.

Posted in Halloween, No-bake | Leave a comment

Egg, Sausage, & Cheese Breakfast Biscuits

Sausage, egg, & cheese biscuits


One of my very best friends goes through the drive thru of a fast food restaurant nearly every day on her way to work to order a sausage, egg, and cheese breakfast sandwich and a large Diet Coke. I’ve been on the phone with her so many times while she’s ordering that I mimic her as she orders and announces the total as the worker does, “That’ll be $2.38. Please pull around to the first window.” We laugh and go on to talk about the happenings of our day to day lives. I’m of the belief a homemade breakfast is by far better, both in flavor and nutrition, than anything you could pass me through a window, but I enjoy cooking and baking and she does not. To each our own. Allow me to introduce you to my homemade version of an egg, sausage, & cheese breakfast biscuit.

Ingredients:

  • a dozen eggs, slightly beaten & seasoned with freshly ground S&P
  • sausage patties (I prefer nitrate free ones)
  • cheddar cheese, thick cut
  • homemade biscuits

For the biscuits:

  • 2 cups flour
  • 4 tsp. baking powder
  • 1/2 tsp. salt
  • 1/2 tsp. baking soda
  • 1 stick of unsalted butter, cold & cut into tablespoons
  • 1 cup buttermilk

Preparation:

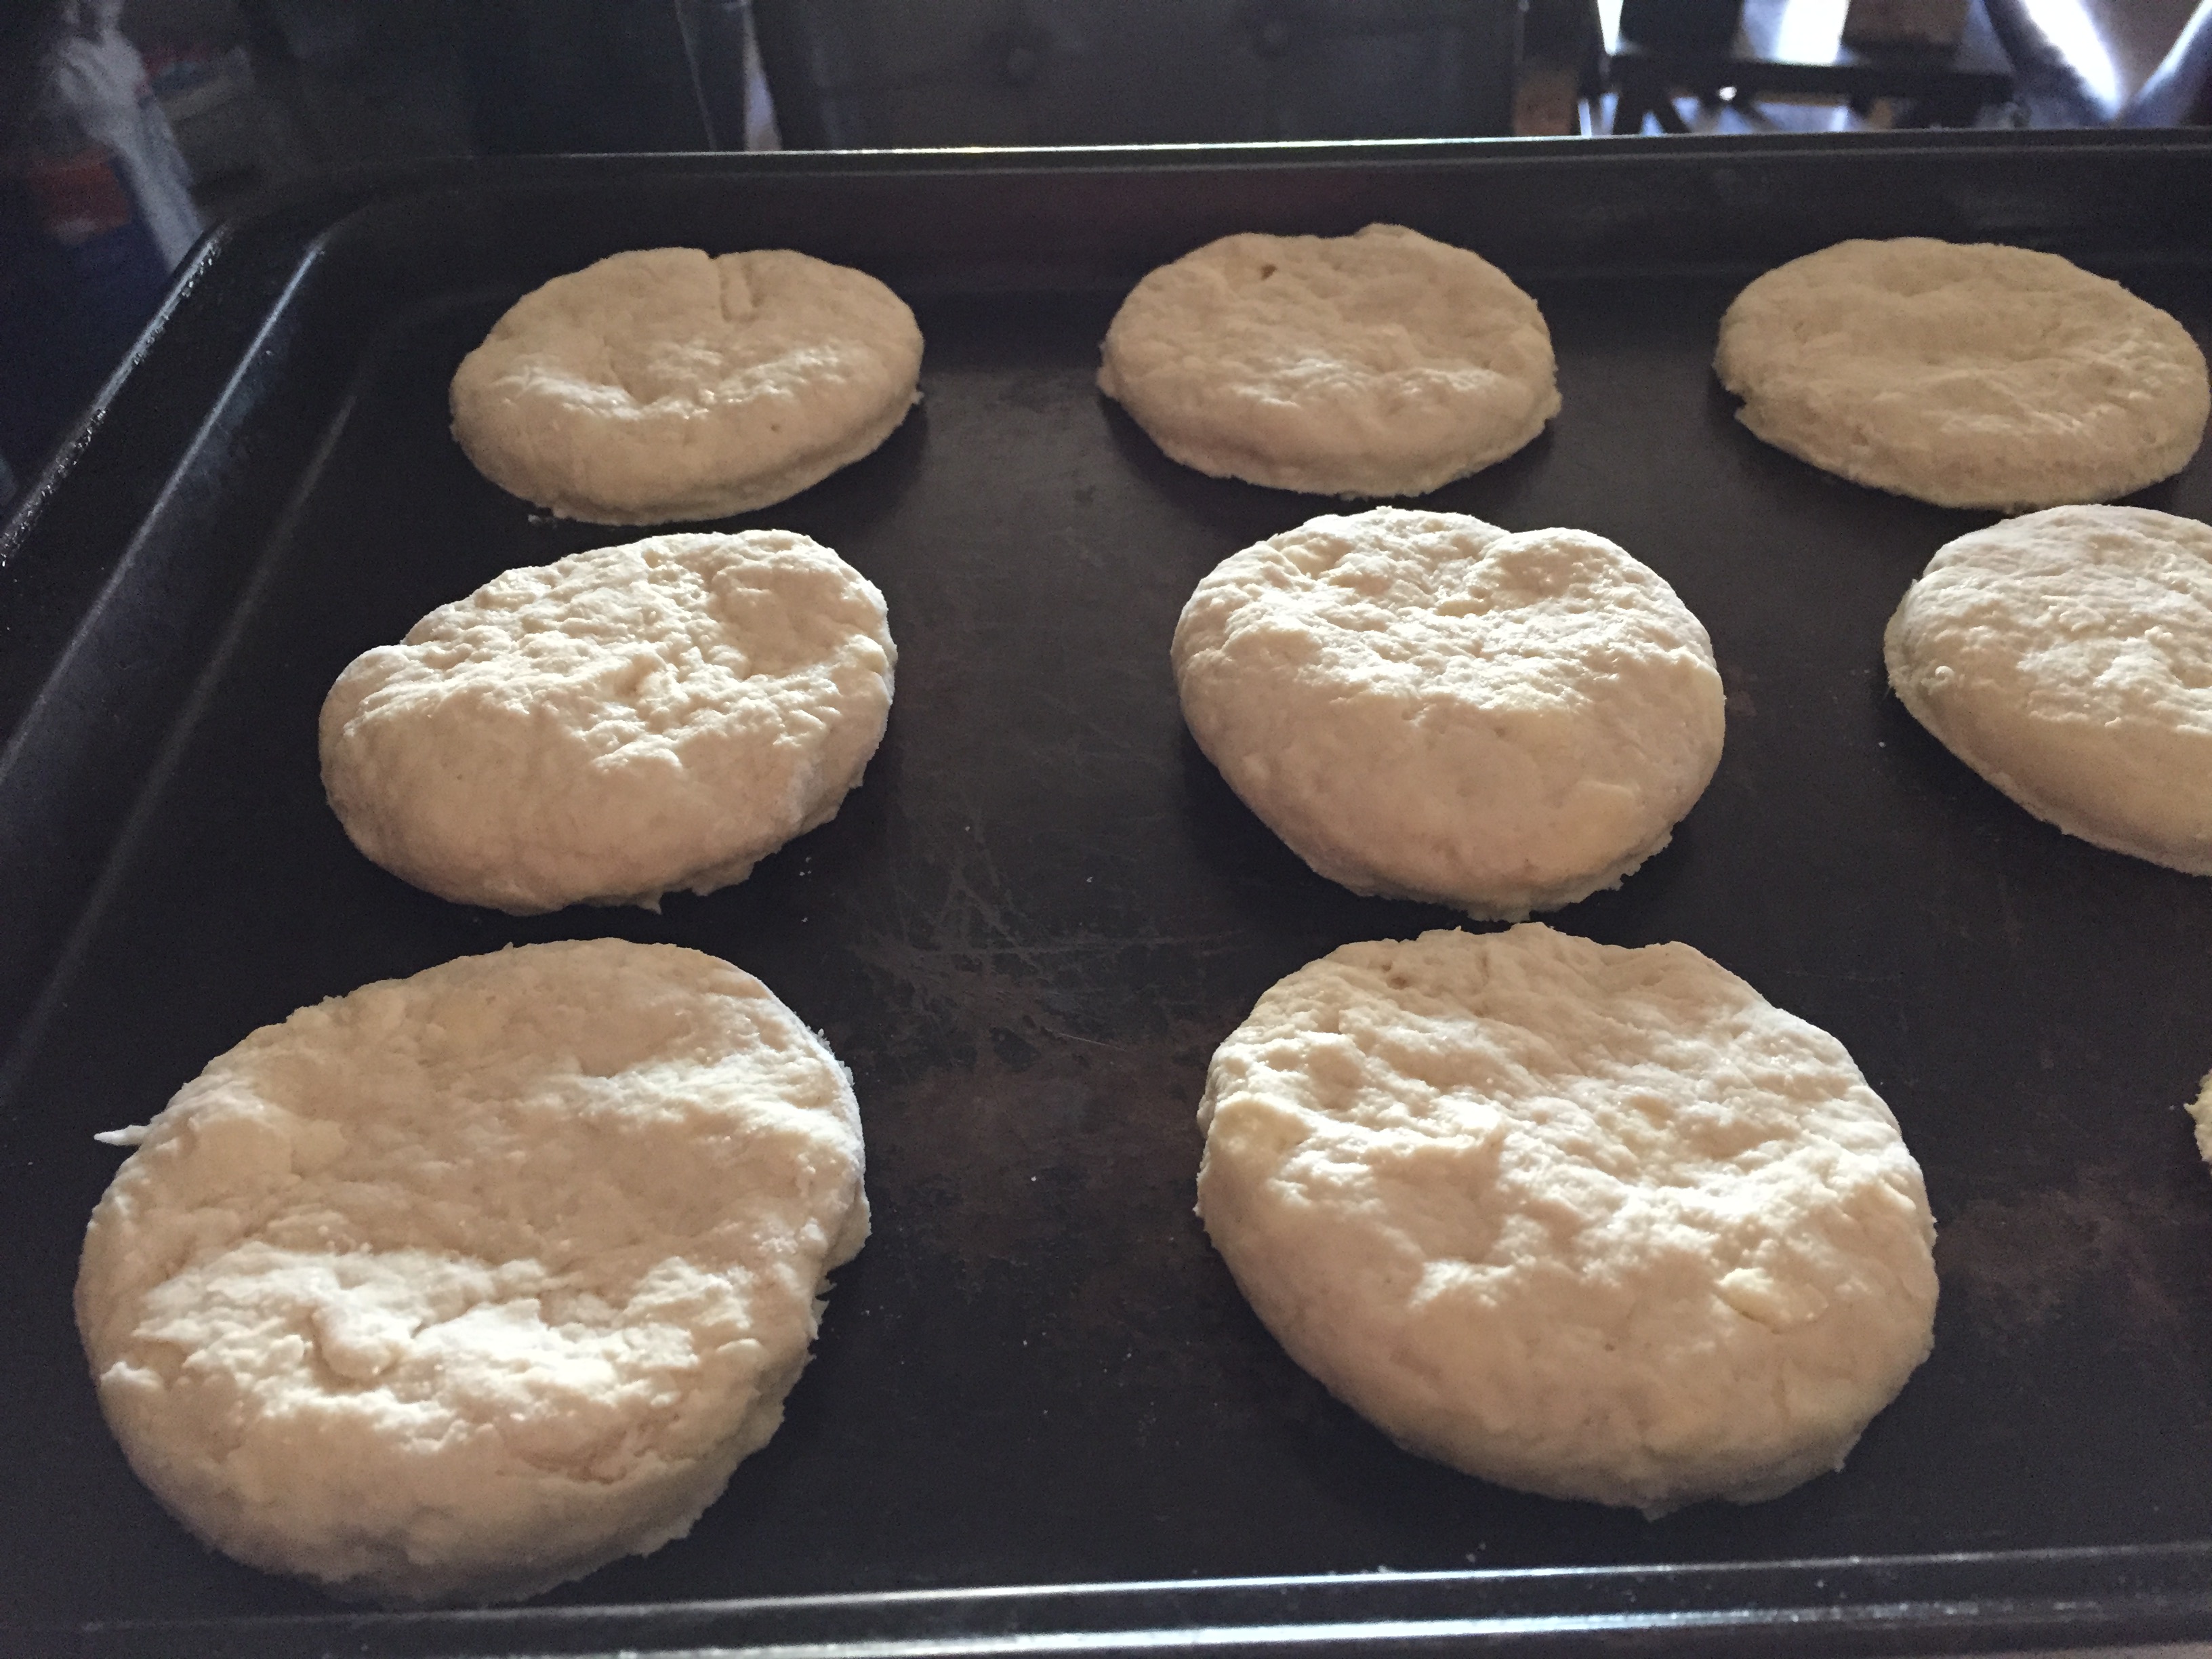
Preheat the oven to 400 degrees. Combine the flour, baking powder, baking soda and salt and work in the cold butter until mixture is coarse and crumbly. Pour in the buttermilk and stir just until it comes together. On a floured surface, turn dough and knead 4-5 times. Pat to 1/2 inch thickness, cut with a biscuit cutter (or the top, open part of a glass), and bake on a baking sheet for 15-18 minutes, or until tops are lightly browned. Remove from oven and allow to cool.

BiscuitsBiscuit rounds


As the biscuits are cooking, line a muffin tin with 12 liners and spray with non-stick spray; set aside. In a medium size bowl, whisk together the eggs and add freshly ground S&P. Distribute eggs evenly among the muffin tin and once the biscuits are done baking, reduce the temperature of the oven to 350 degrees and bake for 18-20 minutes or until set.

Eggs for biscuits


While the eggs are cooking, cook the sausage patties per package instructions. Cut the biscuits in half, slice the cheddar cheese, and set aside. Once the eggs are finished cooking, remove the paper liners and assemble the sandwiches. The bonus is that the leftover sandwiches can be wrapped up with plastic wrap and placed in the refrigerator for an easy grab, heat in the microwave for a minute, and out the door weekday breakfast. No need for a drive thru here.

Posted in Breakfast | Leave a comment

Tortellini Pasta Salad

Tortellini Pasta Salad


Fall is in the air, the days are shorter and cooler, the summer heat is behind us and I still have tomatoes growing in the garden. This year was my first year to do a trial run of a garden and I’m happy to report I had moderate success with it and learned that grasshoppers are little insect heathens and were the demise of my cucumbers. I planted everything back in May. From seeds: tomatoes, cucumbers, and cilantro. From a plant: basil, oregano, and jalapenos. My mom informed me I’d planted the tomatoes too late in the season, that my aunt generally starts hers inside in February before transplanting outside in May, and so I probably wouldn’t get any. Boy, was she wrong! They flourished, for which I’m glad. Little cherry tomatoes that I’d pluck off the vines, rinse, halve and throw into our salads. The other day, after a nice five mile long walk in the park with the dog in which I enjoyed the vast colors of the leaves, I arrived home hungry, looked in the back and realized I’d better do something quick with the tomatoes. I’ve also recently learned that for the tomatoes that are still green, I can go ahead and remove them from the vine, place in a brown paper sack and if stored in a cool, dry place, they will eventually ripen. That sounds too good to be true, but I’ll try it!

Ingredients:

  • 1 package 9oz cheese tortellini
  • 1 small zucchini, diced
  • cherry tomatoes, halved
  • red onion, chopped
  • salami, cubed
  • Italian dressing

Preparation:

Boil the tortellini per package directions. I usually have a few packages I keep in the freezer, so the cooking time is always a bit longer. Once fully cooked, strain the water and rinse the tortellini thoroughly with cool water. Shake off excess water and place tortellini in a medium sized bowl. Add in the cut up vegetables and chopped salami, pour in some  Italian dressing and toss until coated. A light summertime, albeit fall lunch is served.

Posted in Italian, Salads | Leave a comment

Homemade Flour Tortillas

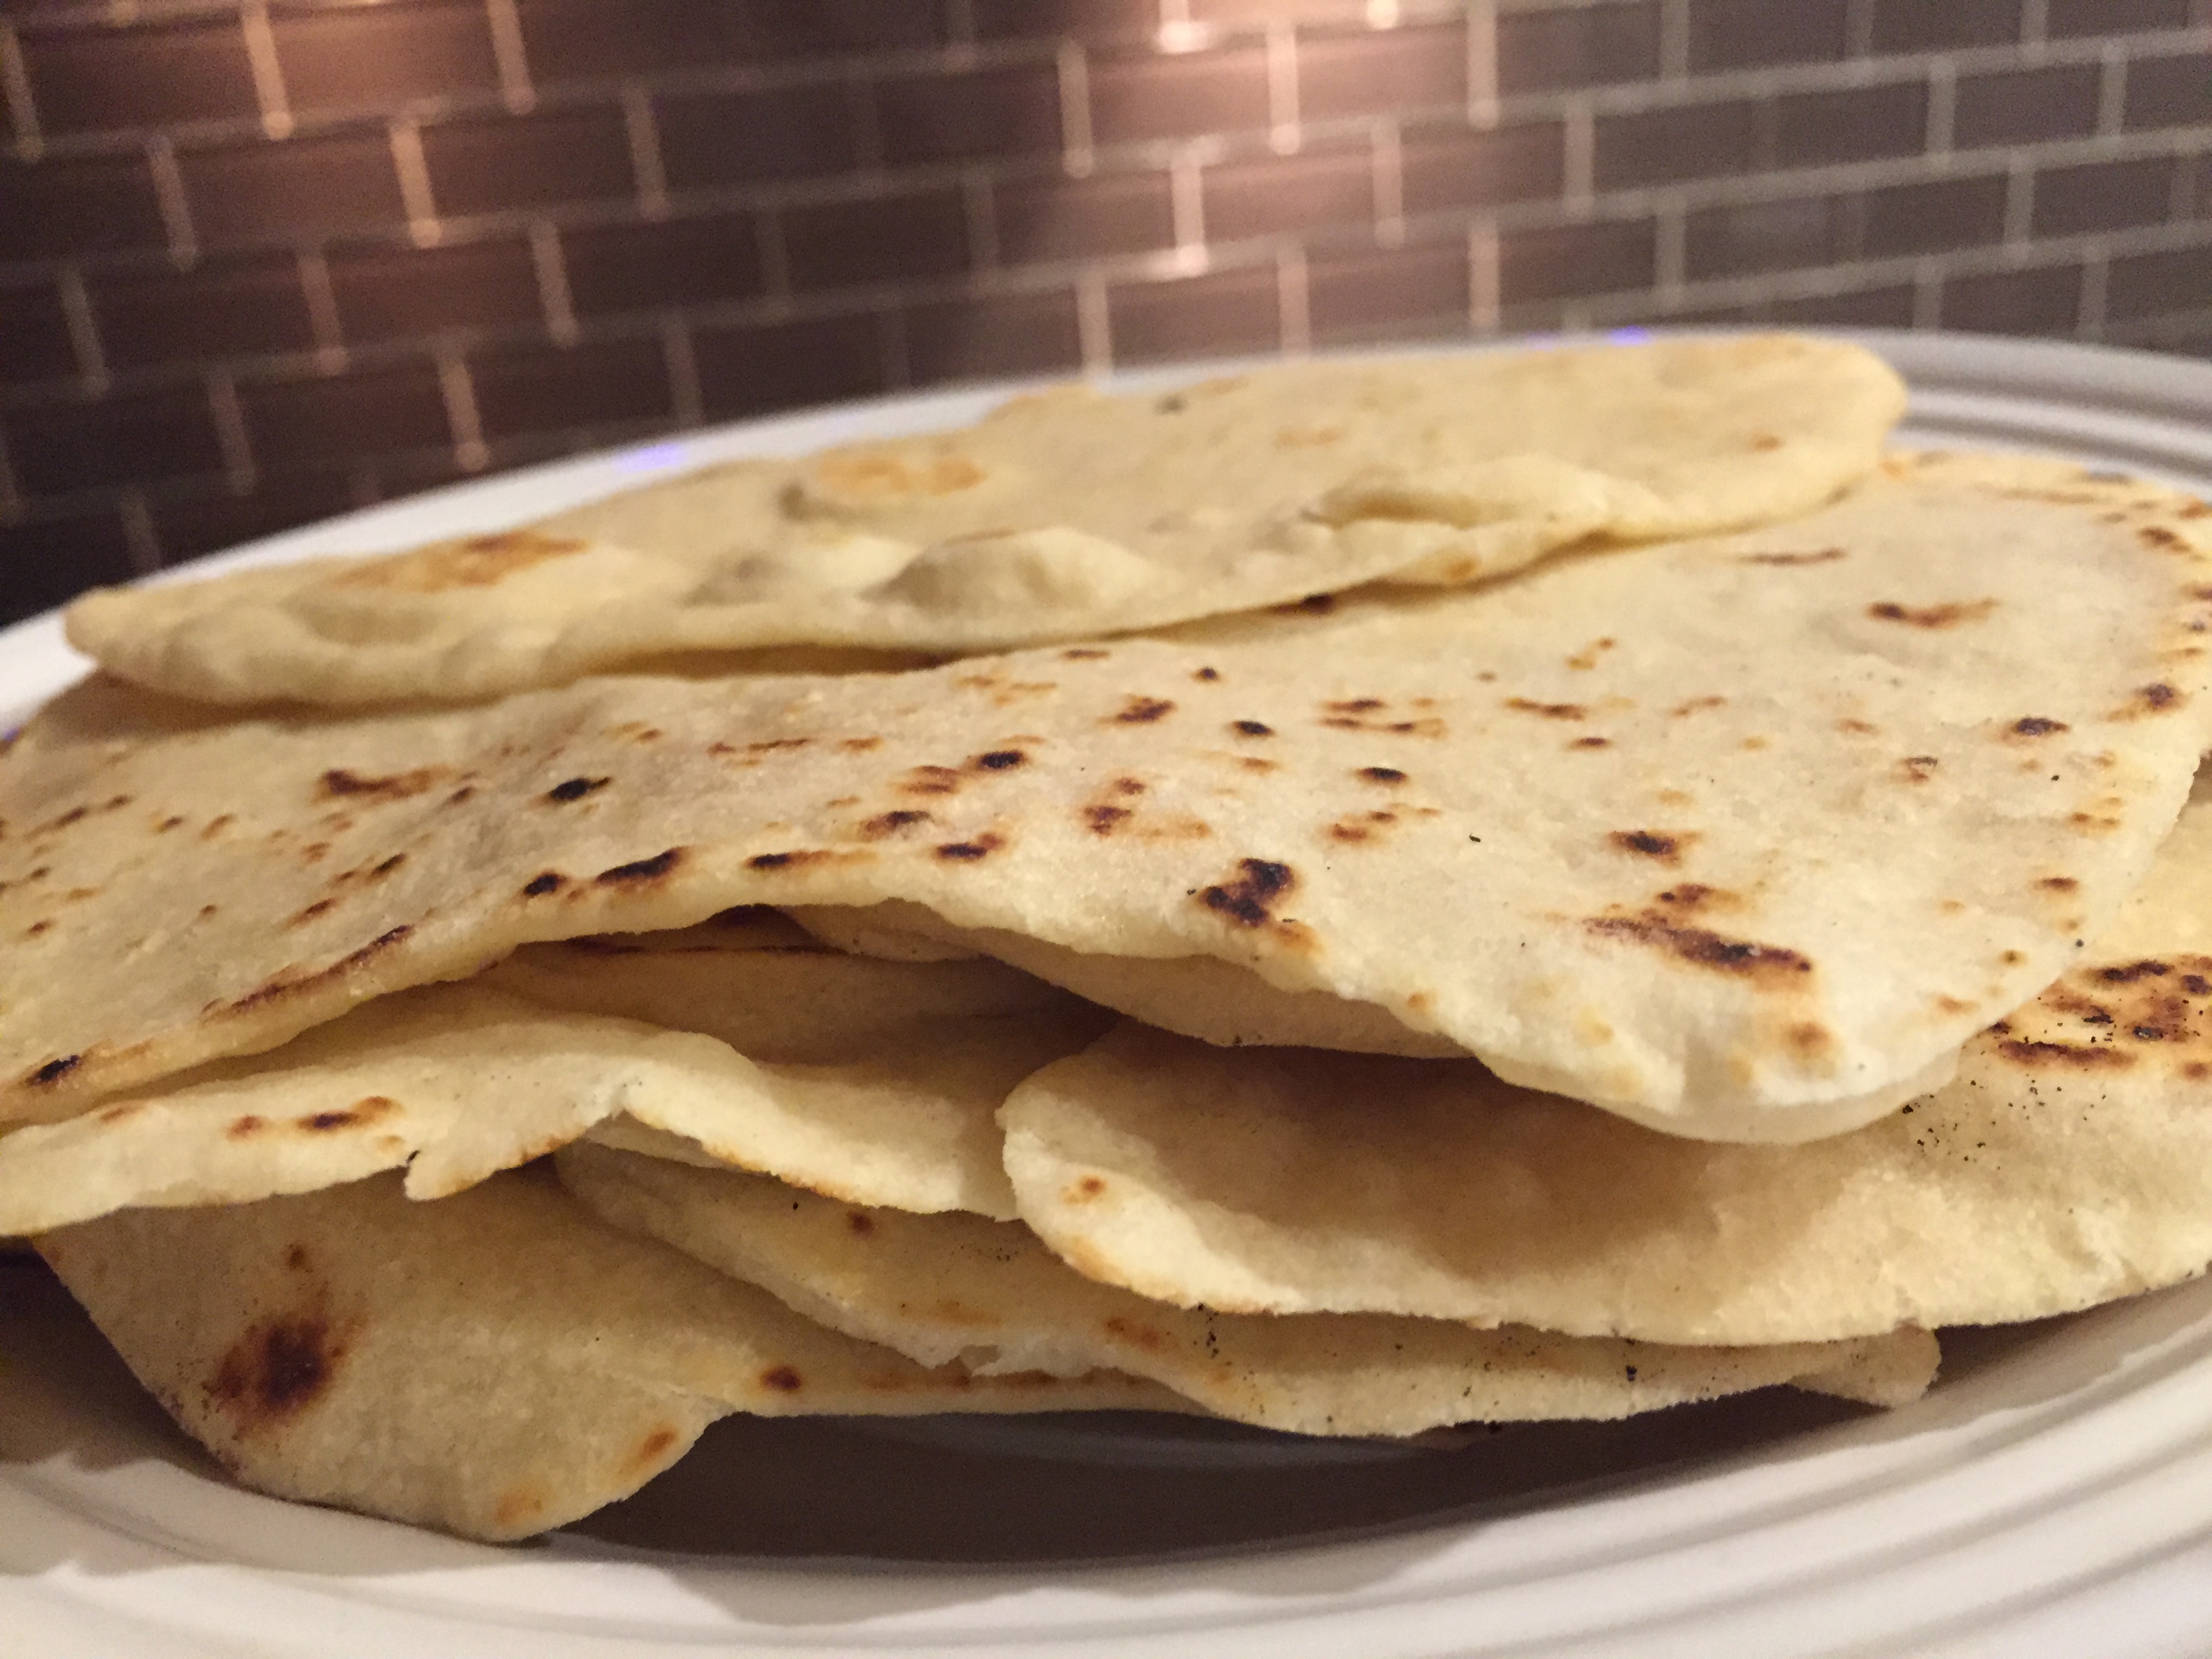
Homemade tortillas


Once, a long, long, time ago when Chris and I were first dating, we were discussing where to eat. I asked innocently, “Do you like Mexican food?” We were walking at the time and when he stopped, so did I. He turned to me with a smile on his face that I imagine totally said, “Duh!” or “Really?” but because we were utterly in love, he said pointedly, “I am Hispanic.” I remember responding, “Obviously, I know that, but I didn’t want to be presumptuous to think that you liked the food.” We laughed like we do and whether or not we had Mexican food that day, I don’t recall. I do remember thinking (and still do today) that just because you grow up with a certain type of food doesn’t necessarily equate to liking it. For instance, the lineage on my mom’s side is German. We were fortunate to visit Germany twice when my oldest stepbrother was stationed in Heidelberg. I learned I don’t care for a lot of German food. I also loathe fish and water related creatures, and think if I grew up on the coast where fish, lobster, shrimp, etc. is prominent, I still wouldn’t like it. Nevertheless, he’s Hispanic and loves Mexican food. I, in turn, aim to please.

Along the way, I’ve learned a thing or two, and perfected some dishes, but I’ve always shied away from making homemade tortillas. In part, anytime we would travel back to his hometown in Texas, we would stop off at The Corner Stop down the street from his childhood home and purchase 15 packages of a dozen freshly made tortillas to take home and freeze to use until we visited again. They are hands down the very best tortillas I’ve ever had. Once his mom moved in with us due to her terminal cancer, our visits slowed substantially, but his grandmother was still there in a nursing home so he or all of us would go visit and our last stop out of town was always The Corner Stop to stock up. Once she died in the Fall of 2012 there was no real reason to make the trip anymore. The other reason I’d resisted making them was because I’d always heard of how sensitive they were. Too much flour, not enough water, or too high of a heat, and you’ve got a cracker. Prepackaged store bought tortillas just seemed the way to go; they’d suffice.

After much research, I decided to conquer my tortilla making fears and was filled with equal parts anticipation and apprehension. When I told Chris of my intentions, he informed me the only way to make them, the way his grandmother made them, is to use lard, which we didn’t have. I told him I intended to use bacon fat. Side note: any time I make bacon, I drain the excess off into a Tupperware container that I keep in the refrigerator. The look on his face was doubtful, but really, it’s one in the same. I’m happy to report they were a success. I got the seal of approval from the girls, and most importantly, the man who grew up eating tortillas said I did good. ‘Nuff said.

Ingredients:

  • 3 cups all-purpose flour
  • 1 tsp. salt
  • 1 1/2 tsps. baking powder
  • 5 tbsps. bacon fat
  • 1 cup warm water

Preparation:

Add the flour, salt, and baking powder in a stand up mixing bowl and whisk together. Place a cup of water in a microwave safe measuring cup and heat for 1 minute. Using the dough hook attachment, set the speed to medium and add the bacon fat and slowly pour in the water. Allow to run for 1 minute, stopping to scrape down the sides. Once the dough comes together in a ball, reduce the speed to low and mix for another minute.

Working on a well floured surface, divide the dough into 16 equal-sized balls. With the palm of your hand, flatten as much as you can, cover with a dish towel and let sit for 45 minutes to an hour.

After the resting period, heat a large griddle to medium-high heat and allow to get very hot before using. Once it’s hot enough, use a well floured rolling pin and a floured surface, roll out one dough ball at a time until thin. Transfer to the hot griddle and cook for 1 minute or so before flipping to the other side for 30-45 seconds. Since every stove is different, you’ll learn quickly if you need to reduce the heat or cook longer. With mine, after the first couple of tries, I found raising the heat to almost high and cooking for a bit longer, warranted the results I was aiming for.

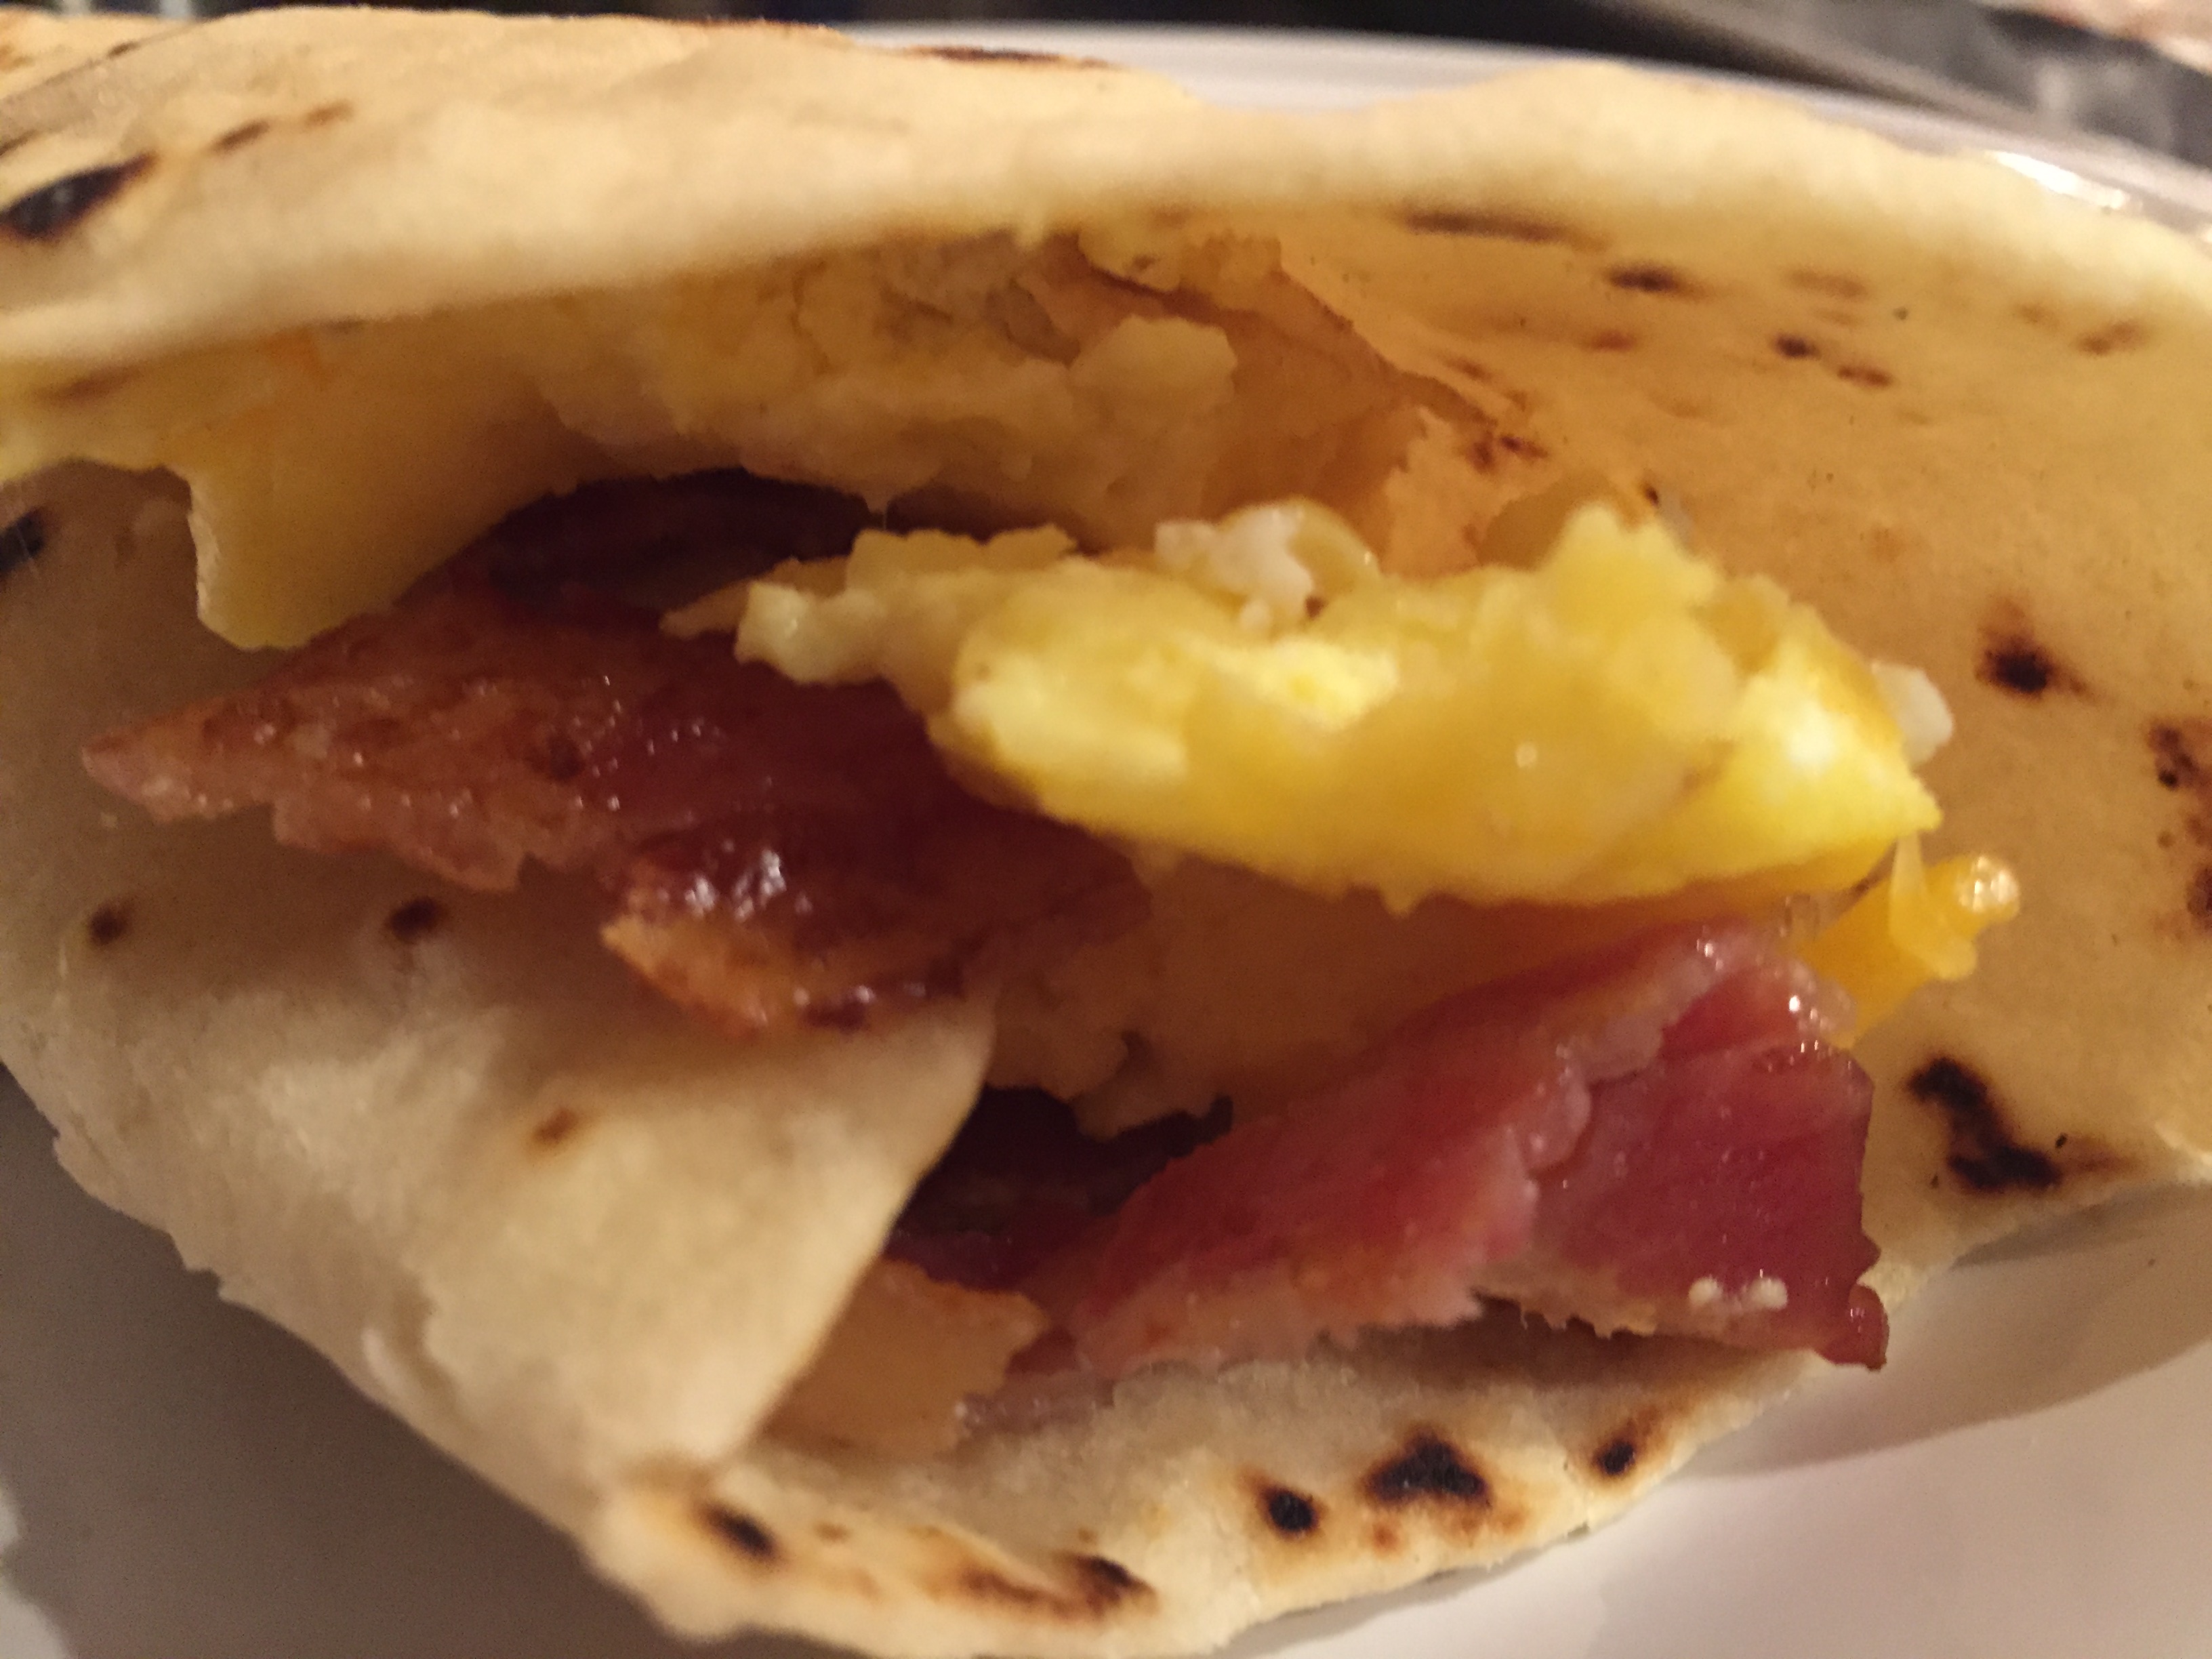
I’d originally planned for tacos, but Bri was less than impressed so we all agreed upon breakfast burritos for dinner. I’m happy to report the tortillas remained soft and pliable. Breakfast burritos

Posted in Bread; Sides, Breakfast, Mexican | Leave a comment

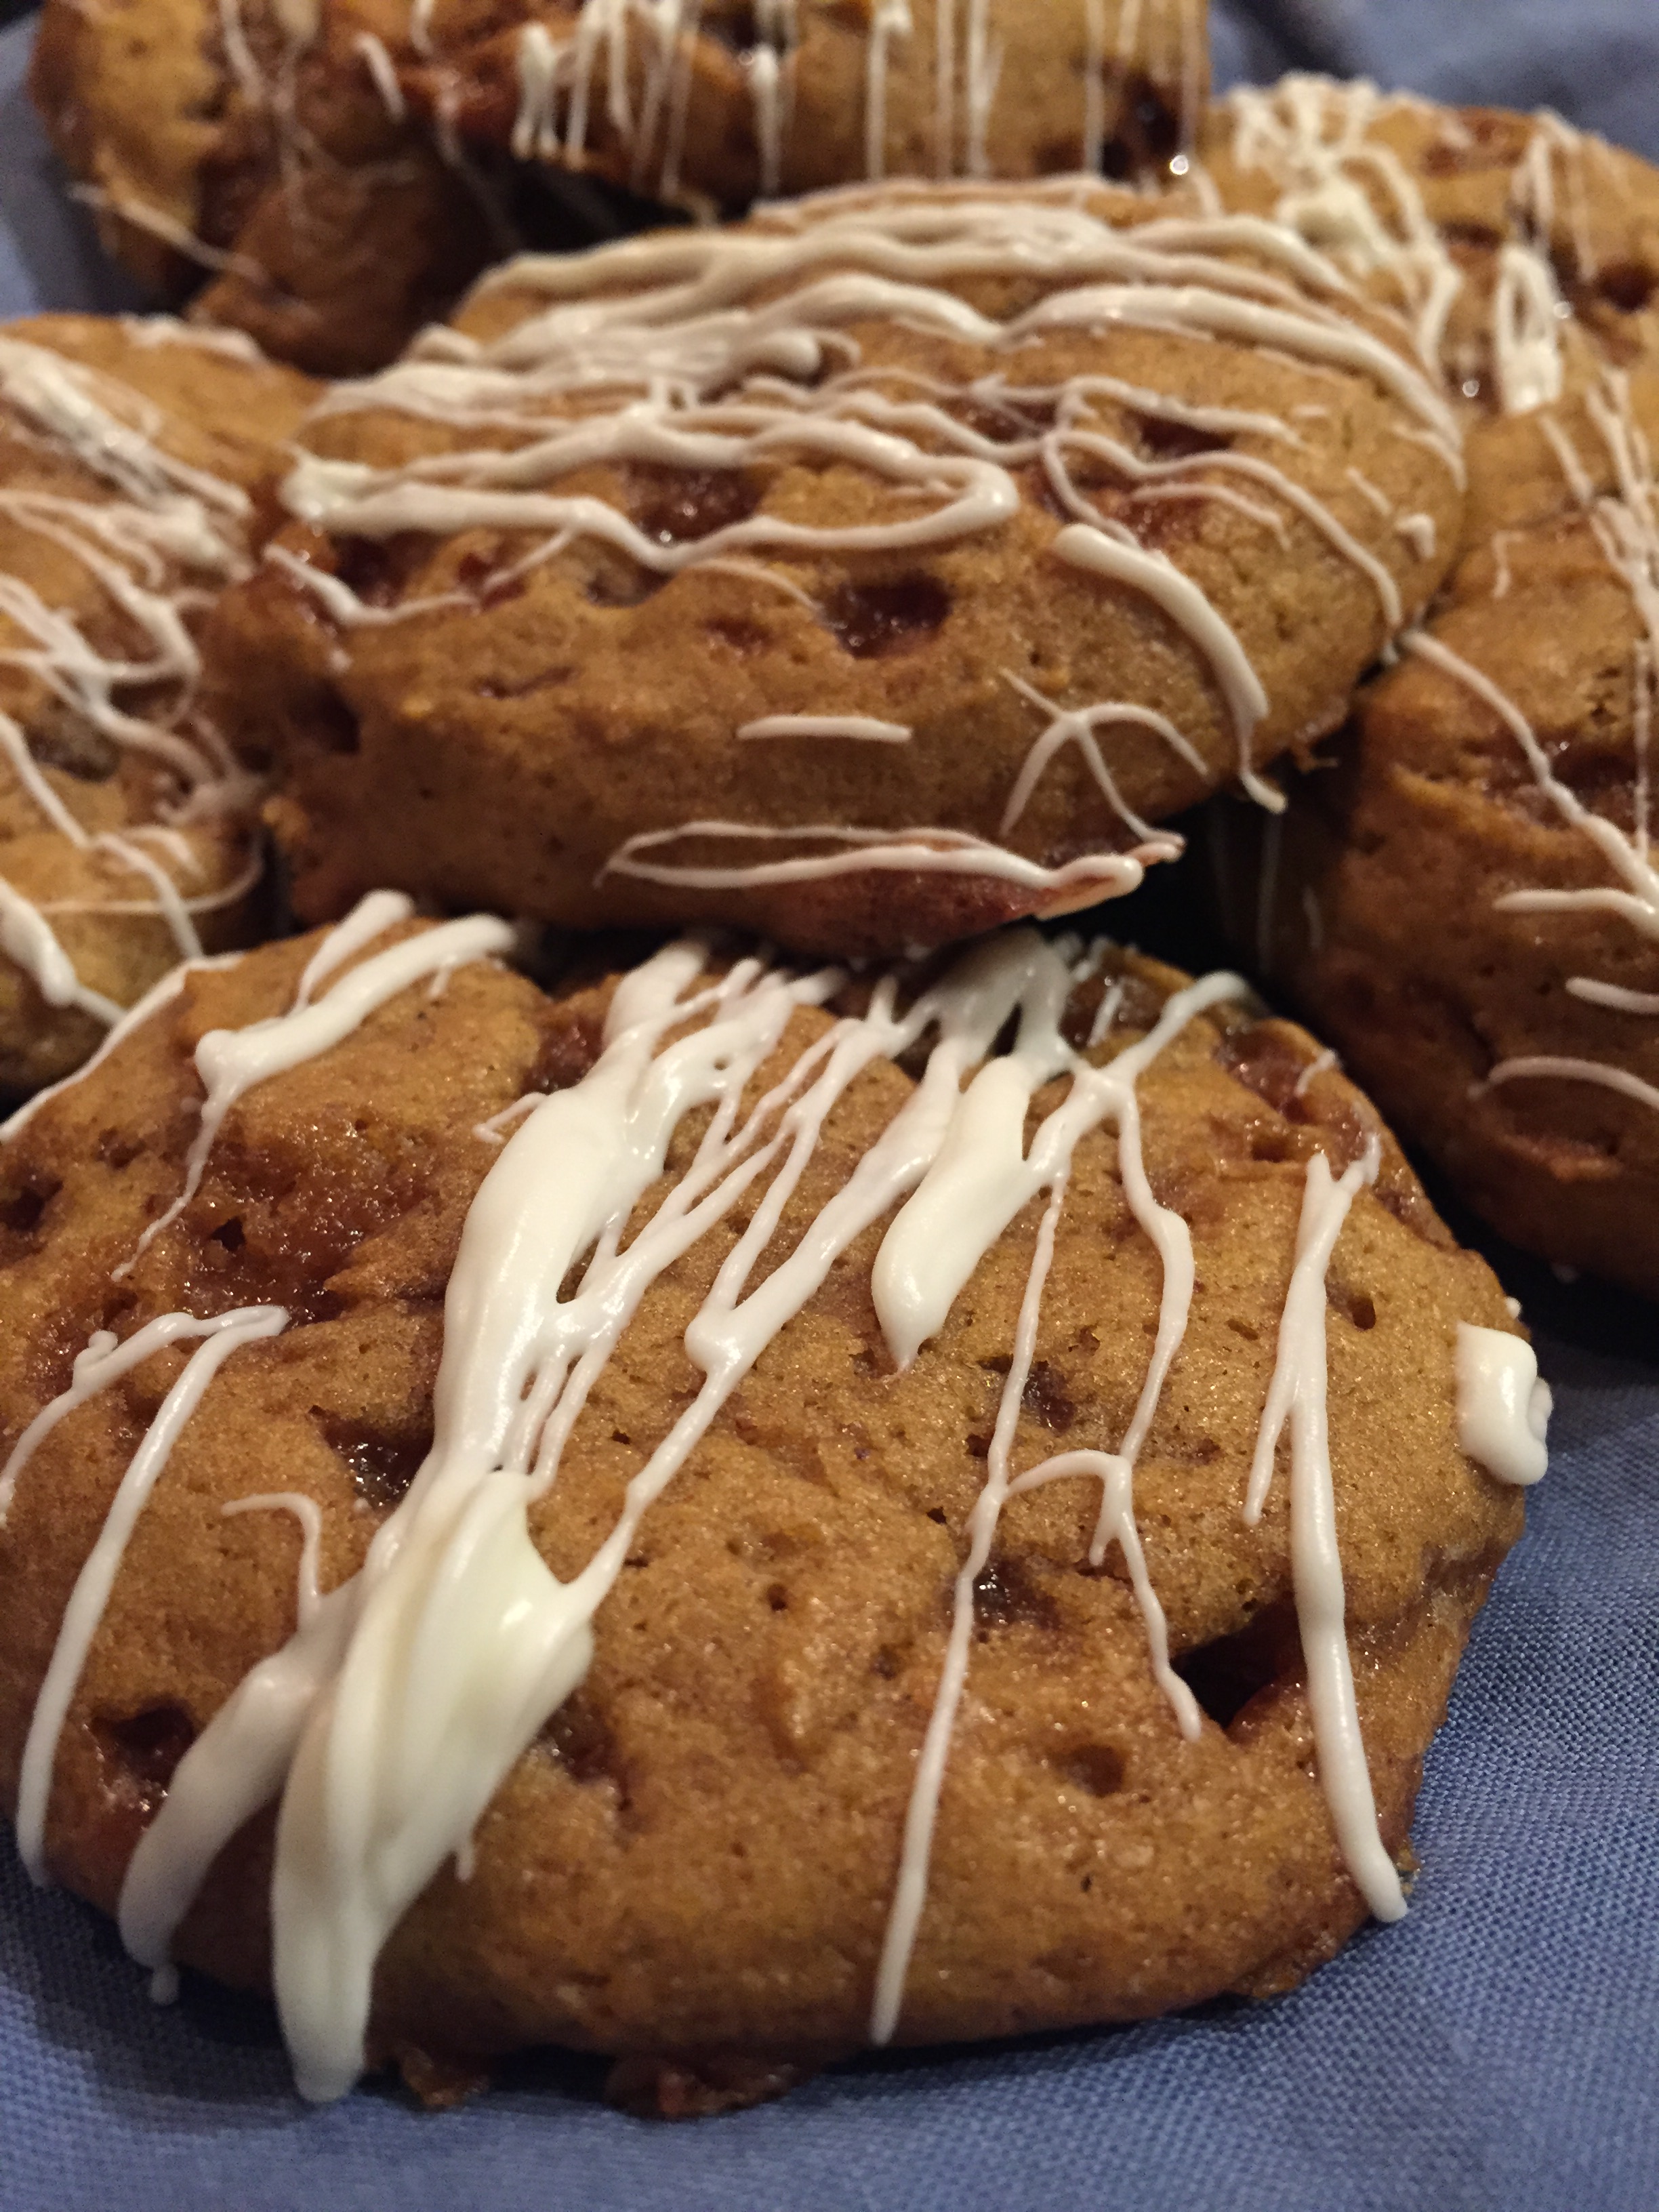
Pumpkin Toffee Cookies

Pumpkin cookies


I don’t know anyone, who while making cookies, doesn’t nibble on the cookie dough. I mean, come on, licking the beaters after your mom is done mixing them together, is a bit of a kitchen rite of passage that’s passed down from generation to generation. That said, as I tried some of this cookie dough, I thought, hmmm, these are just okay. I wasn’t wowed, but I proceeded anyway because by all means, if you have cookie dough, it needs to be baked. So, I did and tried it later on, much to the same conclusion as earlier. The following day, the girls said on repeat, “Those cookies are so good, mom.” I was surprised. Then I had another one. I think the secret powerhouse to this cookie is to bake them and leave them alone until the next day. There’s some sort of transformation that occurs overnight. It’s as if all the flavors get their act together only to bring the A game later.

Ingredients:

  • 2 1/4 cup flour
  • 1 tsp. baking powder
  • 1 tsp. baking soda
  • 2 tsp. cinnamon
  • 1 tsp. nutmeg
  • 1/2 tsp. salt
  • 1/2 cup butter, at room temp
  • 1 cup sugar
  • 1/2 cup brown sugar
  • 1 cup pumpkin puree
  • 1 egg
  • 1 tsp. vanilla
  • 1 cup toffee bits or 1 8oz bag
  • 1/2 cup white chocolate, melted

Preparation:

Preheat oven to 375 degree. Whisk together flour, baking powder, baking soda, cinnamon, nutmeg, and salt in a medium size bowl.

In a mixer, cream together the butter and sugars until creamy. Add the egg, pumpkin, and vanilla. Slowly add in the flour mixture, mixing until combined. Stir in the toffee bits. Drop by rounded tablespoons onto a baking sheet lined with parchment paper and bake for 10 – 12 minutes. Allow cookies to cool for 3 minutes on the baking sheet before transferring to a wire rack to cool completely. Once cooled completely, melt the white chocolate, tap into your inner Jackson Pollack and fling, er, drizzle the white chocolate all over the cookies. I let them dry overnight on the counter before placing them in a storage container. The cookies remained soft.

Source: http://www.lemonsforlulu.com/pumpkin-toffee-cookies/

NOTE: After the first sheet of cookies were not quite done baking at 350 degrees and 10 minutes as noted in the original recipe, I upped the temp and time just a bit. This worked out much better.

Posted in Cookies, Pumpkin | Leave a comment

Share a recipe: Chocolate Peanut Butter Surprise Cookies

Chocolate PB Surpirse CookiesI’ve learned along the way that some people hoard and hover over their recipes, keeping them secure in a vault, never to be shared. I like to think I understand that, but no, not really. I don’t. I’d rather share the love. Isn’t that what it’s all about? I’d rather have gotten the cinnamon roll muffins my grandma used to make that everyone loved than to conjure the taste of a memory. My grandma shared her recipes, but to an extent, we took it for granted that one of us had it penned to paper. It was one of those recipes she’d perfected to memory, never needing a written recipe to refer to. Grandma’s been gone nearly a year now, but dementia thieved those recipes long ago.
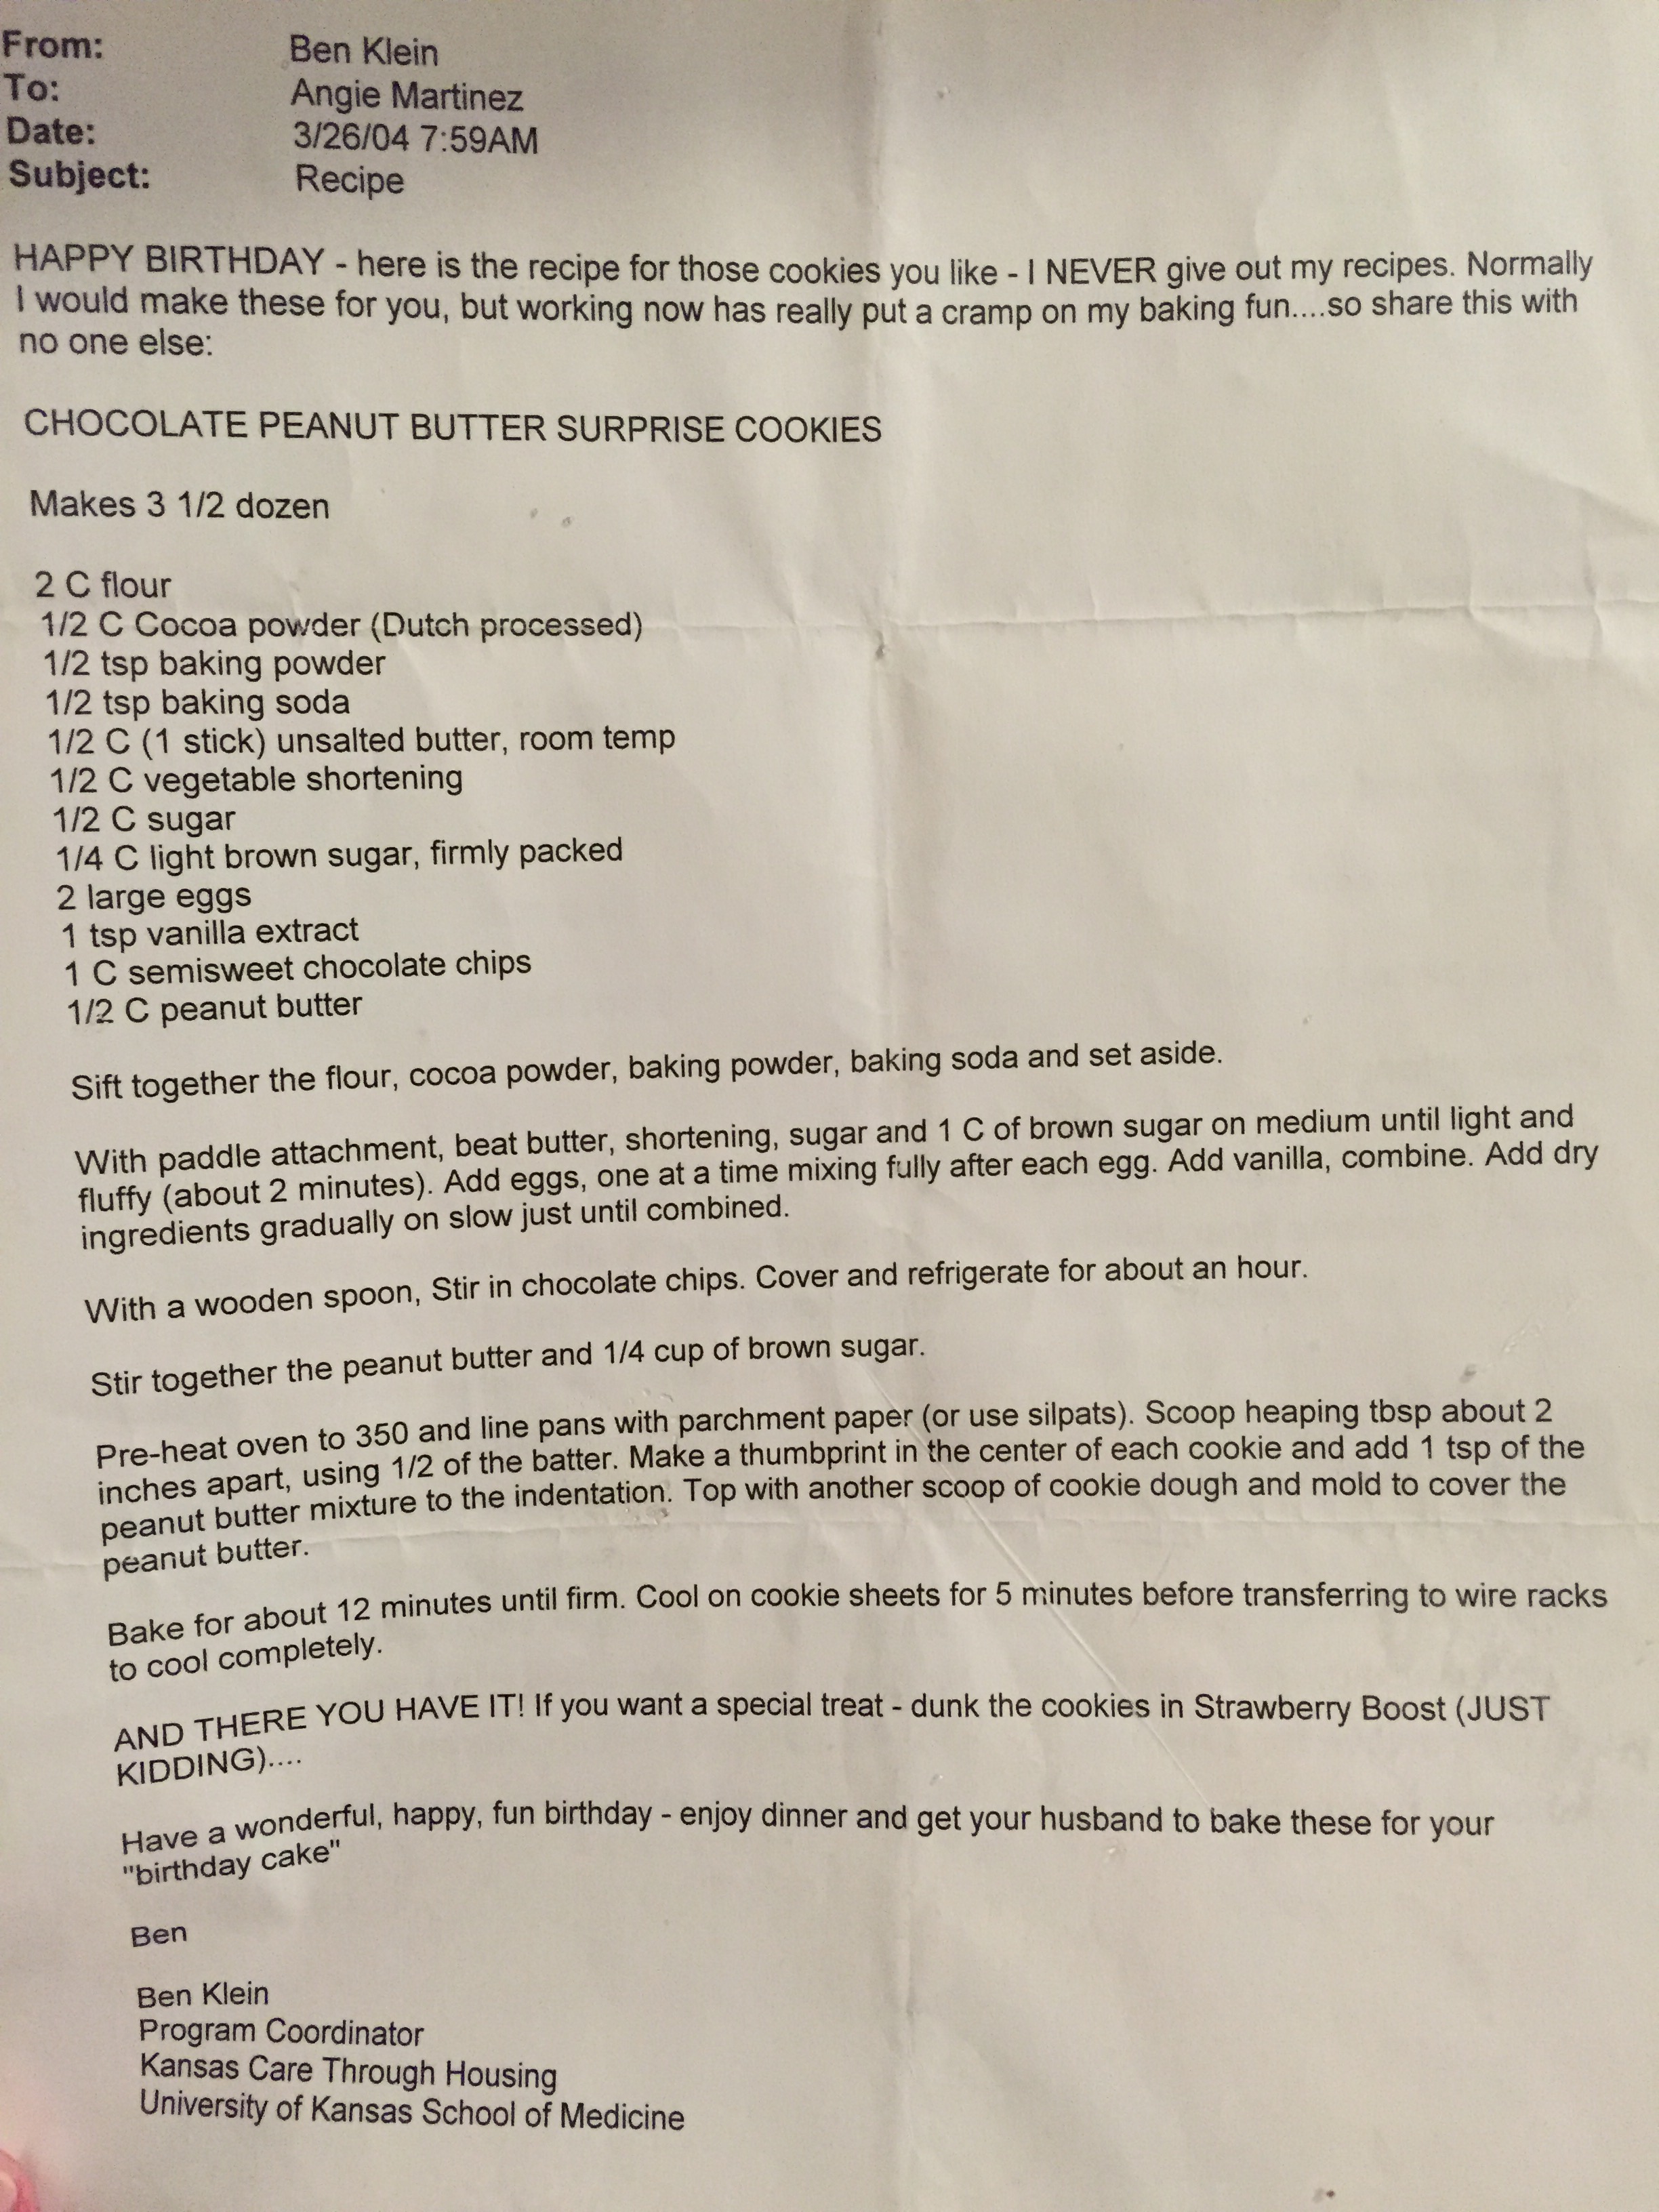
Recipe for Chocolate PB Surprise Cookies

This recipe is a treasure. I’ve safeguarded it for years because it was special to me. Letters strung together to form words, instructions, typed, e-mailed and printed. Nothing fancy, really, but the story behind it is what gets me; another reminder that food naturally lends itself to memories. Predominantly good ones, but I can also think of a few that weren’t, but that’s how life goes.

Years ago, I worked for nearly 8 years in the HIV field as a case manager and I loved it. Loved the experience, loved the people. I had both of my daughters while I worked there. One year, we implemented an onsite peer support group for patients on Tuesday afternoons. Ben was a long term patient and advocate and became a mainstay, volunteering his time, bringing homemade cookies like this one, and wisdom to those who were new to the knowledge of their diagnosis. Shortly before I was to be gone on maternity leave with Leah, we learned we were awarded a housing grant to assist people with housing needs. I suggested to Ben one afternoon, that he fill in for me while I was on maternity leave, give him the chance to try on the working life again before taking the leap into becoming the director of the housing program. He jumped at the chance after years of being so sick and on disability, it gave him the opportunity to put his MBA to use. Meds had come a long way and for once in a long while, he felt good, stable.

When I returned to work, he was ready to transition from filling in for me to heading up the housing program. It worked out beautifully.

The following year, he remembered that I’d enjoyed these cookies he’d brought in during his days of volunteering, and sent me the recipe, albeit a day early, for my birthday. Later that year, when I decided to return to school to obtain my MSW, working in the medical clinic didn’t allow a flexible schedule, so Ben invited me to lunch at Da Nang (a very questionable restaurant, in which I had to routinely remind myself I was supposedly eating chicken) and suggested I come work for him as a housing case manager, and I did. That year for Christmas, I did my usual holiday baking and gifted him a bag of goodies. I remember the delighted e-mail he sent about how he so enjoyed the turtle cookies, the caramel stuck to his chin.

Two years later, on my scheduled day off so that I could attend classes, I received a call that Ben had died. A massive heart attack. Just like that. Here one day, gone the next. I later transitioned into his role as the director of the housing program where I quickly learned the corner office with the view isn’t always what it’s cracked up to be.

I’ve had this cookie recipe for 11+ years and made them for the very first time a few weeks ago. Truth be told, it wasn’t the cookies that I savored so much, it was the memories.

Posted in Cookies | Leave a comment

Carnitas Nachos

Nachos


Crockpots are awesome. They’re relatively low maintenance and fail proof. A win, win combination. Last Wednesday night, I stopped off at the store and purchased a 6lb. pork shoulder roast. I stabbed it with a knife all over, placed it in the crockpot and sprinkled about 3 – 4 tbsps. of the Tex-Mex seasoning I make and keep on hand for the ready, set it to low, turned it once in the morning before heading off to work and then didn’t mess with it again until dinner time on Thursday (and by messing with it I mean removing from the crockpot, shredding it, and serving it up). On Thursday morning, I brought out another crockpot added about 3 cups of dried pinto beans, chopped up some thick cut bacon, added some salt, filled with water and set that to low for dinner that night: carnitas, beans, tortillas, guacamole & chips. I knew we would have plenty of leftovers and I also knew exactly what I would do with them: Carnitas Nachos on Saturday night.

Saturday night, I preheated the oven to 375 degrees and lined a baking sheet with a layer of tortilla chips. I took a cup of the leftover pinto beans and pulsed them a few times in the food processor – instant refried beans. I spread them out on the tortilla chips, distributed the shredded pork meat, topped with Colby Jack cheese, then added some diced red onion and sliced jalapenos before popping it in the oven for 15-20 minutes until the cheese was nice and melted. I then switched the oven off and turned on the broil for a few minutes. After removing it from the oven, I topped with fresh chopped Roma tomatoes and cilantro. I placed it in the center of the table and dinner was served. No plates, no fuss, no mess just pull from the baking sheet and eat.

Nacho

Posted in Mexican, Pork | Tagged | 1 Comment

Peppered & Parmesan Zucchini Rounds

Parmesan Zucchini


Towards the end of summer, zucchini is one of those vegetables that, if not shredded and frozen, are hurriedly being used up. This is one of the ways I like to use them up. Chris and I are big fans, but it’s definitely one of those dishes that needs to be eaten right away; otherwise due to the water content of the zucchinis, they get soft and soggy and admittedly, downright gross. So timing is of utmost importance, but boy oh boy, these are so easy to prepare and quite tasty right of the oven. They make a perfect side veggie with a bit of a kick due to the pepper.

Ingredients:

  • 2 zucchinis, sliced 1/4 inch thick
  • freshly ground cracked pepper
  • freshly ground salt (I used a garlic/ salt grinder)
  • fresh shaved parmesan cheese

Preparation:

Preheat the oven to 400 degrees. Line a baking sheet with aluminum foil and spray with a non-stick spray. Arrange the zucchinis on the baking sheet and top with generous amounts of fresh cracked pepper, apply fresh ground salt, or as we had on hand, a salt & garlic grinder, and top each round with a bit of fresh parmesan cheese.

Bake for 20-25 minutes or until cheese has melted and become a light golden brown.

Posted in Sides, Vegetables, Vegetarian | Leave a comment

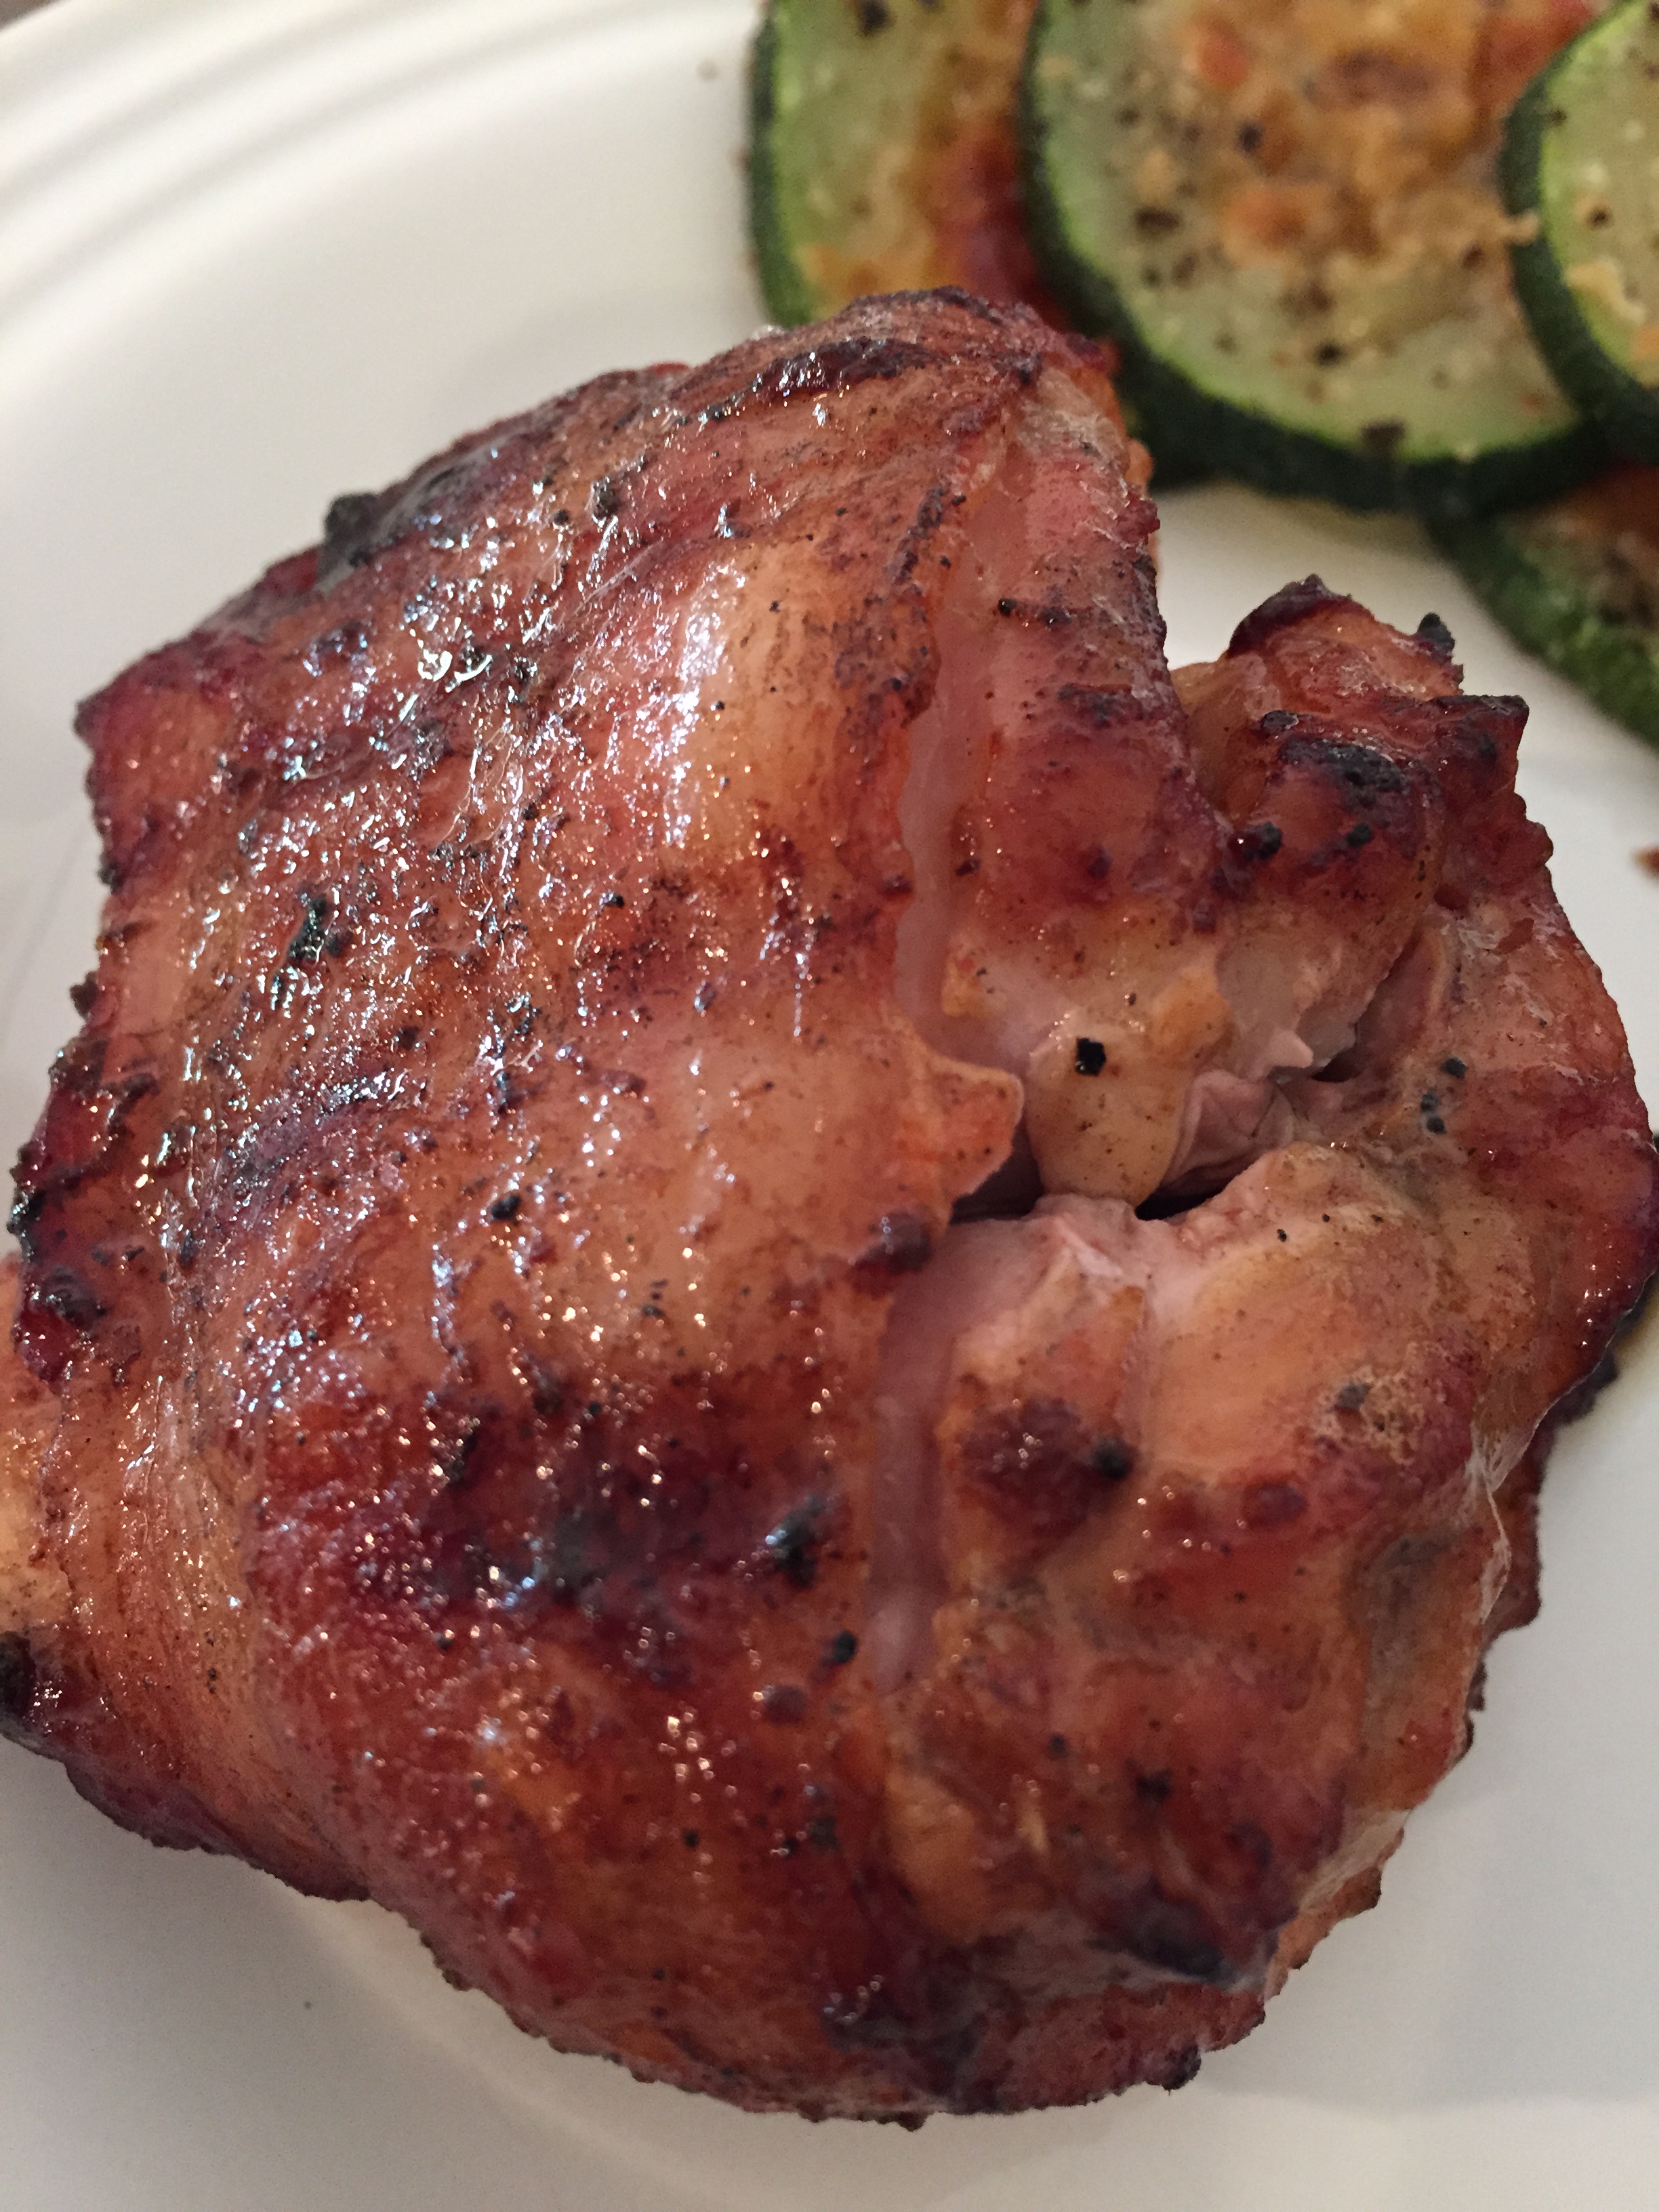
Holy Moly Chicken

Holy Moly Chicken


Chicken is a staple in our house and I always make sure to have some hormone free/ antibiotic chicken in the freezer. We all like it and it’s diverse enough it can be prepared 1,000 different ways.

Ingredients:

For the spice rub:

  • ¼ cup brown sugar
  • ¼ cup paprika
  • 2 tsps. Black pepper
  • 2 tsps. Salt
  • 2 tsps. Chili powder
  • 2 tsps. Garlic powder
  • 2 tsps. Onion powder
  • ½ tsp. cayenne powder

Mix brown sugar, paprika, black pepper, salt, chili powder, garlic powder, onion powder, and cayenne pepper in a bowl. Store in an air-tight container or keep in the freezer in a sealable plastic bag.

For the chicken:

  • 8 boneless/ skinless chicken thighs
  • 3 tbsp. of aforementioned spice rub
  • 1/2 cup 100% maple syrup
  • 2 tbsp. Dijon mustard
  • 8 strips thick sliced hickory smoked bacon
  • 1/4 cup lemon juice
  • 3 tbsp. apple cider vinegar

Preparation:

Using a medium size bowl, whisk together the spice rub, maple syrup, Dijon mustard, lemon juice, and apple cider vinegar. Wrap each thigh with a slice of bacon and lay in 9×13 pan. Pour the marinade over the chicken. Marinate at least 3 hours or overnight. Grill or bake uncovered at 375 degrees for an hour or until chicken is no longer pink in the middle.

Source: http://bestoflongislandandcentralflorida.blogspot.com/2015/09/holy-moly-chicken.html

Posted in Chicken | Leave a comment

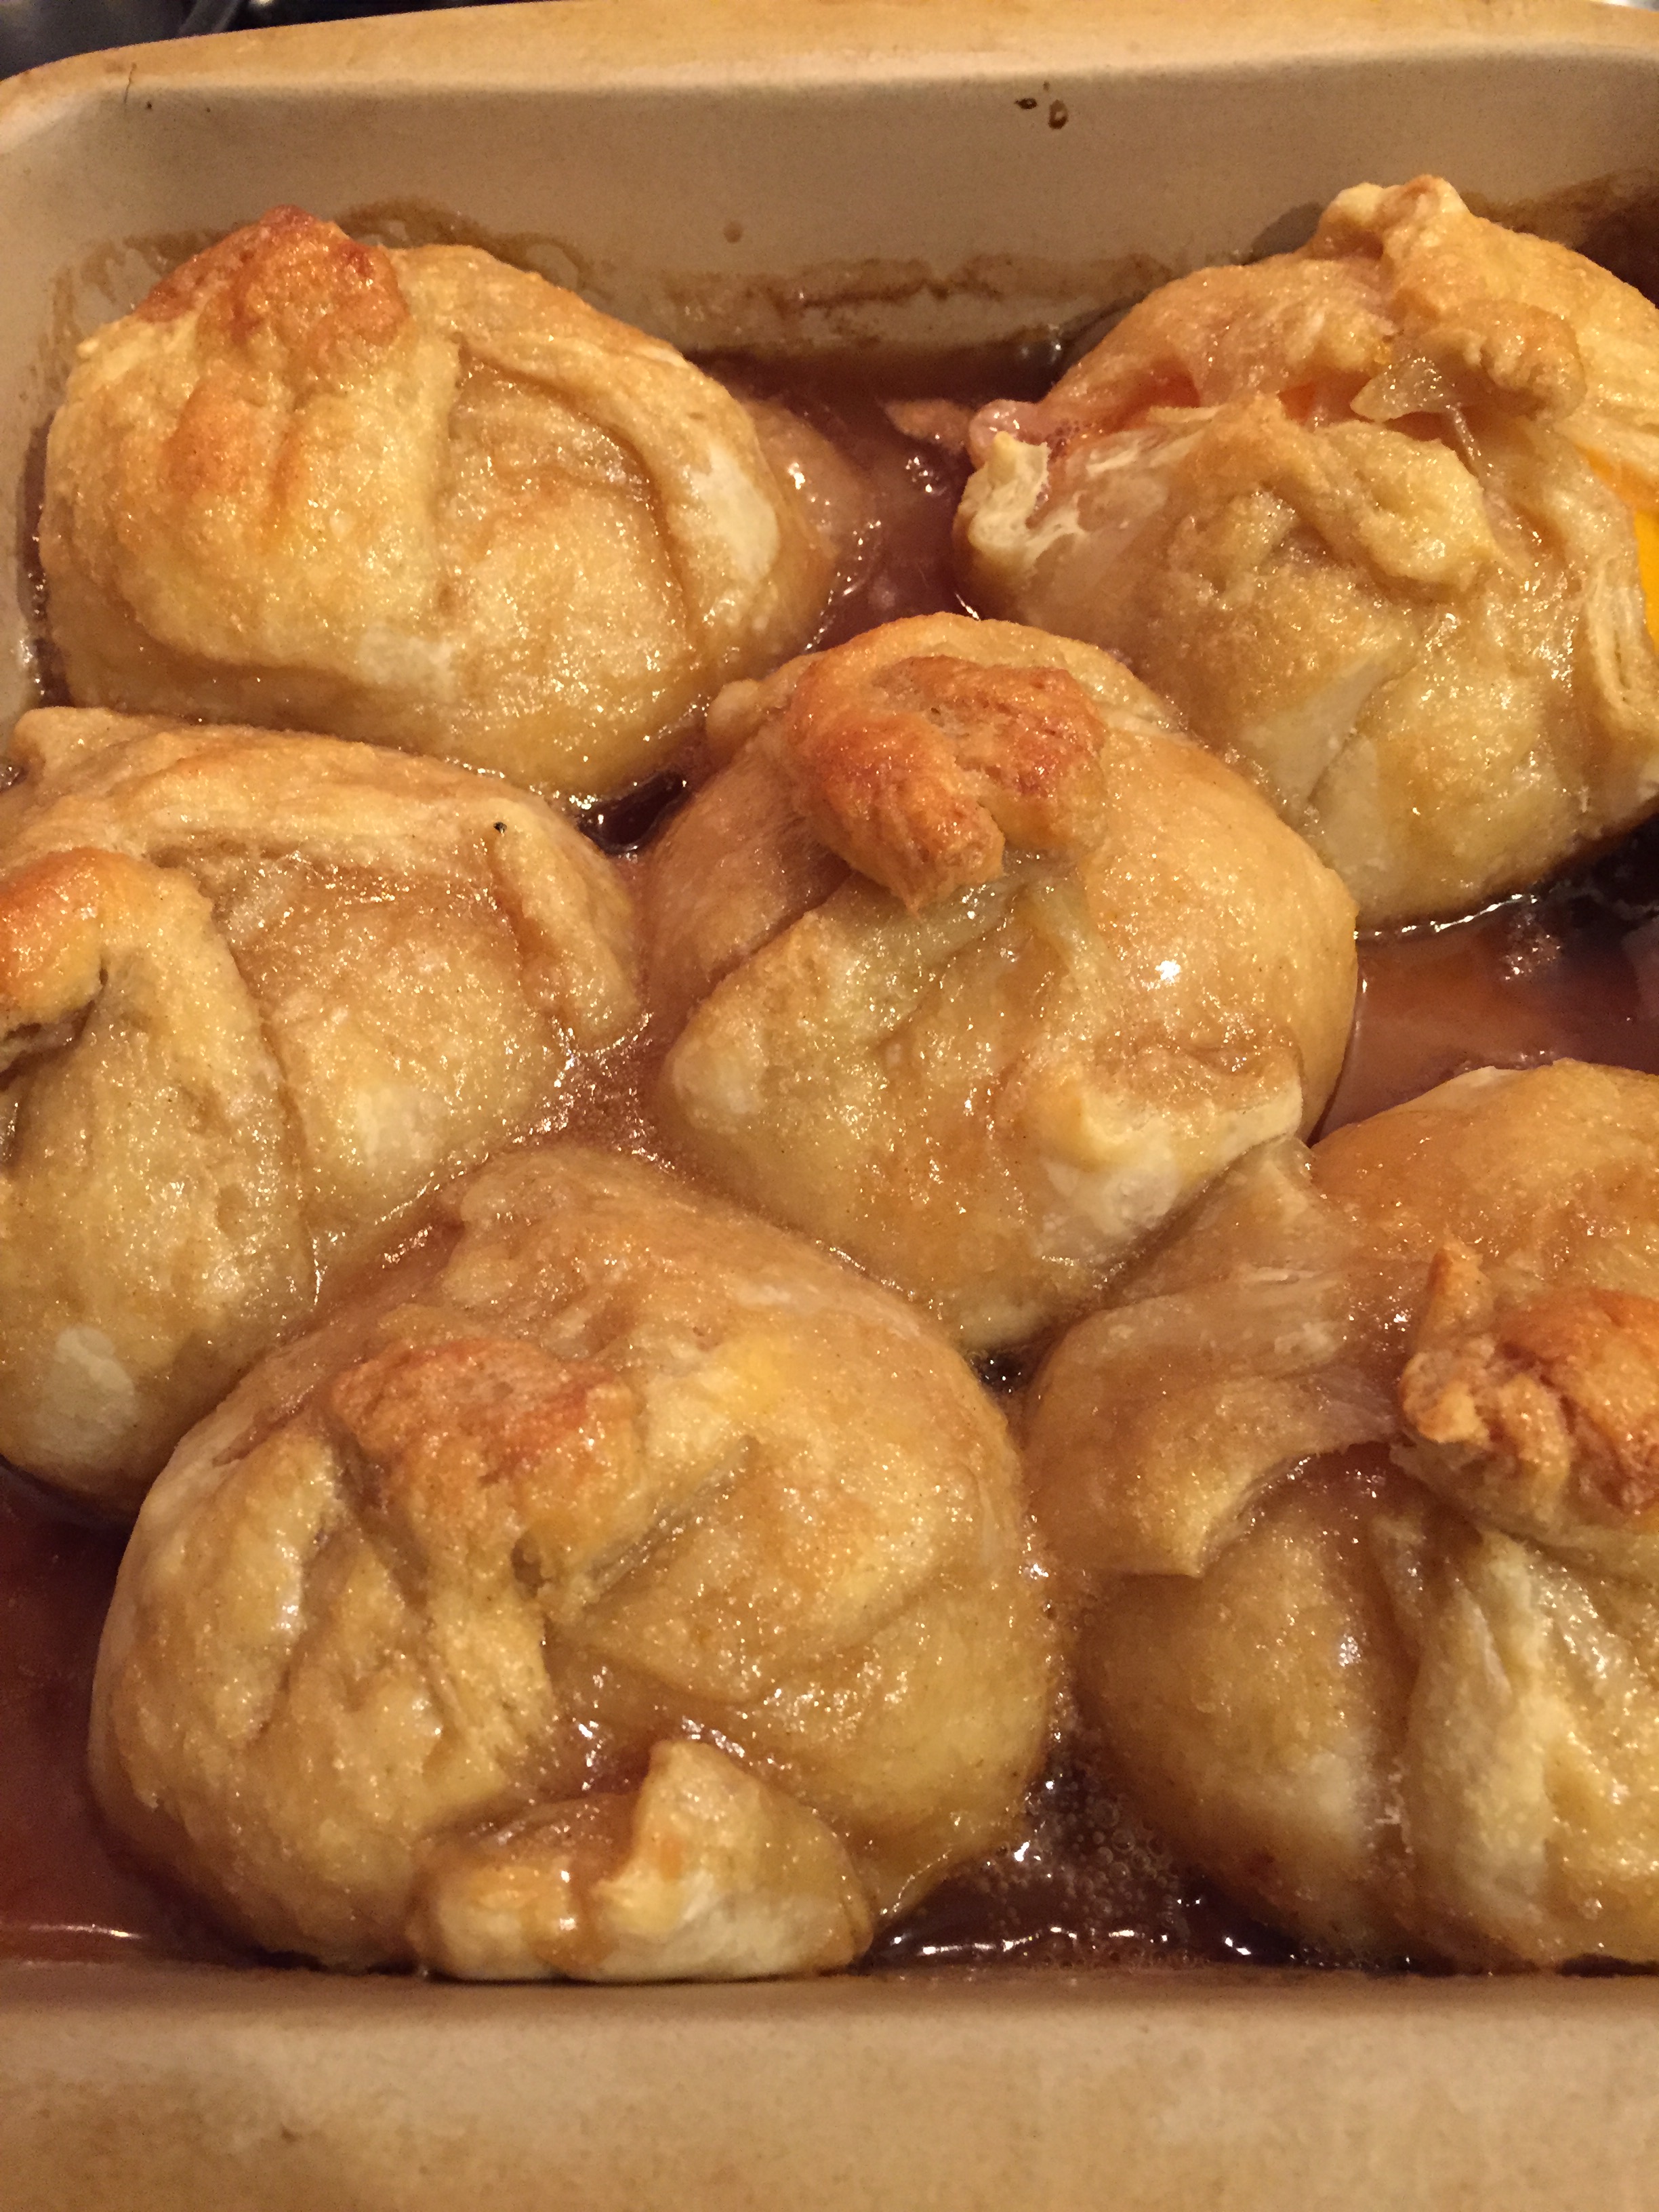
Peach Dumplings

Peach Dumplings


A friend of mine posted on Facebook that she had made these. They sounded so good that I asked for the recipe and she granted my request. I had 3 large peaches just begging to be used, so I halved the recipe & tweaked it just a bit.

Ingredients:

  • 3 peaches, peeled, pitted, & halved
  • pie crust
  • sugar
  • 1/4 cup of butter
  • 1/2 cup of brown sugar
  • dash of cinnamon
  • 1 tsp. of vanilla extract

Preparation:

Preheat the oven to 350 degrees. Spray a 9×9 pan with non-stick spray; set aside. Sprinkle the peach halves with sugar after removing the pit. Take a bit of the pie crust and flatten it around the peach halves. There should be enough to cover it, but not too thick. Place the peach pit side up on the dough and bring ends together, pinching off any excess. Place each dumpling seam side down. Bake for 30-40 minutes or until dough is browned and flaky to touch.

Towards the last few minutes of baking time, in a small saucepan over medium heat, melt the butter, brown sugar, cinnamon, and vanilla extract and bring to a soft boil, for 1 minute and remove from heat. Remove the dumplings from the oven and pour the syrup over the dumplings. Return to the oven for 5-6 minutes so that syrup will boil, foam, and crystallize on top of the dumplings. Allow to cool for 10-15 minutes before eating.

Posted in Desserts | Leave a comment