Red Velvet Cake with Cream Cheese Frosting

Red Velvet Cake


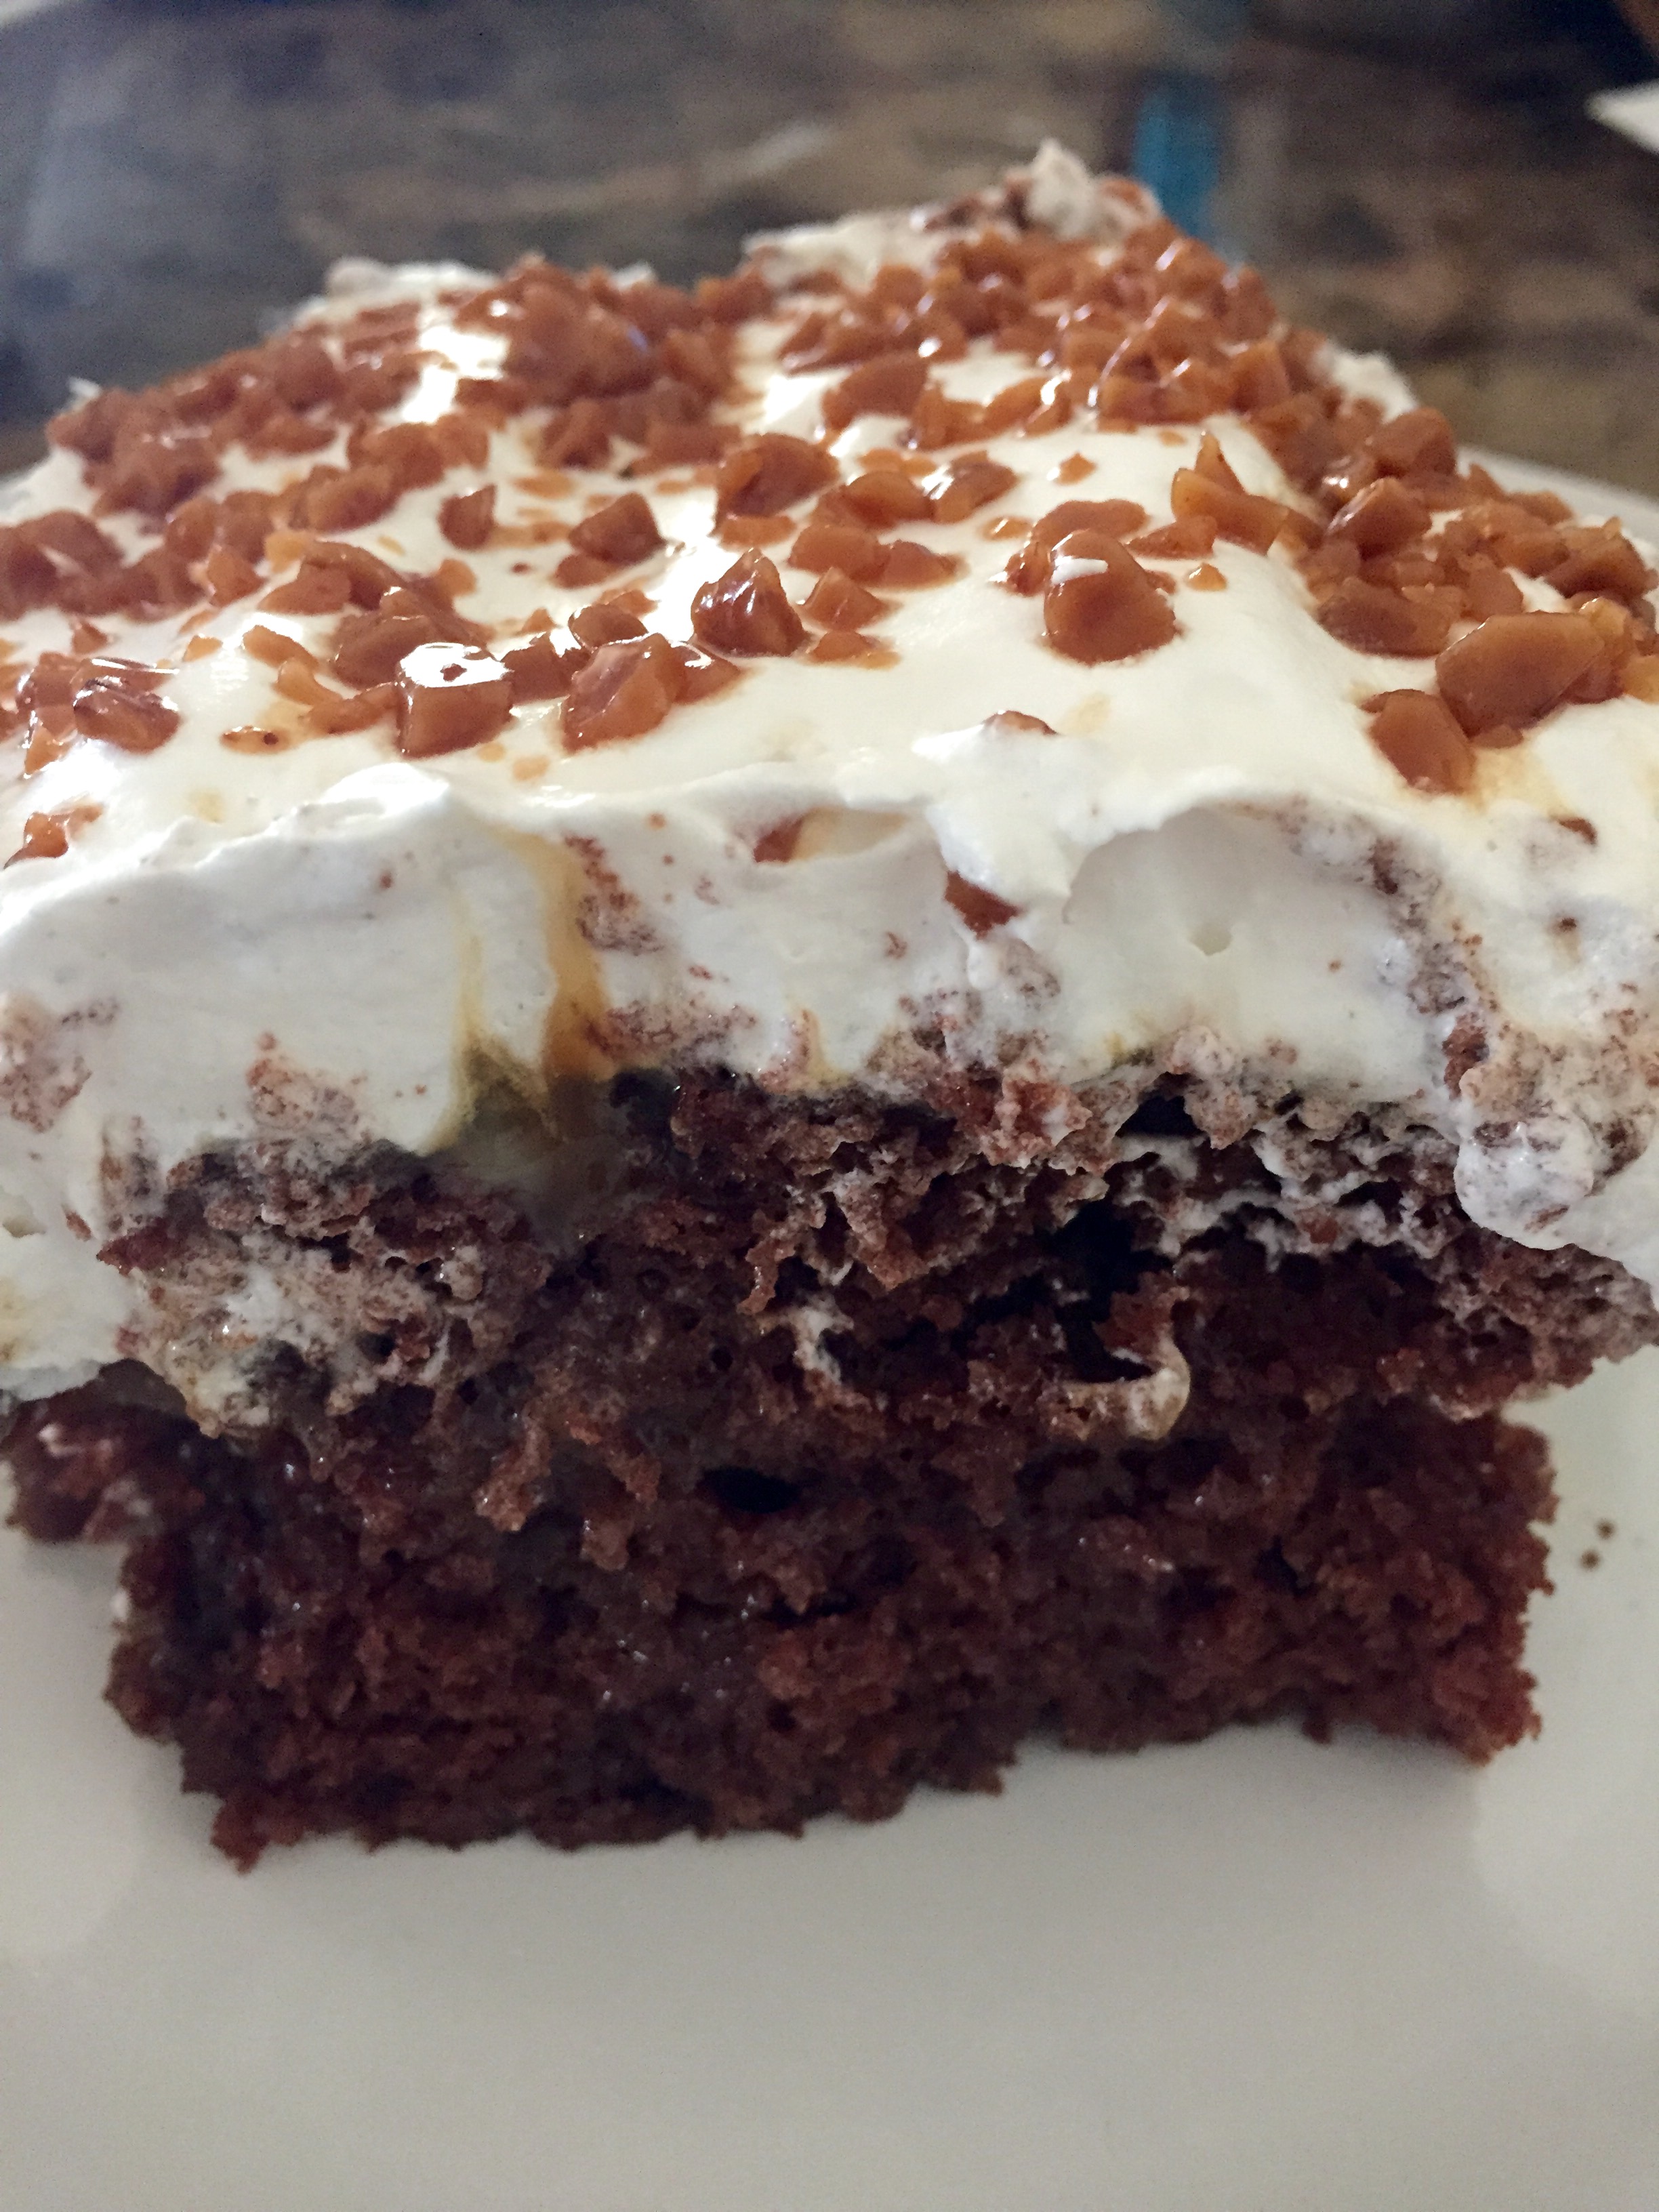
Last month, it was my birthday that set the ball rolling for all of the others, a family of Aries we are, though I don’t give the stars too much credit for who we are. I tossed the idea around of this cake or a fantastic carrot cake recipe that I have, and given that I’ve never made Red Velvet before, this one won out simply because I wanted to give it a try.  This is good cake and the i-phone photo doesn’t do it justice. Also, this cake freezes well. After we enjoyed a piece, I sliced it up, separated out the pieces with wax paper and placed it in the freezer. When we wanted another one, we took out a slice, let it thaw about an hour and it was good to go.

Ingredients:

For the cake:

  • 3 cups cake flour (spooned & leveled)
  • 1 tsp. baking soda
  • 2 tbsp. unsweetened cocoa powder
  • 1/2 tsp. salt
  • 1 stick of unsalted butter, at room temperature
  • 2 cups sugar
  • 1 cup canola oil (I used melted & cooled refined coconut oil)
  • 4 eggs, at room temperature & separated
  • 1 1/2 tbsp. vanilla extract
  • 1 tsp. distilled white vinegar
  • liquid or gel red food coloring
  • 1 cup buttermilk, at room temperature

For the frosting:

  • 16 oz. cream cheese, (I used Neufchatel) at room temperature
  • 1 stick butter, at room temperature
  • 4 cups powdered sugar
  • 2-3 tbsps. milk or cream
  • 2 tsps. vanilla extract

Preparation:

Preheat oven to 350 degrees. Line 2 9 inch round pans with parchment paper and grease on the bottom and sides; set aside.

In a large bowl, whisk together the flour, baking soda, cocoa powder, and salt; set aside. Beat the butter on high speed until smooth and creamy – about 1 minute. Add the sugar and beat on high speed for 2 minutes until creamed together fairly well. Scrape down the sides and up the bottom of the bowl as needed. Add the oil and beat on high for 2 minutes. The butter may look “piece-y” and not completely combine with the oil. This is normal and ok.

Add four egg yolks and the vanilla. (Set the egg whites aside.) Beat on medium-high speed until combined. Scrape down the sides and up the bottom of the bowl as needed. Beat in the vinegar and the food coloring– until you reach your desired color. I used a small container of the red gel and a bottle of red food coloring. On low speed, add the dry ingredients in three additions alternating with the buttermilk, beginning and ending with the dry ingredients, and mixing each addition just until incorporated. Do not over mix. Vigorously whisk or beat the 4 egg whites until thick and foamy, about 3 minutes. Fold into cake batter. The batter will be silky and slightly thick.

Pour batter evenly into prepared cake pans. Bake for 28-32 minutes or until a toothpick inserted in the center comes out clean. Cool for 10 minutes in pan before removing and transferring to wire rack to cool completely.

In a large bowl, beat the cream cheese and butter together on medium speed until smooth, about 2 minutes. Add the confectioners’ sugar and 2 Tablespoons of cream. Beat for 2 minutes. Add the vanilla and 1 more tablespoon of cream if needed to thin out. Beat on high for 2 full minutes. Taste the frosting and add a pinch of salt if it is too sweet.

First, using a large serrated knife, slice a thin layer off the tops of the cakes to create a flat surface. Set these thin pieces of cake aside. Place 1 cake layer on a plate or cardboard round, and frost evenly, covering the cake with frosting. Top with 2nd layer and spread remaining frosting all over the top and sides. Crumble the thin pieces of cake you sliced off in a large bowl. Decorate the sides and top edges of the cake with these crumbs, if desired.

Source: http://sallysbakingaddiction.com/2015/02/09/red-velvet-layer-cake-with-cream-cheese-frosting/
Posted in Cake, Desserts | Leave a comment

Zucchini Cake with Lemon Cream Cheese Frosting

Zucchini Cake w Lemon Cream Cheese Frosting


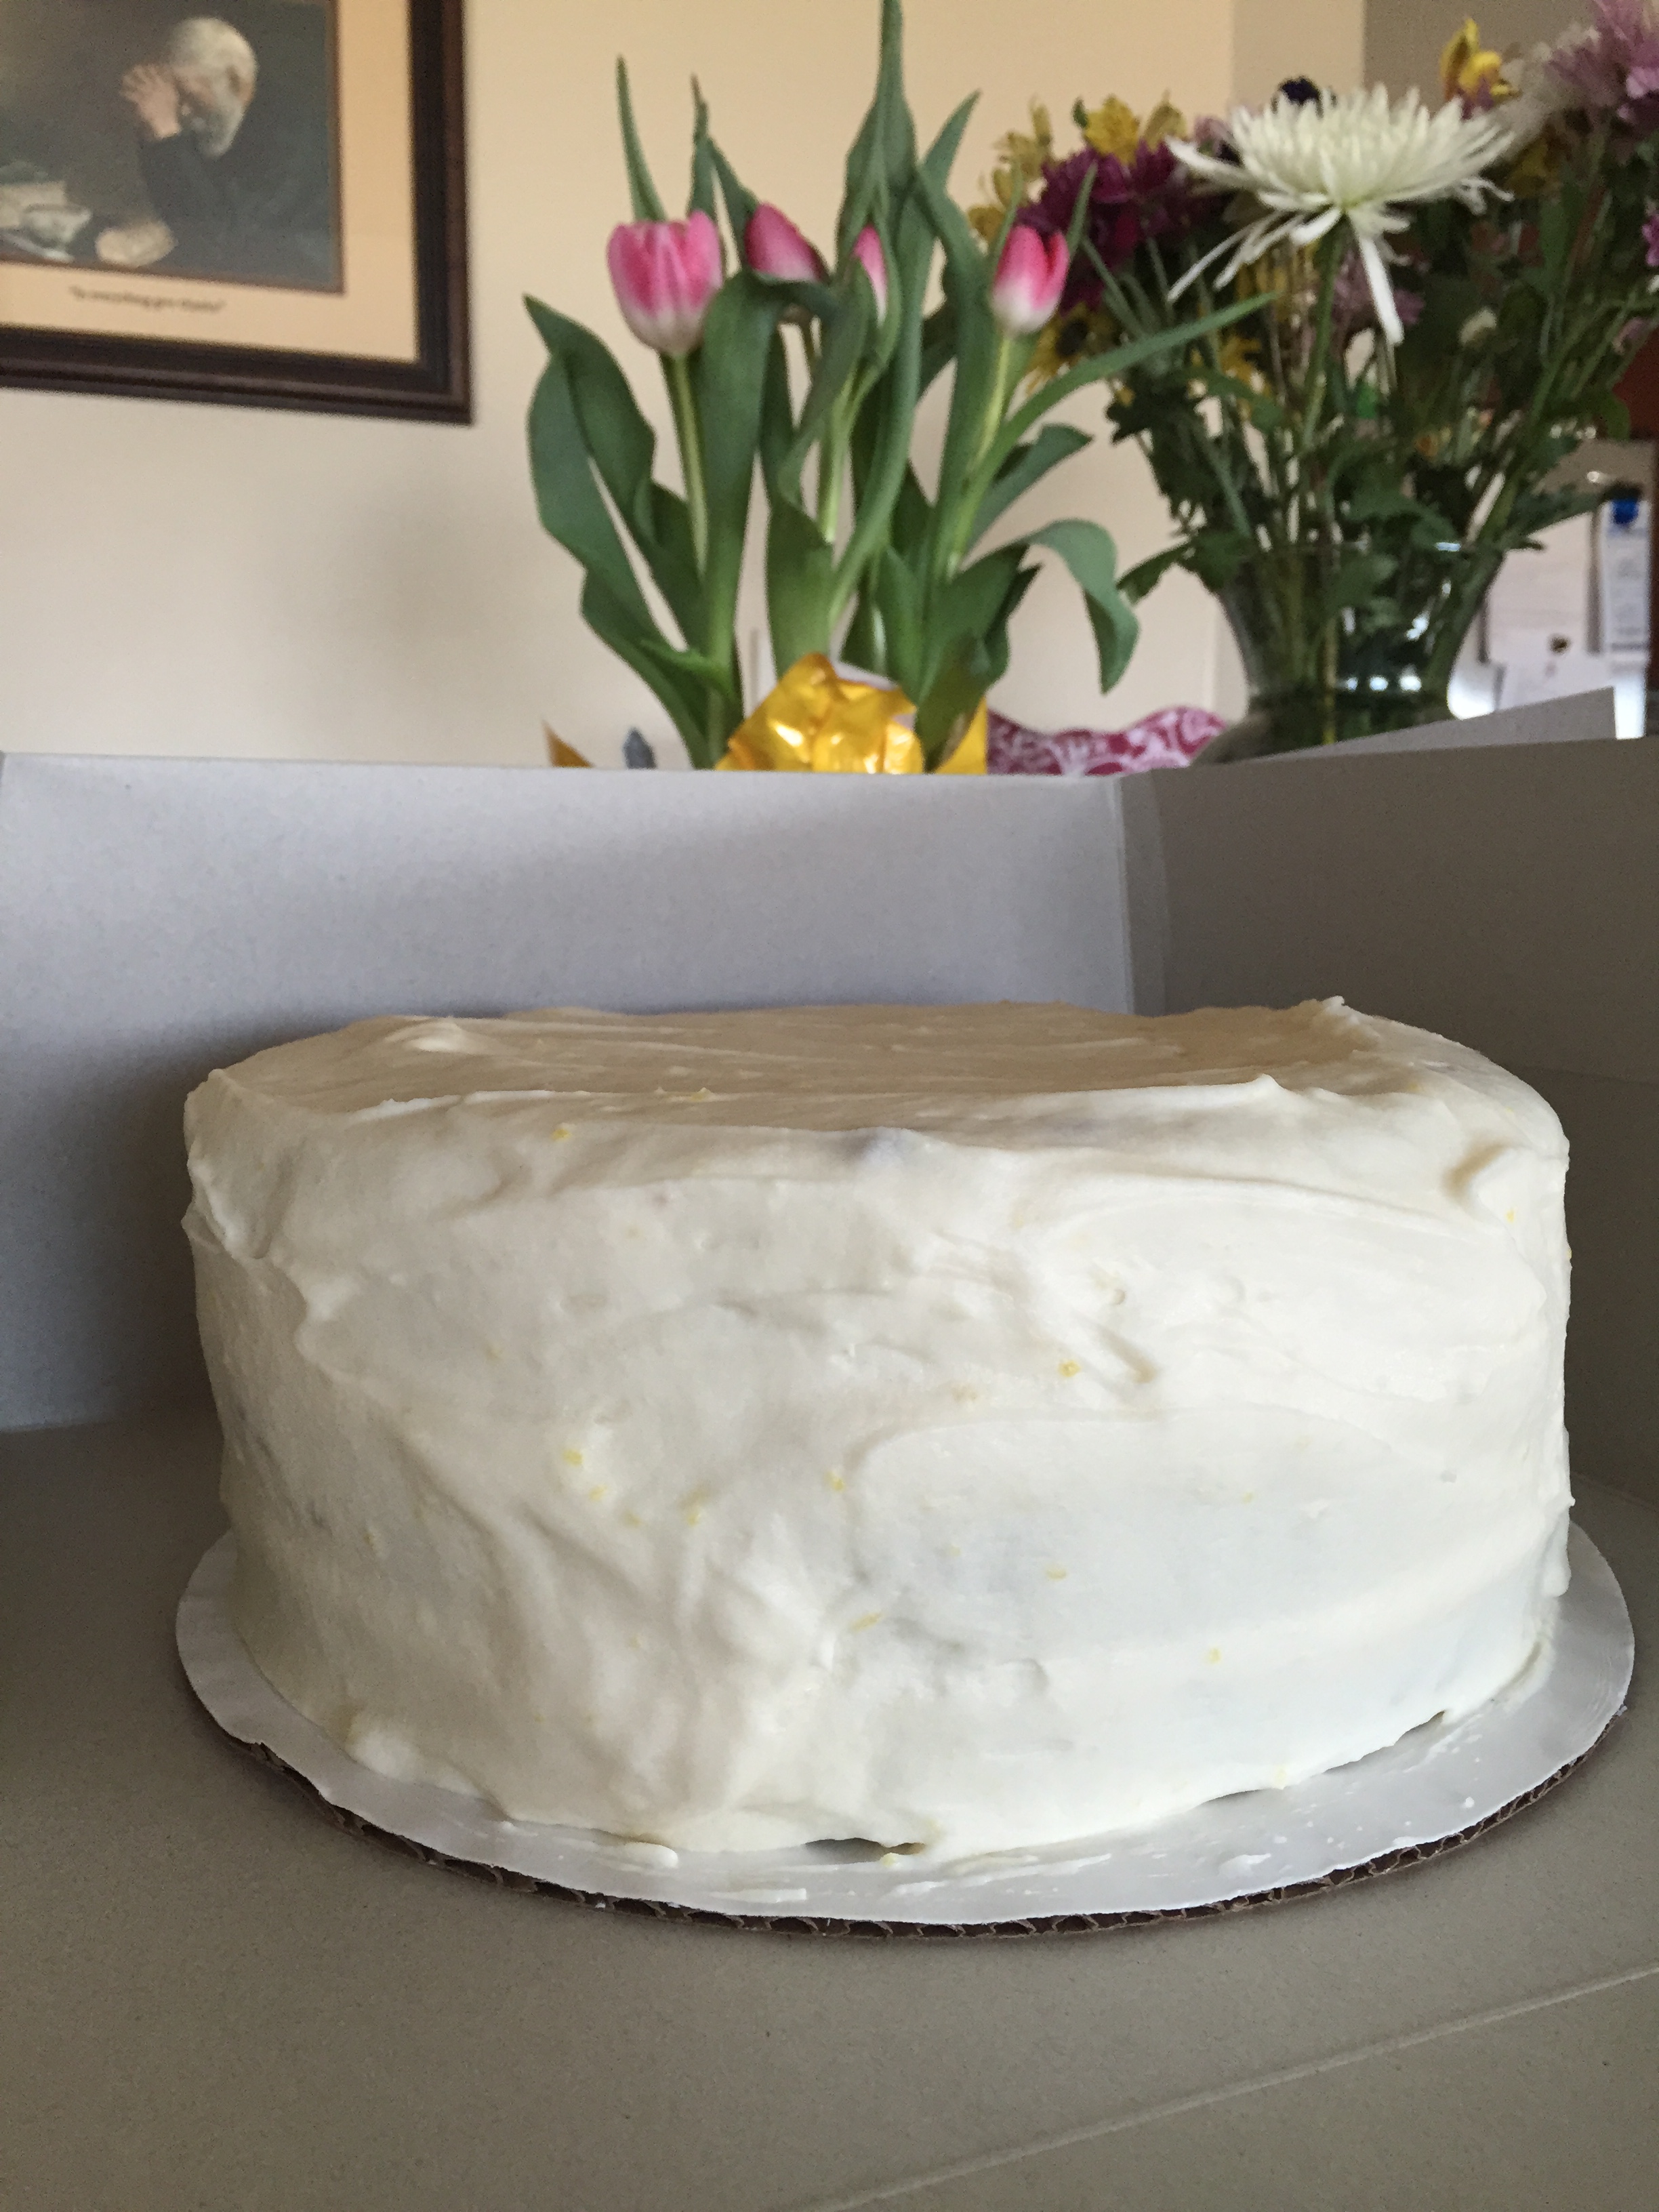
Along with all of our birthdays, a dear friend of mine’s birthday is nestled in there as well. She and her co-workers celebrate their days and she had told me she had to go pick out her cake at the bakery and take it in to work. Nonsense! It’s absurd to me that you are responsible for your own birthday cake (unless you’re like me & can’t wait to get in the kitchen and create), let alone having to pick it up and take it to the office. Ahem, that’s what your co-workers are supposed to do. So, I offered to make her this cake and bring it to her on her birthday.

This cake is light and refreshing. A perfect spring and summertime cake to use up the abundance of zucchini growing in the garden. And, the lemon cream cheese frosting? Oh, behave! If only the internet had a scratch and sniff feature. It is so good, even by itself. After I frosted her cake, there was just a bit left over so I took out the raspberries from the refrigerator and had my own little dessert! Tasty, I tell you!

Ingredients:

For the cake:

  • 3 cups flour
  • 3 cups sugar
  • 1 tsp. salt
  • 1 1/2 tsp. baking soda
  • 1 tsp. baking powder
  • 2 1/2 tsp. cinnamon
  • 4 eggs
  • 1 1/2 cup refined coconut oil, melted and cooled (or you can use Canola oil)
  • 1 tsp. vanilla extract
  • 3 cups grated zucchini

For the frosting:

  • 16 oz. cream cheese, at room temperature
  • 2 sticks unsalted butter, at room temperature
  • 1/4 tsp. of salt
  • zest of 2 lemons
  • juice of 2 lemons
  • 8 cups powdered sugar

Preparation:

Preheat the oven to 325 degrees. Line 3 9 inch round pans with parchment paper and grease the bottom and sides; set aside.

In a large bowl, whisk together the dry ingredients for the cake. In a medium bowl, beat together all the remaining ingredients for the cake. Pour into dry ingredients & mix well. Distribute evenly among the 3 prepared pans. Bake for 30 – 35 minutes until toothpick inserted into the middle of the cakes comes out clean. Cool cakes in pan for 10 minutes before removing and transferring to wire racks to cool completely.

In a stand up mixer, cream together the cream cheese and butter until smooth. Add in the salt, lemon juice, and lemon zest and mix together until smooth. Starting with two cups at a time, sift in the powdered sugar and beat well after each addition; scraping down the sides and bottom to fully incorporate. Using a plate or cardboard round, add one layer of cake, frost, and repeat. After the last cake layer, frost the top and sides.

Note: I’ve made this cake before and halved the frosting. This allowed enough frosting for in between the layers and the top. Since I was gifting this cake, I thought it would look better and more finished with an outside coating of frosting. Either way, it tastes amazing!

Posted in Cake, Desserts | Leave a comment

Chocolate Oreo Cake

Oreo Cake


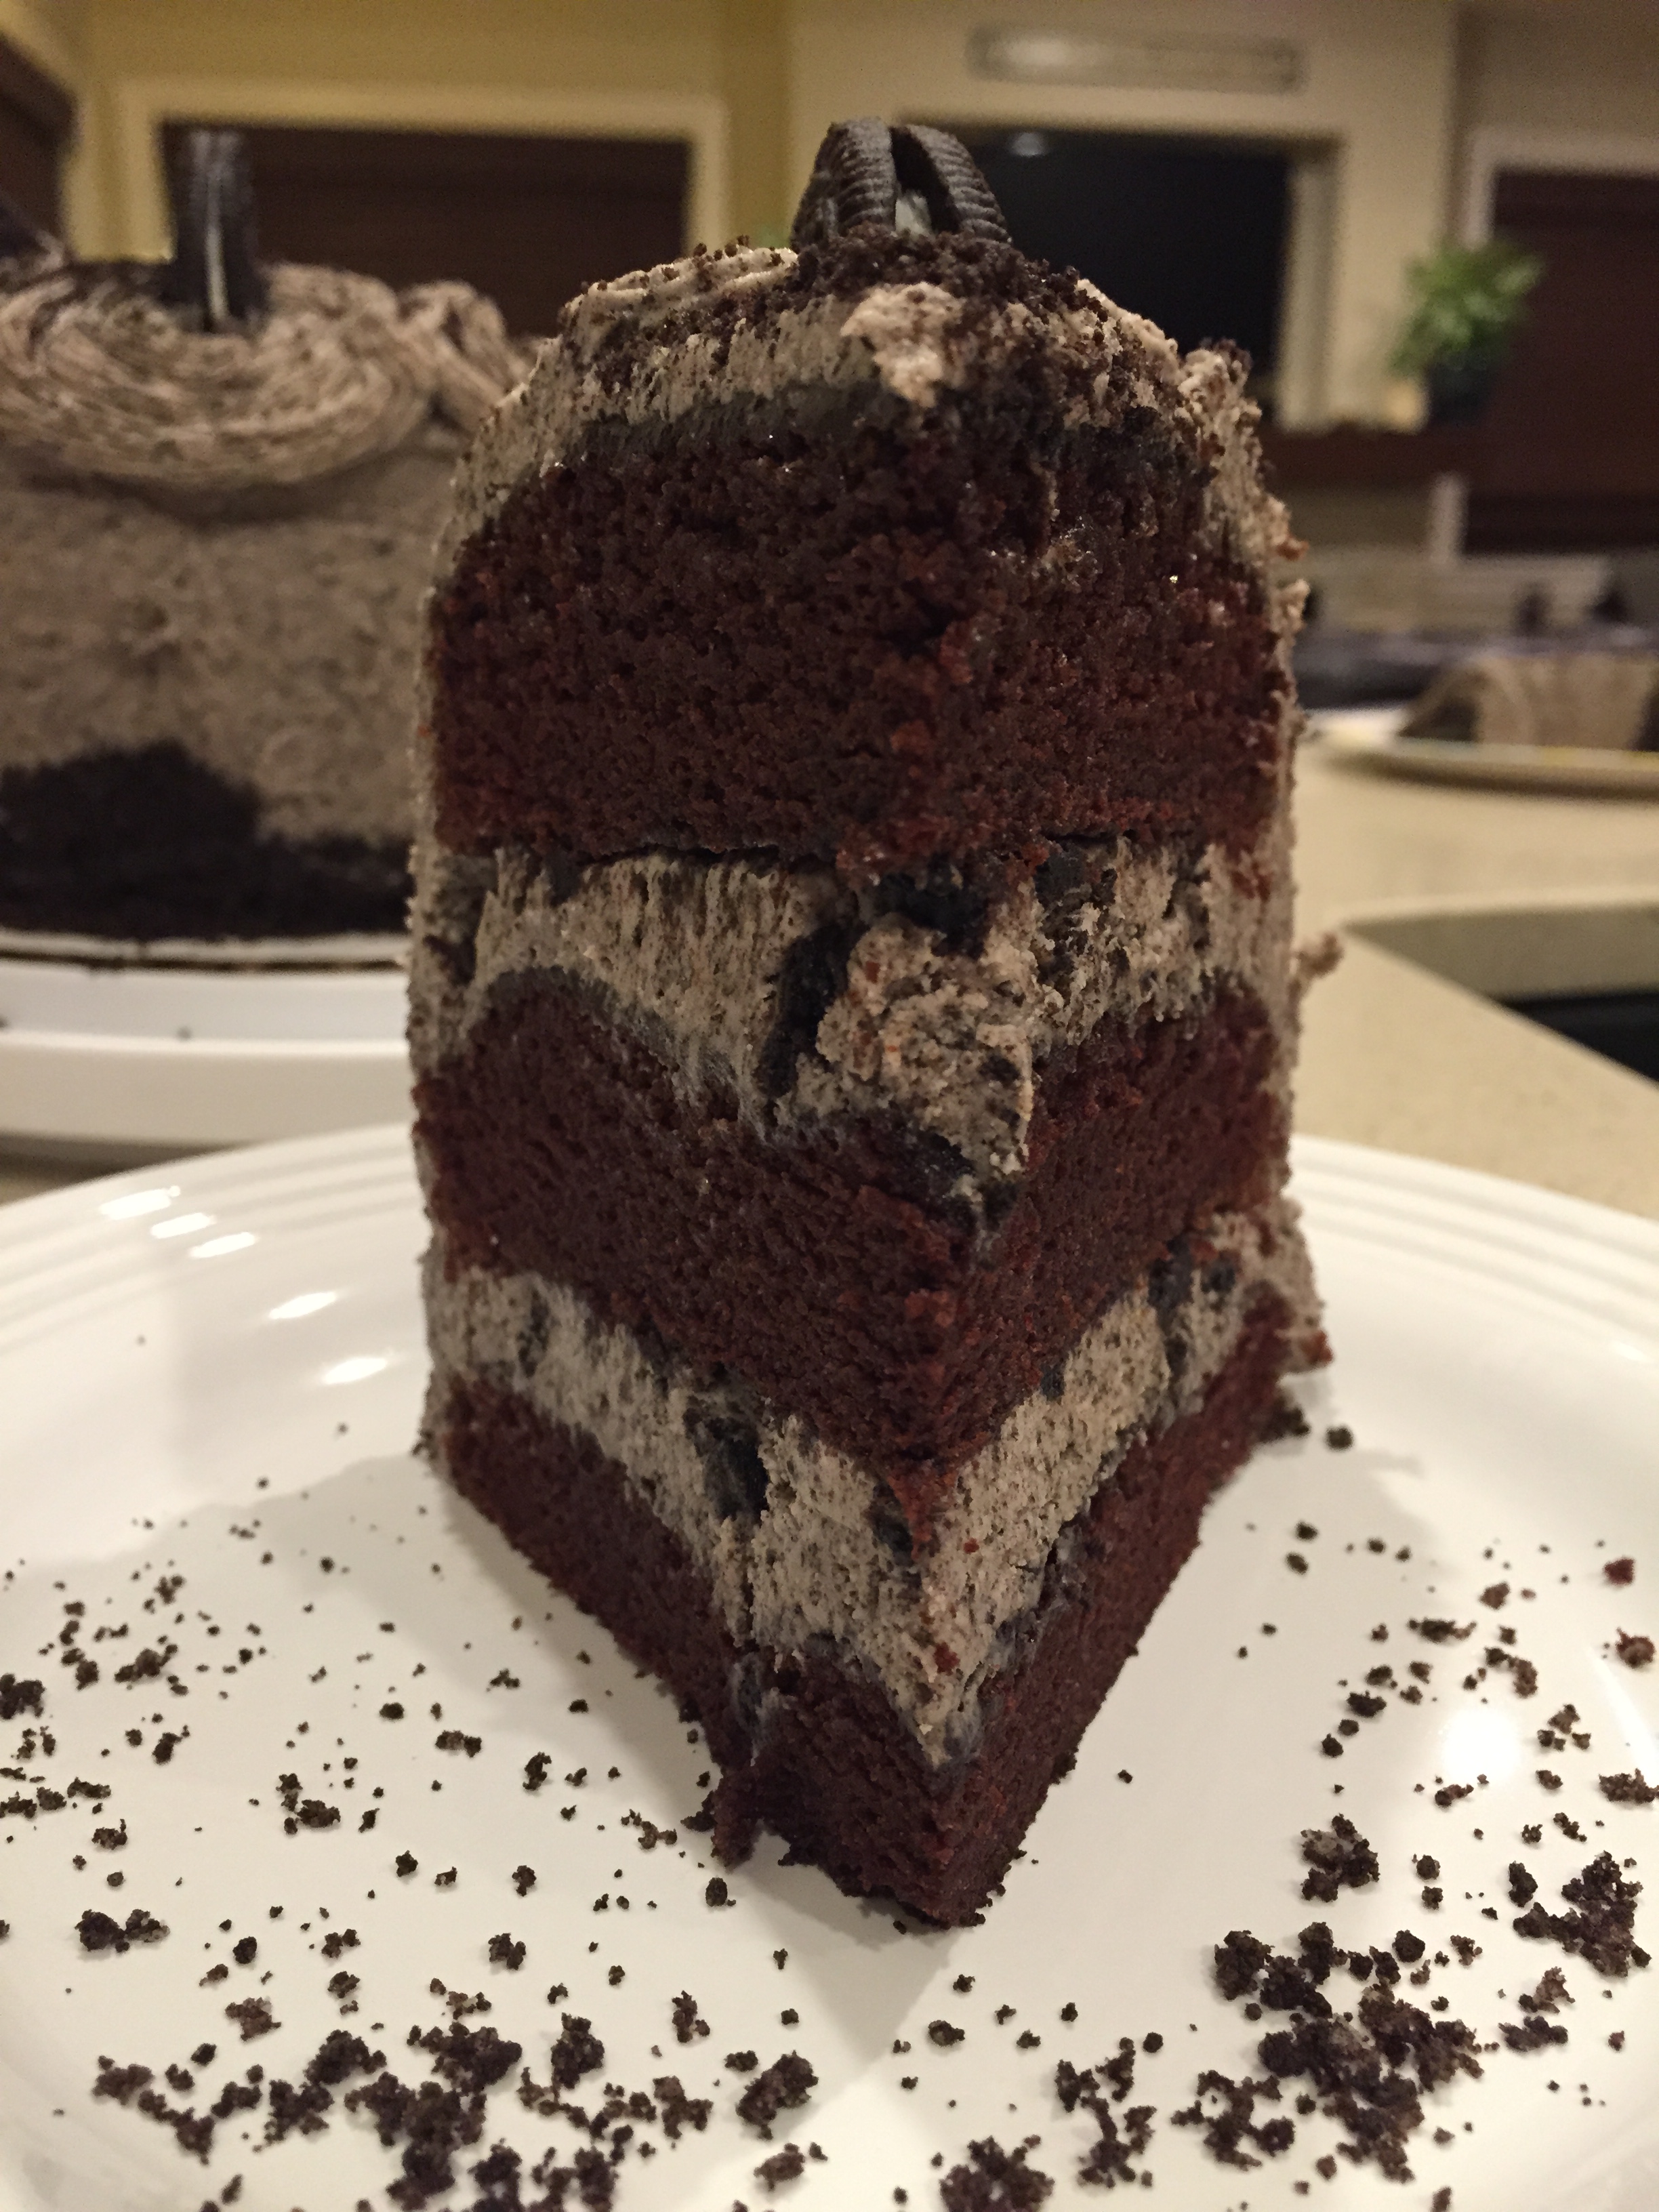
After considering a few options, Brianna selected this cake for her 14th birthday. It is as good as it looks, and quite honestly, tastes like an Oreo cookie, in a cake version – on steroids! This cake is immensely filling.

Ingredients:

For the cake:

  • 2 cups flour
  • 2 cups sugar
  • 3/4 cup unsweetened cocoa powder
  • 2 tsps. baking soda
  • 1 tsp. salt
  • 2 eggs
  • 1 cup buttermilk
  • 1 cup vegetable oil (I used melted & cooled refined coconut oil)
  • 1 1/2 tsp. vanilla
  • 1 cup boiling water

For the frosting:

  • 1 1/2 cups butter, room temperature
  • 1 1/2 cups shortening
  • 8-9 cups powdered sugar
  • 2 pkgs. Oreos (grind enough Oreos to produce 3 cups of fine crumbs)
  • 1 tsp. vanilla extract
  • 6-7 tbsps. water
  • 10 Oreos coarsely chopped

Preparation:

Preheat oven to 300 degrees. Line 3 9 inch round pans with parchment paper and grease bottom and sides; set aside.

In a large bowl, whisk together all the dry ingredients of the cake. Add eggs, buttermilk, and oil to dry ingredients and mix well. Add vanilla and boiling water, mix well. Pour evenly into prepared cake pans and bake for 23 – 28 minutes, or until toothpick inserted into the middle of the cakes comes out clean. Remove from oven and allow to remain in pans for 10 minutes before removing from pans and transferring to wire rack to cool completely.

While cakes are cooling, prepare frosting by beating together the butter and shortening. Slowly add 4 cups of powdered sugar, beating until smooth. Add vanilla and 3 cups of Oreo crumbs to mixture, mix well. Add an additional 4-5 cups of powdered sugar and tablespoons of water (or milk) to achieve desired consistency. Set aside 3 1/2 cups of frosting and chopped Oreos.

To frost cakes, first remove any domes off the cakes to make for even, leveled cakes. Place one cake on a plate or round, add 1/2 of the frosting and top with chopped Oreos, and repeat with another cake layer, frosting, and Oreos. Add final layer of cake and top with frosting. Apply frosting evenly to the outside perimeters of the cake, smoothing as you go. Apply crumbs to the bottom part of the cake, pressing gently into the frosting. Uing frosting, create peaks along the outside top layer of the cake and top with halved Oreos. Sprinkle the top with Oreo crumbs.

Note: This recipe made quite a lot of frosting. So much so, I didn’t use it all. Additionally, at Bri’s party, I noted that several of the kids scraped off about half of the frosting from their respective pieces. If frosting is really what floats your boat, then this is your cake. Otherwise, I’m thinking you could easily reduce the frosting by half and still have plenty.

Source: http://www.lifeloveandsugar.com/2015/02/04/chocolate-oreo-cake/

Posted in Cake, Desserts | Leave a comment

Better Than Sex Cake

Better


I’ve seen this cake listed before as Better Than Almost Anything, but when it first came into the picture way back when, when I was growing up, it was called Better Than Sex cake. This is super easy and a consistent winner. I’ve yet to meet someone who does not like this cake. This is the cake that Chris requested for his birthday. He prefers his desserts to be on the cool, creamy side and it doesn’t get much better than this. I mostly always make homemade cakes, but I confess, I’ve never done it with this one. Shh, it’ll be our secret.

Ingredients:

  • 1 box German chocolate cake mix (I used a Swiss chocolate cake mix this time)
  • 1 can of sweetened condensed milk
  • 1 jar of caramel topping (Mrs. Richardson’s, if you can find it)
  • 1 12oz. container of whipped topping (I used truwhip which is 100% natural, non GMO, no hydrogenated oil, etc)
  • toffee bits (I have a big bag of Skor toffee bits in the freezer, but the best way is to buy a few Skor coffee bars and chop ’em up, though they can be hard to find. Frankly, I’m not a fan of Heath bars, Skor bars are just so much more decadent, in my opinion.

Preparation:

Prepare and bake cake according to package directions. While the cake is still warm, using the opposite end of a wooden spoon, poke holes all throughout the cake. Pour the can of sweetened condensed milk and the jar of caramel topping all over the cake, allowing it to work its way into the holes. Refrigerate. When cake is cool, top with whipped topping and sprinkle toffee bits over the top. Return to refrigerator until ready to serve.

Posted in Cake, Desserts | Leave a comment

Brownie Cup Sundaes

Brownie Sundaes


Leah’s 12th birthday was last week and she rounds out all of the birthday celebrations. In our family, it’s Christmas and then birthdays as all of ours are within 3 weeks of each other. By the end of it all, I am all baked out! After changing her mind at least 15 times, she finally decided on these little guys.

Instead of doing a traditional pan of brownies, I placed the batter in lined muffin tins and as I removed them from the oven, I tapped the pan against the counter and it created the perfect indent in the brownie for the scoop of ice cream to rest on.

Brownie Ingredients:

  • 2/3 cup all-purpose flour
  • 1/2 tsp. salt
  • 1/2 tsp. baking powder
  • 2 oz. unsweetened chocolate
  • 4 oz. semisweet chocolate
  • 10 tbsp. unsalted butter
  • 1 1/4 cups sugar
  • 2 tsps. vanilla extract
  • 3 large eggs

Preparation:

Preheat oven to 325 degrees. Line 12 muffin tin with cupcake/ muffin liners and spray each with non-stick spray; set aside.

In a small bowl, whisk together the flour, salt, and baking powder; set aside.

In a saucepan, melt butter and chocolates over medium heat. Remove from heat and whisk in the vanilla extract and sugar. Add eggs one at a time, fully incorporating into the batter before adding the next egg. Repeat until mixture is smooth and glossy. Whisk in the dry ingredients until just incorporated. Pour batter into prepared muffin tins. Bake for 22-25 minutes or until a toothpick inserted into the middle comes out clean. As soon as this occurs, as noted before, tap the pan against the top of the stove or counter to create an indent in for the ice cream; otherwise, let rest normally. Cool and remove from pan.

Top with ice cream flavor of choice and drizzle with chocolate sauce, if desired. If you’re going all out, top with additional garnishments.

Recipe source: http://addapinch.com/cooking/chewy-fudgy-cakey-brownies/

Posted in Bars/ Brownies, Desserts | Leave a comment

Green Bean Bacon Bundles

Green Bean Bundles


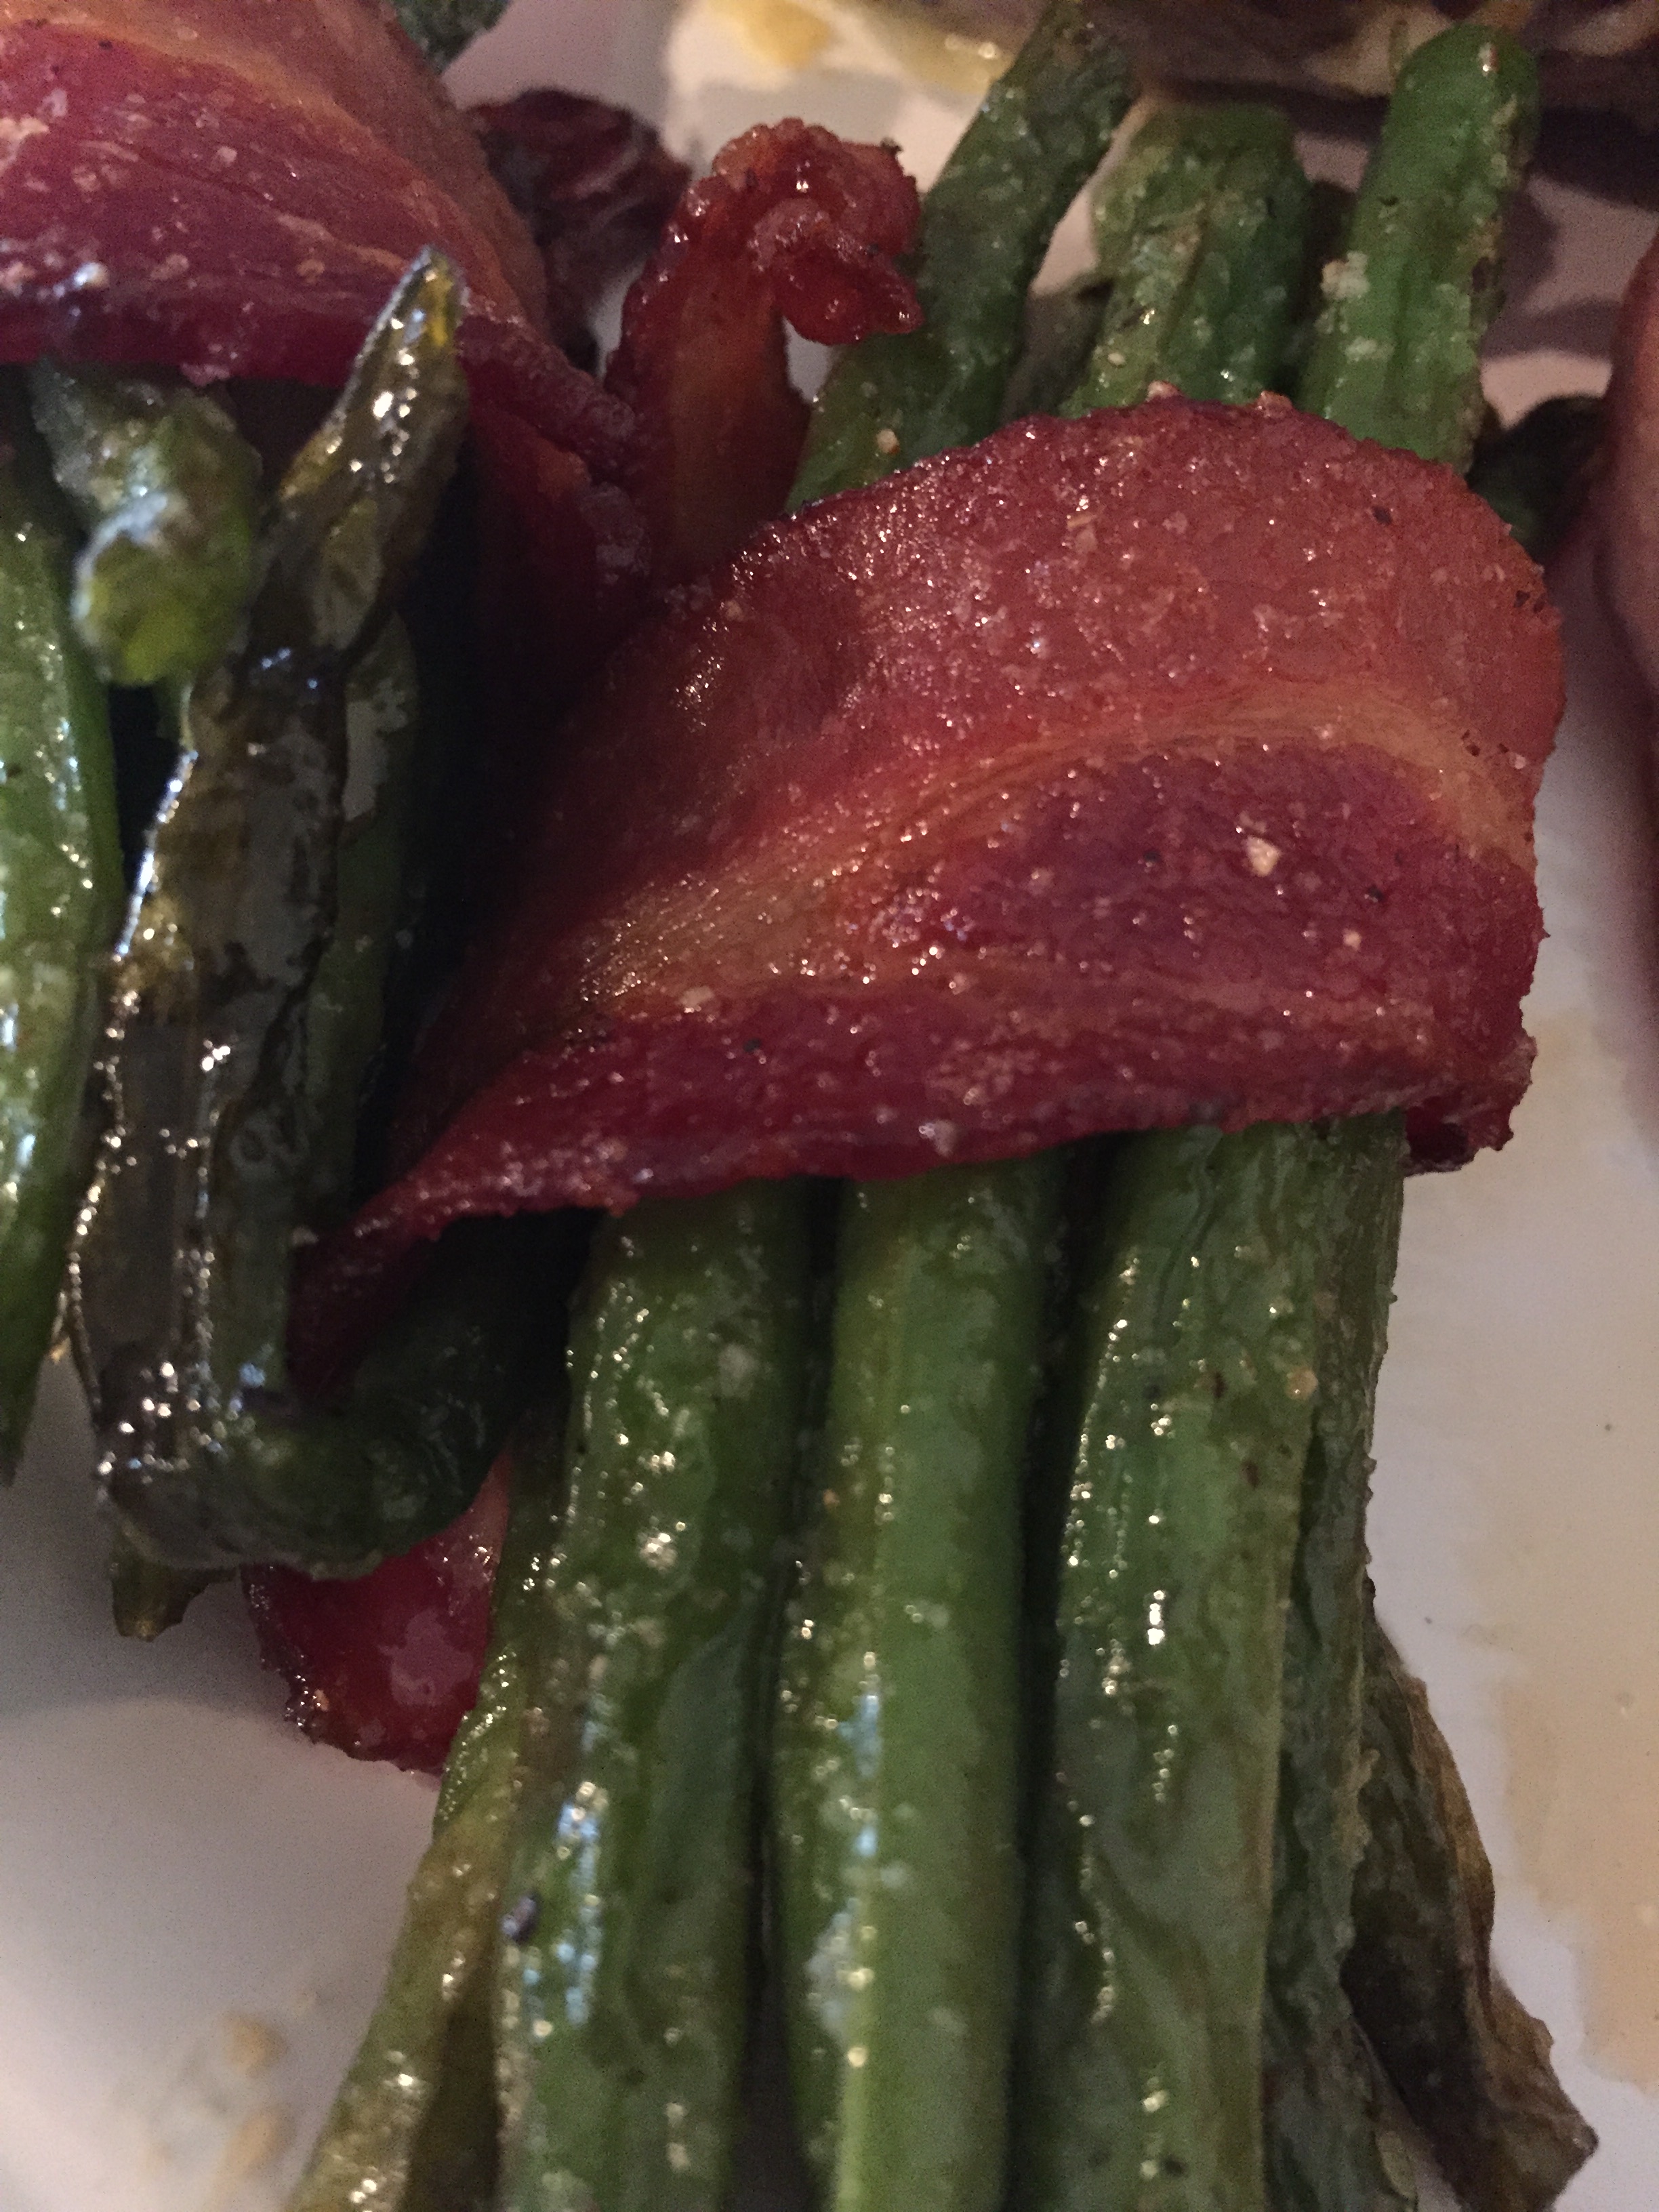
A side dish to complement a meal. The medley of flavors in this dish awakens the senses: a bit sweet, salty, and savory makes for happy taste buds. It’s also a dish you can prepare ahead of time and place in the oven prior to serving.

Ingredients:

  • 1 lb. fresh green beans, washed and trimmed
  • 1 package of bacon
  • 4 tbsps. of butter
  • 1 tsp. salt
  • 1 tsp. garlic powder
  • 3 tbsps. brown sugar
  • dash of Worcestershire sauce
  • fresh cracked pepper

Preparation:

Spray a 9×13 baking pan with non-stick spray; set aside.

In a large pot, bring water to a rapid boil, and cook green beans for 4 minutes. Remove from heat, drain the water and green beans into a colander, and immediately run cold water over the beans to stop the cooking process. Separate the green beans into bundles consisting of 8-10 green beans. However many bundles you have, is how many slices of bacon you need. I’ve seen some recipes that instruct halving the bacon and using the halves of bacon to wrap around the bundles. Personally, I like to use a whole slice of bacon. It’s all based on preference.

Preheat the oven to 350 degrees. With the bundles set aside, in a large skillet, cook the bacon slices slightly; not thoroughly, about 5 minutes or so. You don’t want them to crisp up because then the slices will break as you wrap/ tie around the bundles. The cooking process will continue in the oven anyhow so by the time it’s all done, you won’t be eating undercooked bacon. Remove bacon to a plate lined with paper towels to absorb the grease.

In a microwave safe dish, melt the butter and whisk in the salt, garlic powder, brown sugar, and Worcestershire sauce. Wrap or tie the bundles with the slices of bacon. Use a basting brush or drizzle each of the bundles with the sauce until used. Top the bundles with freshly ground pepper.

Bake for 20 – 25 minutes. Serve with meal.

Posted in Sides, Vegetables | Leave a comment

Vanilla Bean Scones

Vanilla Bean Scones


My love affair with scones began about a year ago, on my birthday with Strawberry Cream Scones. I’d first tried scones from Alice’s Tea Cup in NYC nearly 11 years ago and only sporadically since then, from Starbucks or Great Harvest. As all love affairs go, it started in a moment. You know the one, hand to mouth, where upon first bite, I knew I was a goner and had fallen fast and hard for the homemade kind. Our birthdays all fall within a three week time period and just like that, I was making a different kind of scones for each of our birthdays. These happen to be Leah’s favorite.

Ingredients

For the scones:

  • 2 1/2 cups all-purpose flour
  • 1/2 cup sugar (vanilla bean sugar)
  • 1/2 tsp. salt
  • 1/2 tsp. baking soda
  • 1 tsp. baking powder
  • 1 tsp. vanilla extract
  • 1 stick cold butter, cut into small pieces
  • 2/3 cups heavy cream + 2 tbsps. (use vanilla bean cream)
  • 1 egg, slightly beaten
  • 1 vanilla bean

For the glaze:

  • 1 vanilla bean
  • 2 cups powdered sugar (vanilla bean sugar)
  • 1/2 tsp. vanilla extract
  • 1-2 tbsps. heavy cream (use vanilla bean cream)

Preparation:

Note: To make vanilla bean sugar, I measured out 2 cups of granulated sugar, sliced the bean pod, scraped out the insides, and using the back of the spoon, worked the vanilla into the sugar. I did the same thing with the powdered sugar. Then, instead of discarding the bean pods, insert into the container of heavy cream. Label the cream, if necessary, so you don’t end up using vanilla bean cream in a soup!

Line a baking sheet with parchment paper; set aside. Preheat oven to 400 degrees. In a food processor, combine the flour, vanilla bean sugar, salt, baking soda, baking powder, and butter. Pulse a few times until crumbly.

In a separate bowl, combine the vanilla cream and egg, and incorporate the dry ingredients into the wet ingredients, until just mixed in. On a lightly floured surface, roll out or pat down to about an inch thickness and form into a rectangle or disc, and cut into wedges. Tip: I always use a pizza cutter for this part.

Using a metal spatula that’s been lightly floured, transfer the wedges onto the prepared baking sheet. Brush with vanilla flavored cream. Bake for 10-12 minutes. Remove to a cooling rack. While cooling, in a small bowl, whisk together the vanilla bean powdered sugar, vanilla extract, and vanilla cream. Brush the glaze over the tops of each scone. Repeat.

Posted in Breakfast, Scones | Leave a comment

Beef Enchiladas Mexican Plate

Beef & Cheese Enchiladas


These enchiladas are a great meal to prepare ahead of time, freeze, and use at a later date. Or, like I prefer to do, prepare a double batch with the full intention of having one for dinner and freezing the other. I have more 9×13 glass dishes than you think might be necessary, but they come in so handy for this very reason. This is one of Brianna’s favorite meals that I make. I start the beans early in the day, prepare the dish later on, and start the rice about an hour before we’re ready to eat. Topped with fresh cut romaine lettuce and tomato, even some fresh cilantro if you have it, and you’ve got one heck of a dinner.

Ingredients: (for 1 9×13 dish)

  • 2 lbs. hamburger meat
  • a dozen + 2, taco or burrito size flour tortillas
  • 1 onion, finely chopped
  • 4 garlic cloves, minced
  • freshly ground S&P
  • 2 15oz. cans of red enchilada sauce or homemade sauce
  • 1-2 cups Colby Jack cheese, shredded
  • Optional: chopped lettuce & tomato

Preparation:

Spray a 9×13 inch pan with non-stick spray; set aside. Preheat oven to 350 degrees. In a large skillet, brown & crumble the hamburger meat. Drain the grease, add in the onion and garlic; stir to mix. Season with freshly ground S&P and stir in one can or 1 3/4 cups of homemade enchilada sauce. Using an ice cream scoop, place one scoop of meat mixture onto a tortilla and roll up, place seam side down and repeat until all of meat mixture and/ or flour tortillas are used. Using another can of enchilada sauce or 1 3/4 of homemade sauce, drizzle half over the top of the rolled tortillas. Top with cheese and drizzle with the remaining enchilada sauce. Bake in the oven for 25-30 minutes and cheese is melted.

Posted in Beef, Mexican | Leave a comment

Crescent Chicken

Crescent chicken


A family favorite, this makes for a quick meal on a busy school night. Serve with a salad or other veggie, and you are good to go.

Ingredients:

  • 2 cans refrigerated crescent rolls
  • 1 can cream of chicken soup
  • 1 soup can of milk
  • 1 cup cheddar cheese, grated
  • 3 chicken breasts cooked & shredded/ leftover rotisserie chicken

Preparation:

Preheat the oven to 350 degrees. Line a 9×9 pan with a can of the crescent rolls, going up the sides, if needed. While preparing the soup mix, I put the pan with the bottom layer of crescent rolls in the oven. This will help to make sure the bottom layer is cooked. I learned the hard way after piling on the chicken and soup mixture, that if I didn’t do this ahead of time, it sometimes came out doughy. To prepare the soup, in a medium saucepan, whisk together the cream of chicken soup, soup can of milk, and heat over medium-high heat. Stir continuously until it thickens. Once thickened, add in the grated cheese; stir to combine. Remove the pan from the oven. Add the shredded chicken, pour the soup mixture over the chicken, and layer with remaining can of crescent rolls. Return to the oven and cook for 20-25 minutes until the top crescent layer turns a golden tan. Remove from the oven and allow to sit for 5-10 minutes before cutting and serving.

Posted in Chicken | Leave a comment

Bacon Wrapped Stuffed Grilled Chicken

Bacon wrapped stuffed chicken


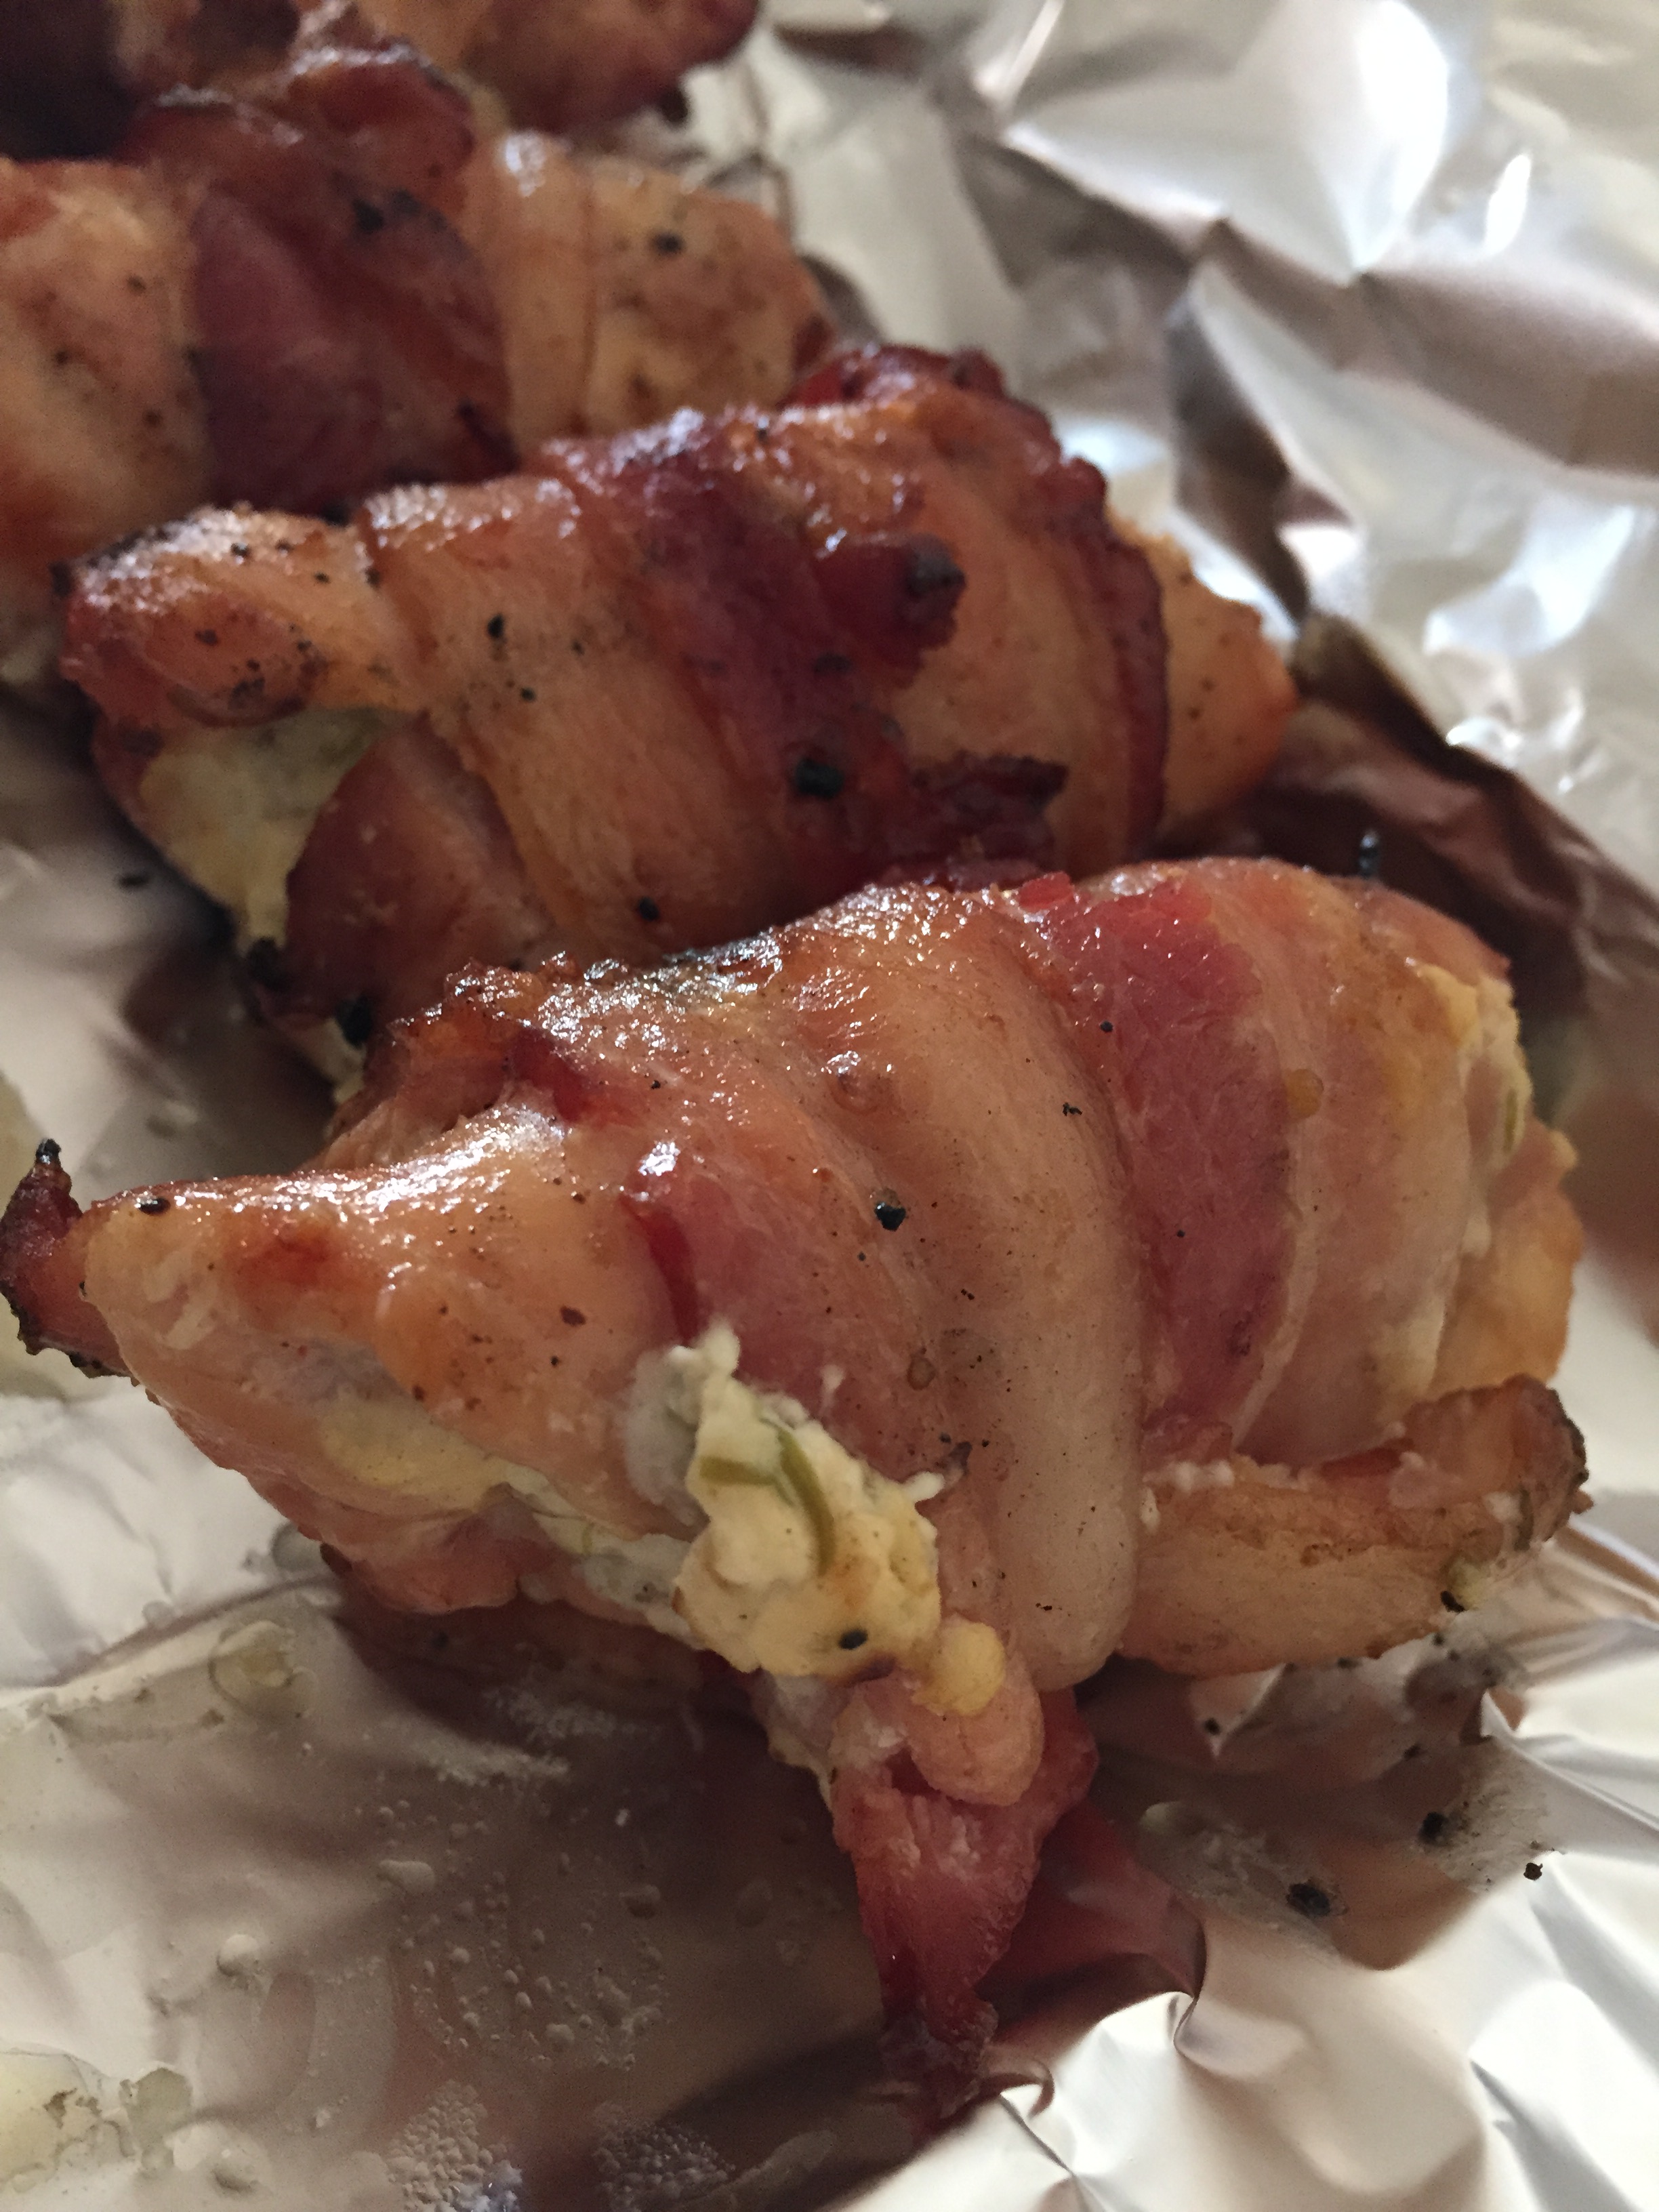
Last July, for our anniversary, I gifted Chris a “Little Red Acorn” ceramic grill/ smoker. Since that time, I don’t think he’s cracked our gas grill even once and that’s okay with me. Since it uses lump charcoal, it produces a wonderful smoked flavor and keeps the meat tender and moist. Last night I assembled these and he grilled them. So very tasty!

Ingredients:

  • 1 package of boneless/ skinless chicken thighs or breasts
  • cream cheese with chives
  • 1 package of bacon
  • fresh ground salt, pepper, & garlic pepper

Preparation:

Place chicken loosely in a gallon size bag and pound thin. Season the chicken on both sides with freshly ground salt, pepper, & garlic pepper. Spread a thin layer of the cream cheese with chives and roll up. With a slice of bacon, wrap around the rolled chicken, tying in a knot. Grill accordingly or bake in an oven set to 350 degrees for 40 – 50 minutes, or until there is no pink when cut into the chicken.

Note: I buy the small containers of the chive cream cheese, if I have any left, I toss it due to cross contamination with the raw chicken meat.

Posted in Chicken | Leave a comment