Pumpkin Cheesecake Mini Loaves

Pumpkin Cream Cheese

I never thought I’d care for anything like this since I mostly don’t care for cream cheese, but then one day I sampled a bite and it was pretty tasty. I later stumbled across this recipe and figured I’d give it a try. The girls, also initially turned off by the cream cheese, discovered they liked them too.

Ingredients for the loaves:

  • 1 15 oz can of pumpkin
  • 1/4 cup coconut oil, melted & cooled
  • 2 eggs
  • 1 cup sugar
  • 1 tsp. vanilla extract
  • 1 1/2 cups all-purpose flour
  • 1 tsp. baking powder
  • 1/2 tsp. baking soda
  • 1/2 tsp. cinnamon
  • 1/2 tsp. ground ginger
  • 1/2 tsp. ground nutmeg
  • 1/8 tsp. ground cloves
  • 1/2 tsp. salt

Ingredients for the filling:

  • 8 oz. package of Neufchatel cheese, at room temperature
  • 1 egg yolk
  • 5 tbsps. sugar
  • 1/4 tsp. vanilla extract

Preparation:

Preheat oven to 350 degrees. Prepare the mini loaf pans using a non-stick spray or grease. Set aside.

Mix canned pumpkin, oil, and sugar together. Add in eggs, one at a time, mixing thoroughly after each addition. Add vanilla. In a separate bowl, whisk together the flour, baking powder, baking soda, salt, & spices. Slowly add flour mixture to liquids, combining thoroughly and scraping the sides of the bowl to make sure it’s all incorporated.

Fill each mini loaf with a couple of spoonfuls of the pumpkin mixture into the prepared pans.

In a small bowl, beat together the Neufchatel cheese, egg yolk, sugar, and vanilla extract.

Add a smaller spoonful of filling into each loaf pan. Swirl with a skewer to incorporate into the pumpkin mixture.

Bake for 30 minutes. Allow to cool in pan for 5 minutes before transferring to a wire rack to cool.

Adapted from: http://www.myfridgefood.com/recipes/dessert/pumpkin-cheesecake-muffins

NOTE: I didn’t use all of the filling mixture and I really swirled the filling into the pumpkin mixture. After cooling completely and a sampling was had by all, I bagged these up and placed them in the freezer.

Posted in Bread/ Muffins, Pumpkin | Leave a comment

Copycat Starbucks Pumpkin Scones

Pumpkin Scones

Mmm, Starbucks pumpkin scones. You know what’s even better? Having a copycat version, making them yourself, and realizing they are fresher, moister, and in general mo’ better than what you can buy. Score!

Scone Ingredients:

  • 2 cups all-purpose flour
  • 1/3 cup brown sugar
  • 1 tbsp. baking powder
  • 1/2 tsp. baking soda
  • 1/4 tsp. salt
  • 1 tsp. cinnamon
  • 3/4 tsp. ground cloves
  • 1/2 tsp. ground ginger
  • 1/2 tsp. ground nutmeg
  • 1 stick unsalted, cold butter, cubed
  • 1/2 cup pumpkin puree
  • 3 tbsp. half and half
  • 1 large egg
  • 2 tsp. vanilla extract

Sugar Glaze Ingredients:

  • 1 cup powdered sugar
  • 2 tbsp. milk

Spice Sugar Glaze Ingredients:

  • 1 cup powdered sugar
  • 1 tsp. cinnamon
  • 1/4 tsp. cloves
  • 1/4 tsp. ginger
  • pinch of nutmeg
  • 2 tbsp. milk

Preparation:

Preheat oven to 400 degrees. Prepare a baking sheet with parchment paper.

Combine flour, sugar, baking powder, salt, and spices in a large mixing bowl.

In a food processor, cut butter into dry ingredients until mixture is crumbly. In a separate mixing bowl, whisk pumpkin, half and half, and egg. Fold wet ingredients into dry ingredients and form into a ball.

On a lightly floured surface, pat out dough and form into a 1-inch thick rectangle (about 9 inches long and 3 inches wide). Using a pizza cutter, slice the dough into three equal portions. Cut diagonally to produce 6 triangular slices of dough. Place on prepared baking sheet.

Bake for 14-16 minutes until scones are light brown. Place on wire rack to cool.

Prepare sugar glaze and brush over the top of each cooled scone. As sugar glaze firms, prepare spice glaze and drizzle over each scone.

Adapted from: http://rumblytumbly.com/2011/08/03/starbucks-double-glazed-pumpkin-scones/

Posted in Breakfast, Pumpkin, Scones | Leave a comment

Quadruple Layer Peanut Butter Chocolate Caramel Cheesecake

Finished cake

I truly enjoy baking, and while I’ve never had any desire to do it professionally, I’m totally down with people placing orders with me. This is where this beast of a creation came from: a request from a woman who has ordered from me before. This time she sent me the recipe and I, of course, obliged.

“This is ridiculous!” Was on repeat in my mind and on my tongue while I made it. It has a layer of chocolate cake, a layer of peanut butter cup cheesecake, a caramel layer, & repeat. Then it’s topped with ganache, chocolate frosting, and additional peanut butter frosting. Say it with me now, “This is ridiculous!” Oh, and it’s not quite finished as there will be chocolate curls added to the sides. This sucker weighs almost 12 pounds and is tall. It also takes 2 days to make. Mmm hmm, ridiculous. It sure is pretty, though.

For the chocolate cake:

  • Prepare 2 9 inch round pans, greased, lined with parchment paper and greased again. Using a cake mix or your favorite go-to homemade chocolate cake recipe (I did this and will post at a later date), bake the cake according to directions in prepared pans. Cool in pan for about 10 minutes, remove from pans and transfer to a cooling rack. When completely cooled, level the tops if necessary and place in freezer.

For the crustless cheesecake:

  • 30 miniature PB cups, cut in fourths
  • 2 sticks butter, at room temperature
  • 1 cup sugar
  • 4 8oz. packages of cream cheese, at room temperature
  • 1 3oz. box of cook and serve vanilla pudding
  • 4 eggs
  • 2 tsp. baking powder

Preheat oven to 325 degrees. Prepare 2 9 inch round pans, greased, lined with parchment paper and greased again. Dust pans with flour, tapping out excess.

Cream butter and sugar. Add cream cheese and beat until smooth. Add the pudding, eggs, and baking powder, mixing well to combine. Fold in the peanut butter cups. Distribute evenly amongst the 2 pans. Bake for 55 minutes – 1 hours. Upon removing from the oven, immediately transfer pans to the freezer. This will create an indent for the caramel. Once frozen completely, remove the cheesecake from the pans & the parchment paper, reline with parchment paper so that it hangs over the edges.

For the caramel layer:

  • 2 14oz. cans of sweetened condensed milk
  • 10 tbsp. butter
  • 80 Kraft caramels (or 2 bags of the Kraft caramel bits)

Make the caramel in two batches, dividing above ingredients. In a microwave safe bowl, add a can of the sweetened condensed milk, 5 tbsp. of butter, and 40 caramels (or 1 bag of the caramel bits) and microwave 3 minutes, stirring until smooth. Pour the caramel mixture over one of the cheesecakes. Repeat with the other cheesecake. Return to the freezer. NOTE: There was plenty of caramel left over after each addition. It’d probably be enough to do just one, but because I was following the recipe, and it wasn’t for me, I made both.

Once caramel has frozen, assemble the layer of cakes: chocolate, cheesecake, chocolate & cheesecake.

For the ganache & frosting:

  • 1  2/3 cups semisweet chocolate chips
  • 1 1/2 cups heavy whipping cream
  • 1/2 tbsp. light corn syrup

Place chocolate chips in a bowl. Heat cream in microwave until it starts to boil. Remove from microwave and pour cream over chocolate chips, whisking until smooth.

Remove 2/3 cup of chocolate mixture, mix in corn syrup. Add ganache to the top of the cake. Return to the freezer.

With the remaining ganache, transfer to mixer and beat for 8 minutes until fluffy. Frost the sides of the cake with the frosting.

For the peanut butter frosting:

  • 2/3 cup creamy peanut butter
  • 8 tbsp. butter, at room temperature
  • 1 cup powdered sugar, sifted

Beat peanut butter and butter until smooth. Add powdered sugar and beat until smooth. Pipe swirls onto cake, topping with mini PB cups. NOTE: There was so much frosting left, I piped the frosting on the bottom and top of the cake.

NOTE: For a more manageable version of this, I think 1 layer of each would suffice. Or just a middle layer of cheesecake sandwiched between two layers of chocolate cake.

Source: http://hugsandcookiesxoxo.com/2012/08/quadruple-layer-peanut-butter-chocolate.html

Posted in Cake, Desserts | Leave a comment

Halloween Party Theme Food

This year Halloween fell on a Friday. As soon as the girls realized this they requested a party and sleepover. We all got into the spirit with me preparing the food, Chris decorating, and the girls having a good time with their friends, dressing up in costumes, and of course, trick-or-treating.

GHOST PIZZA

Ghost Pizza

Preparation:

Spread dough out into a large pan, top with pizza sauce and pepperonis. Using mozzarella cheese slices and a ghost cookie cutter, cut out ghost shapes and top the pizza.

Note: I took this picture before I baked it which was a good thing. Unfortunately, the ghosts all melted together during the baking process. During the assembly, I was concerned there wouldn’t be enough cheese so I added more. Next time, less ghosts.

CUTIE PUMPKINS

Cutie Pumpkins

Preparation:

Peel cuties & add sliced celery sticks as the stem of the pumpkin.

SWAMP WATER

Swamp Water

Ingredients:

  • 4 cups Green Apple Kool-Aid (prepared according to package instruction)
  • 3 cups pineapple juice
  • 2 cups white grape juice
  • 9 drops green food coloring
  • 2 drops yellow food coloring

Preparation:

Mix together all ingredients and serve in desired container. Note: all of the kids commented they liked this. The person who liked it most? The hubby. *Smile*

Source: http://www.idigpinterest.com/2014/10/swamp-water-halloween-drink.html

CAKE EYEBALLS & CAKE POP CRITTERS

Cake Eyeballs Cake pop critters

The girls and I had so much fun making these last weekend. They hung out in the freezer until the night of the party.

Ingredients:

  • 1 box of cake mix
  • 1 container of frosting
  • candy melts
  • blue, black, or brown M&M’s
  • gel icing
  • candy eyes & bones
  • lollipop sticks

Preparation:

Make and bake cake according to package instructions for a 9×13 pan. Once cooled completely, remove cake and crumble in a large bowl. Mix in the frosting thoroughly. Line a baking sheet with parchment paper. Using a large cookie scoop, scoop out and form into balls and place on prepared baking sheet. Place in freezer until frozen.

Once the balls are frozen, stick the lollipop sticks in the middle of each ball. Melt candy melts until smooth. Working quickly, submerge each cake pop into the candy coating and return to the same parchment lined baking sheet. Once finished, carefully remove the lollipop sticks. Reheat the candy melt, if needed and add a small amount to the M side of the M&M and place on the hole of the cake ball. Using the red gel icing, make squiggly lines to get the desired blood shot eyes. For the cake pop critters, let your kids go to town & be creative.

SAUSAGE MUMMIES

Sausage Mummies

Ingredients:

  • 2 packages ready to eat breakfast sausage links
  • 2 cans of crescent rolls

Preparation:

Roll out the crescent rolls, keeping them in rectangles instead of the triangles. Using a pizza cutter, slice each rectangle lengthwise 10 times. Using 1-2 strips of crescent roll, wrap around the sausage to create the mummy.

In the morning, I made these and served them with scrambled eggs, fresh fruit, and juice.

Until next year, when Halloween is on a Saturday. I’m thinking there might be another party in the books.

Posted in Beverages, Breakfast, Desserts, Halloween, Pizza | Leave a comment

Lasagna

lasagna

With the exception of baking, though measurements are included, I rarely adhere to a recipe. I cook primarily based on my senses: smell, taste, and sight which, I realize, doesn’t necessarily bode well for accuracy of measurements since I’m not actually measuring anything, but rather eyeballing, sniffing, and sampling. This characteristic of mine was rather evident especially with this particular recipe. Another one I’ve been making for years, and therefore difficult to quantify amounts, so here is the guideline I use when making it.

Ingredients:

  • 2 lbs. ground beef
  • 1 lb. Italian sausage
  • 1 onion, chopped
  • 8 cloves of garlic, chopped
  • 1 15oz can of diced tomatoes
  • 1 jar of spaghetti sauce
  • 1 small can of tomato sauce
  • 10 lasagna noodles
  • 1 15oz container of Ricotta cheese
  • 1 egg, slightly beaten
  • Parmesan cheese, freshly grated
  • Mozzarella cheese, grated
  • Seasonings: fresh parsley, oregano, basil, and/ or Italian seasonings
  • Fresh ground sea salt & black pepper

Preparation:

In a large skillet over medium-high heat, sauté the chopped onion and garlic briefly before adding the ground beef and sausage, working them into small crumbles. Brown until cooked all the way through. Season with salt and pepper. Drain the grease. Lower the temperature to low and add the can of tomatoes, jar of spaghetti sauce, and tomato sauce and allow to simmer while preparing the rest of the ingredients.

In a large pot, boil water and add the lasagna noodles. Cook according to package directions. Once completed, remove from heat and run cold water over the noodles, to stop from cooking further.

In a small bowl, beat the egg. Add the Ricotta cheese, mixing well to incorporate. Season with S&P, mix in Parmesan cheese (1/2 cup – 3/4 cup) and various seasonings. Stir to combine.

Spray a 9×13 pan (or 2 9×9 pans) with non-stick spray. Cover the bottom of the pan(s) with half of the meat mixture, add a layer of noodles, spread the Ricotta cheese mixture over the noodles, add another layer of noodles, top with remaining meat sauce, and sprinkle the top with grated Mozzarella cheese.

Bake at 350 degrees for 35 -40 minutes and the Mozzarella cheese is lightly toasted. This dish also freezes well. In our case, the girls currently don’t care for lasagna so I prepare it in 2 different pans: one for now and one for the freezer. To freeze: cover the pan first with plastic wrap and then aluminum foil. Secure with lid. When ready to bake, allow to defrost in the refrigerator overnight, remove lid, plastic wrap, and aluminum foil and bake as noted.

Posted in Italian, Meat | Leave a comment

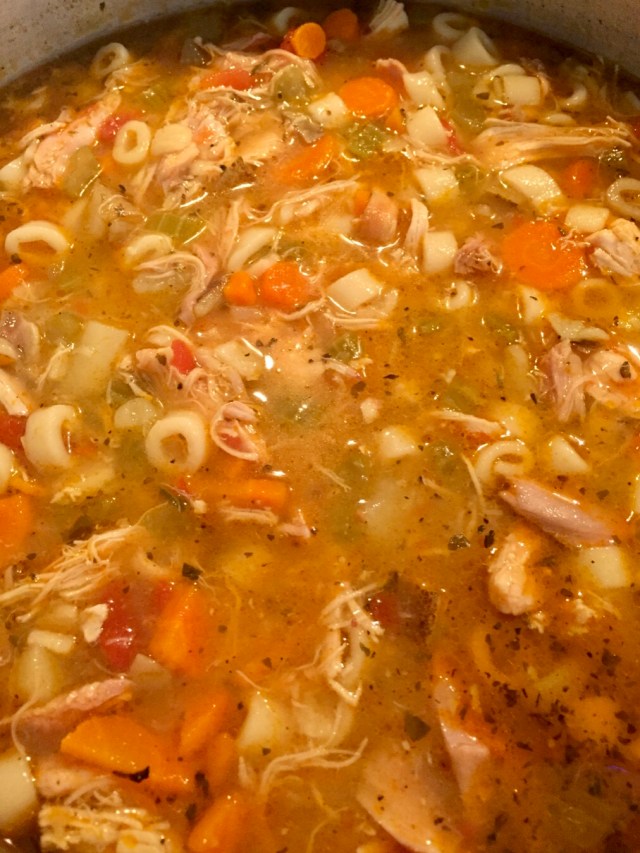
Carrabba’s Copycat Mama Mandola’s Chicken Soup

IMG_1857

UPDATED: There are some recipes in which I never deviate & then there are others that as I make time and time again, such as this soup, I modify & adjust just enough that it warrants an update. The original post is listed at the bottom, the updated version is just below. It’s still one of our favorites!

Updated Ingredients: 

  • 3 tbsps. butter
  • 3 – 4 celery ribs, chopped small, approximately 1 1/2 cups
  • 5 carrots, peeled & sliced, approximately 2 cups
  • 3 medium size russet potatoes, diced
  • 1 large onion, chopped
  • 8 cloves garlic, chopped
  • 10 cups water
  • 3 tbsps. Better Than Bouillon Chicken Base
  • 1 rotisserie chicken, skin removed & deboned, shredded in large chunks
  • 1 bay leaf
  • 1 15oz can of diced tomatoes, do not drain the liquid
  • 1 1/2 tsp. white pepper
  • 1 1/2 tsp. Kosher salt
  • 3/4 cup ditalini pasta, cooked in boiling water for 6 minutes, less than al dente*
  • Kosher salt & freshly ground black pepper, to taste
  • 1/4 tsp. dried thyme
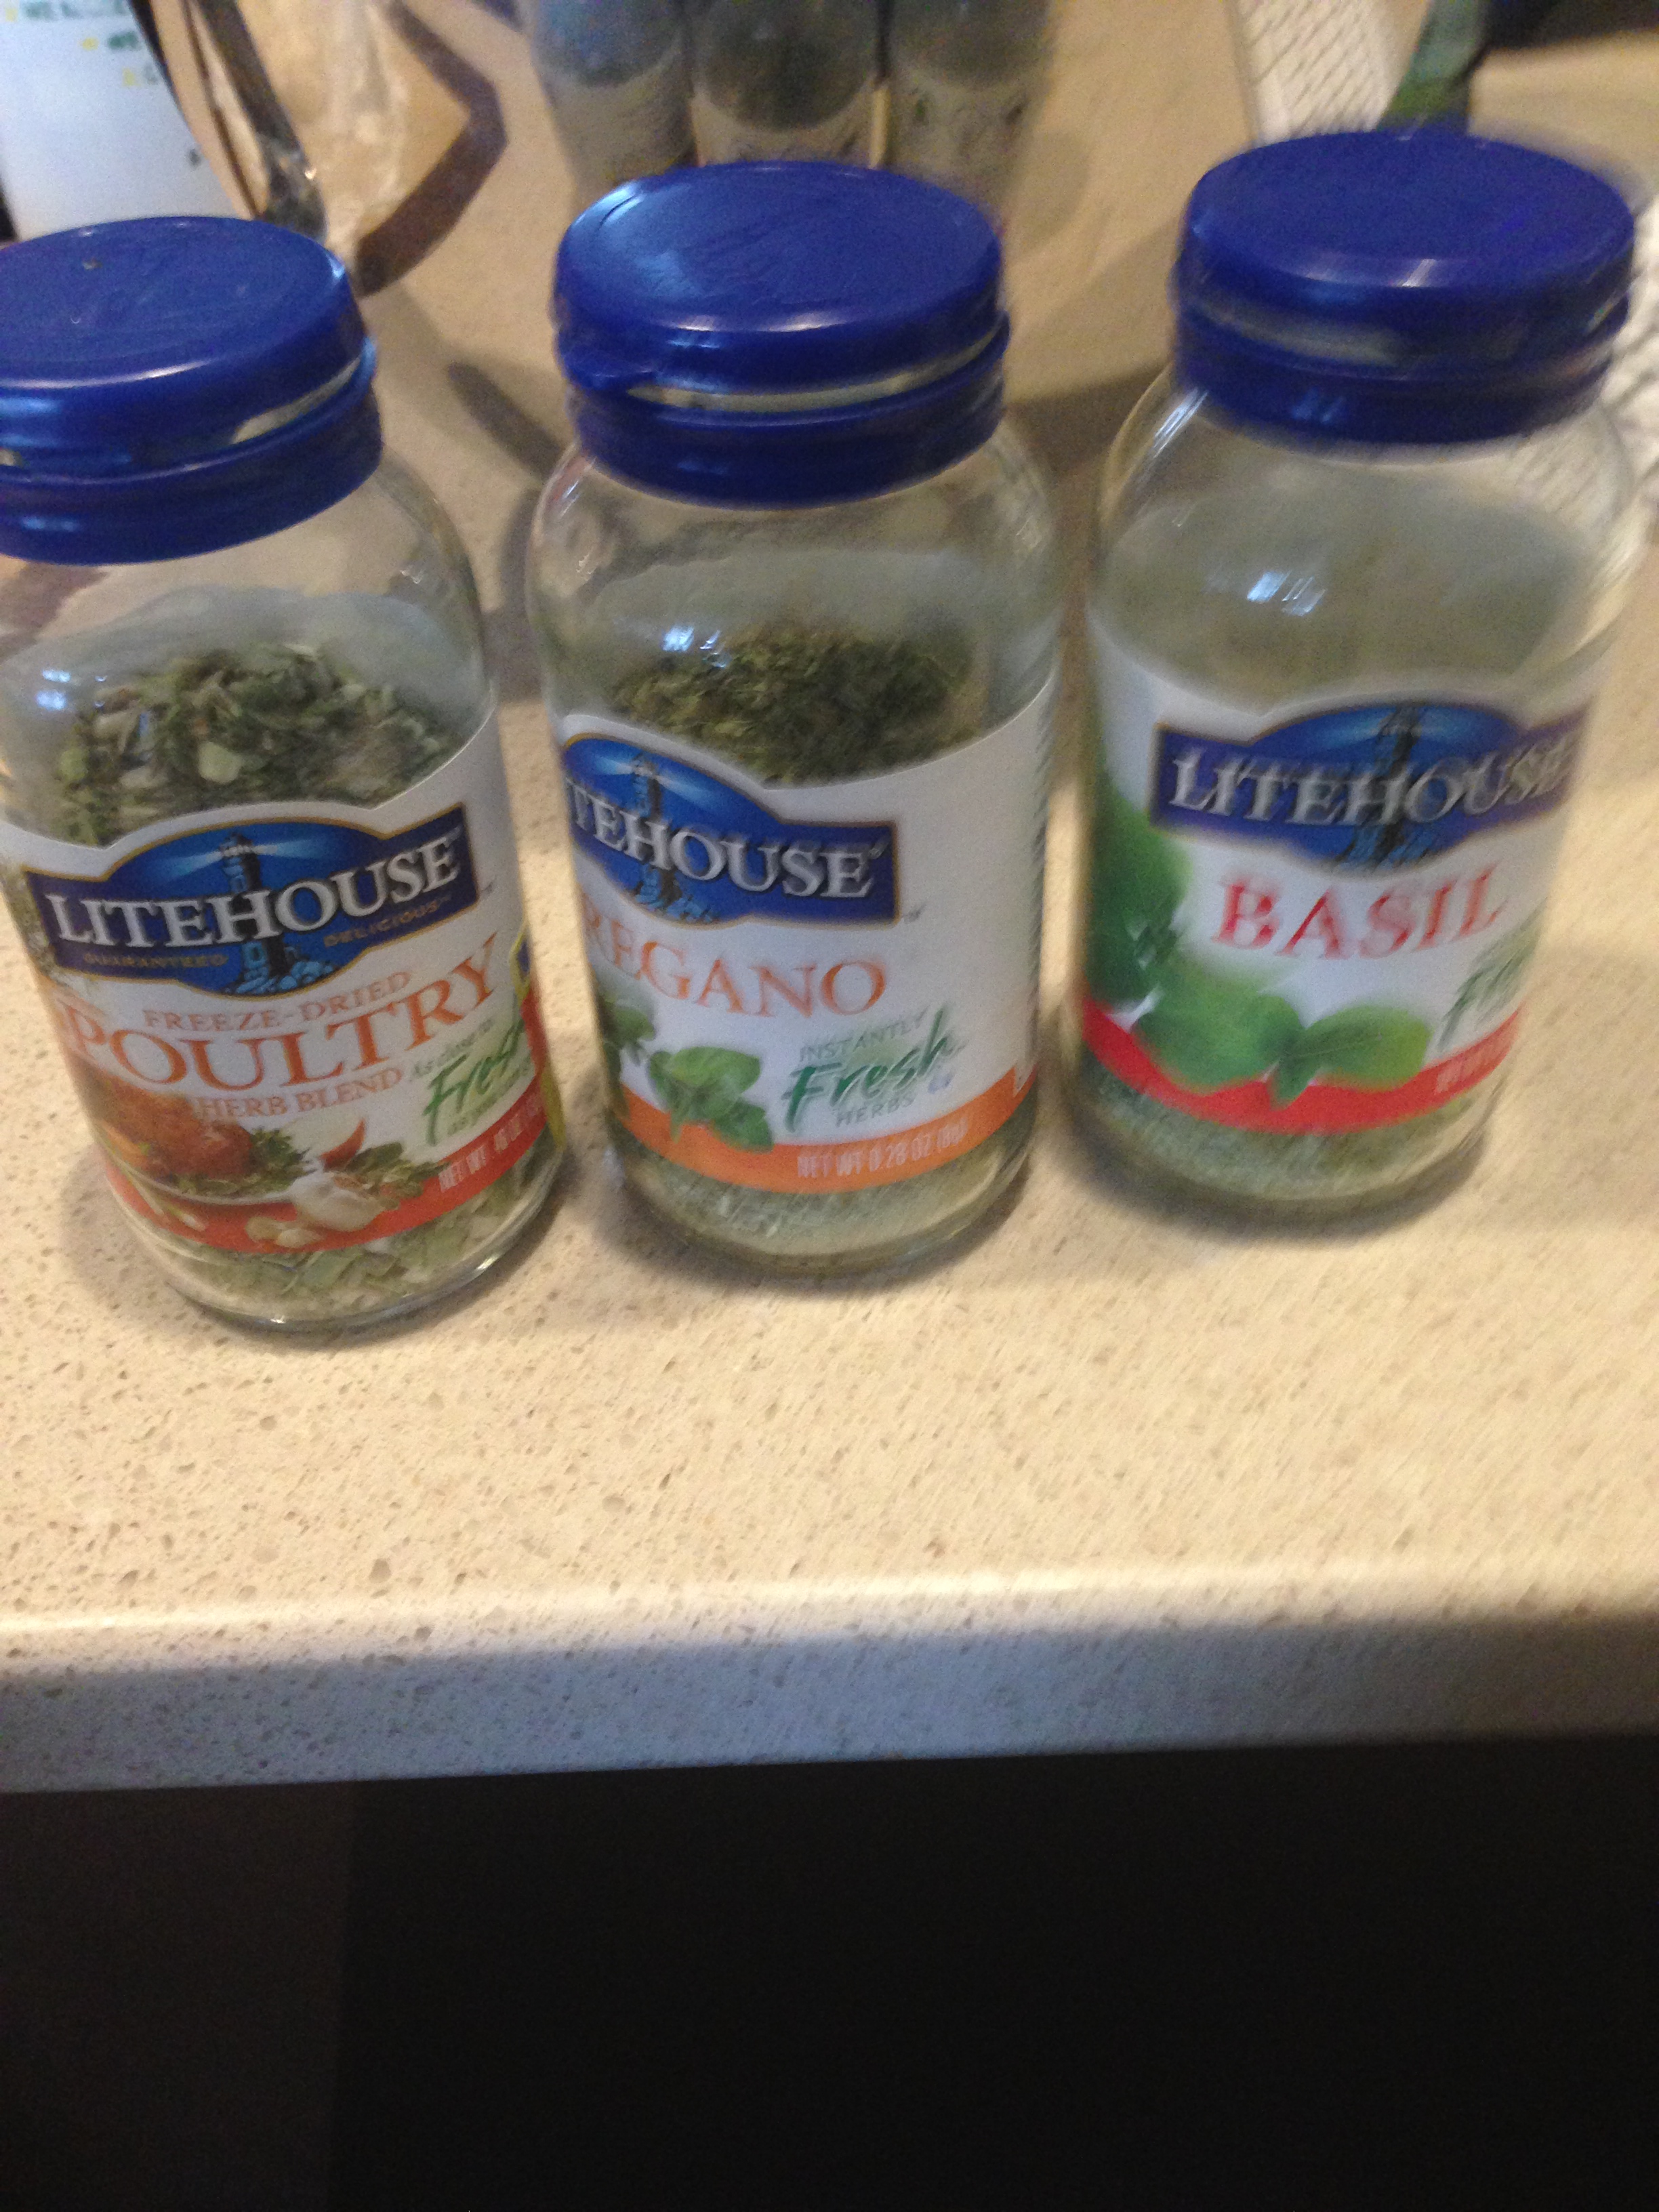
  • 2 tsps. (or more, as needed) each of Litehouse poultry seasoning, oregano, & basil

Updated Preparation: 

In a large stock pot, melt the butter over medium-high heat. Add the onions, celery, carrots, potatoes, onion, & garlic. Season with 1 1/2 tsp. Kosher salt, stir to incorporate, cover, and sautés for 10 minutes, stirring every couple of minutes.

Add the 10 cups of water, stir in the chicken base, add the can of tomatoes & included liquid, and stir in the white pepper, bay leaf, basil, oregano, poultry seasoning, thyme, & shredded chicken. In a separate small pot, cook the pasta in boiling water for 6 minutes. It is less than al dente, but will continue to cook in the soup, and expands the longer it sits in the soup. Drain & add to the soup.

Allow the soup to come to a low boil, lower heat, simmer, cover, and & cook for 10 minutes.

Season with extra kosher salt & freshly ground black pepper, per taste.

Note: This makes a lot of soup! It’s perfect for a party or potluck or if you don’t mind having soup for days.

Original Post:

We heart Carrabba’s, BIG time. We’ve been going for years now and have yet to try a dish we haven’t liked. It’s only been in the last couple of years I’ve ordered the soup in lieu of a salad as my side, and boy, was I missing out! Now, there are times when I order just the soup and salad for my dinner. This soup is so good, and actually, I’d say it’s more like a stew because it’s so hearty. Plus, with all the pepper, it gives it that good extra kick and umph.

By the time it’s all said and done, this makes quite a bit to have and share. I also made the crusty overnight artisan bread to serve it with. Yum and yum! Perfect for those fall and winter nights.

Interestingly enough, while I’ve added the link to the Carrabba’s recipe, I have to say, their picture doesn’t do their product justice. Also, if I do say so myself, the recipe itself needed some doctoring. I wonder if they do that intentionally to make sure you’ll come back to the restaurant…as if we wouldn’t.

Ingredients:

  • 1 rotisserie chicken, deboned and skin removed, shredded in large chunks
  • 2 32oz boxes of low sodium chicken broth
  • 1 large yellow onion, chopped
  • 8 cloves of garlic, chopped
  • 1 bay leaf
  • 5 celery ribs, diced
  • 1lb. bag of baby carrots, diced (or 3 big carrots, diced)
  • 3 medium sized russet potatoes, diced
  • 1 15 oz. can of tomatoes with liquid (I used fire roasted)
  • 1 1/2 tsp. white ground pepper
  • 1 cup ditalini pasta, cooked according to package directions
  •  Kosher Salt & Freshly Ground Black Pepper, to taste
  • 2 tsps. (or more, as needed) each of poultry seasoning, oregano, and basil. I like to use the following seasonings because more often than not, I don’t have the fresh herbs on hand:
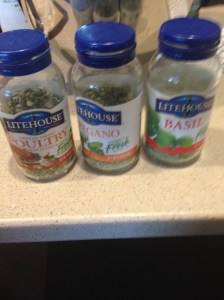
Seasonings

Preparation:

I made this once with a whole chicken and it seemed to take all day. The beauty of a rotisserie chicken is that you can buy it, debone it, remove the skin, and shred the chicken, put it in a Ziploc bag, freeze it and grab it when you need it. This works perfectly for a soup like this.

In a large pot (and I do mean large) pour one of the 32oz. boxes of low sodium chicken broth into the pot. Add the onion, garlic, celery, carrots, potatoes, can of tomatoes with its juices, white pepper, seasonings, and bring to a low boil for 45 minutes.  Remove the bay leaf. Add the chicken, lower the temperature to medium. Season with S&P as needed, using generous amounts of freshly ground black pepper. Once it’s been on the stove a while, the liquid decreases so this is when I add the other carton of chicken broth.

Cook the 1 cup of ditalini pasta, according to package instructions in a small pot. Drain and add to the soup. Stir together to incorporate.

Serve in large bowls with crusty artisan bread on the side. Sprinkle with freshly grated Parmesan cheese.

Adapted from: http://www.carrabbas.com/Content/mama-mandolas-chicken-soup

Posted in Chicken, Copycat Recipes, Soup | 26 Comments

One Pot Garlic Pasta

One Pot Garlic Pasta

My family loves them some noodles. Along with salad or some veggie, it’s a go-to side for whenever the hubby is grilling. Normally, I go the boxed noodle route, except for the past year or so, I’ve incorporated more homemade foods. When I informed them I was making the side dish myself, you know, the old-fashioned way, they turned up their noses ever so slightly and I saw the shadows of doubt creep across their faces. Oh ye of little faith, family.

Ingredients:

  • 1 tbsp. olive oil
  • 6 cloves of garlic, minced
  • 2 cups chicken broth, more as needed
  • 1 cup milk, more as needed
  • 2 tbsps. of unsalted butter
  • 8 oz. (or half a package) of fettuccine noodles
  • Fresh ground S&P, to taste
  • 1/4 cup fresh Parmesan cheese
  • 2 tbsps. parsley, chopped

Preparation:

Heat oil in a large pot over medium-high heat. Add garlic and sauté for 1-2 minutes until fragrant, but not browned. Add chicken broth, milk, butter, and noodles to pot. Season with S&P.

Bring to a boil and cook for 18-20 minutes. During the cooking time, the liquid will begin to evaporate. Add more chicken broth and/ or milk to maintain desired creaminess. Once cooked all the way through, stir in the parsley, add more S&P as needed, and add in Parmesan cheese.

Serve with the main dish and then watch your family eat it up and sheepishly ask for seconds.

Adapted from: http://damndelicious.net/2014/10/11/one-pot-garlic-parmesan-pasta/

Posted in Pasta, Sides | Leave a comment

Beef & Snow Pea Stir Fry

IMG_1984

As long as you’ve got all the ingredients on hand, this makes for a relatively easy to prepare dinner meal. With that said, it’s not everyday that I have fresh ginger or snow peas on hand so I have to plan accordingly. Ironically, it was the cilantro and green onions that I was out of (both of which are normally stocked in the refrigerator) and yet no one but me seemed to notice the subtle flavor that was missing.

Ingredients:

  • 3 tbsp. Hoisin sauce
  • 4 garlic cloves, minced
  • 2 tbsp. fresh cut ginger, peeled & chopped
  • 2 tbsp. coconut oil
  • 3/4 lb. sirloin steak, cut into strips
  • 3/4 lb. snow peas
  • 1-2 green onions, diced
  • 2-3 tbsp. fresh cilantro, chopped
  • juice of half a lemon
  • jasmine rice, cooked per directions

Preparation:

In a large skillet, melt coconut oil in pan over medium-high heat. Add strips of steak to the skillet and cook all the way through. Once cooked, remove steak and transfer to a plate. Place skillet back onto the heat and add the ginger, garlic, green onions, and snow peas and sauté for 1 minute. Add the Hoisin sauce, stir to incorporate. Add steak into the mixture, mixing well to combine. Sprinkle with the juice of half a lemon and garnish with cilantro.

Serve over a bed of Jasmine rice.

Posted in Asian, Meat | Leave a comment

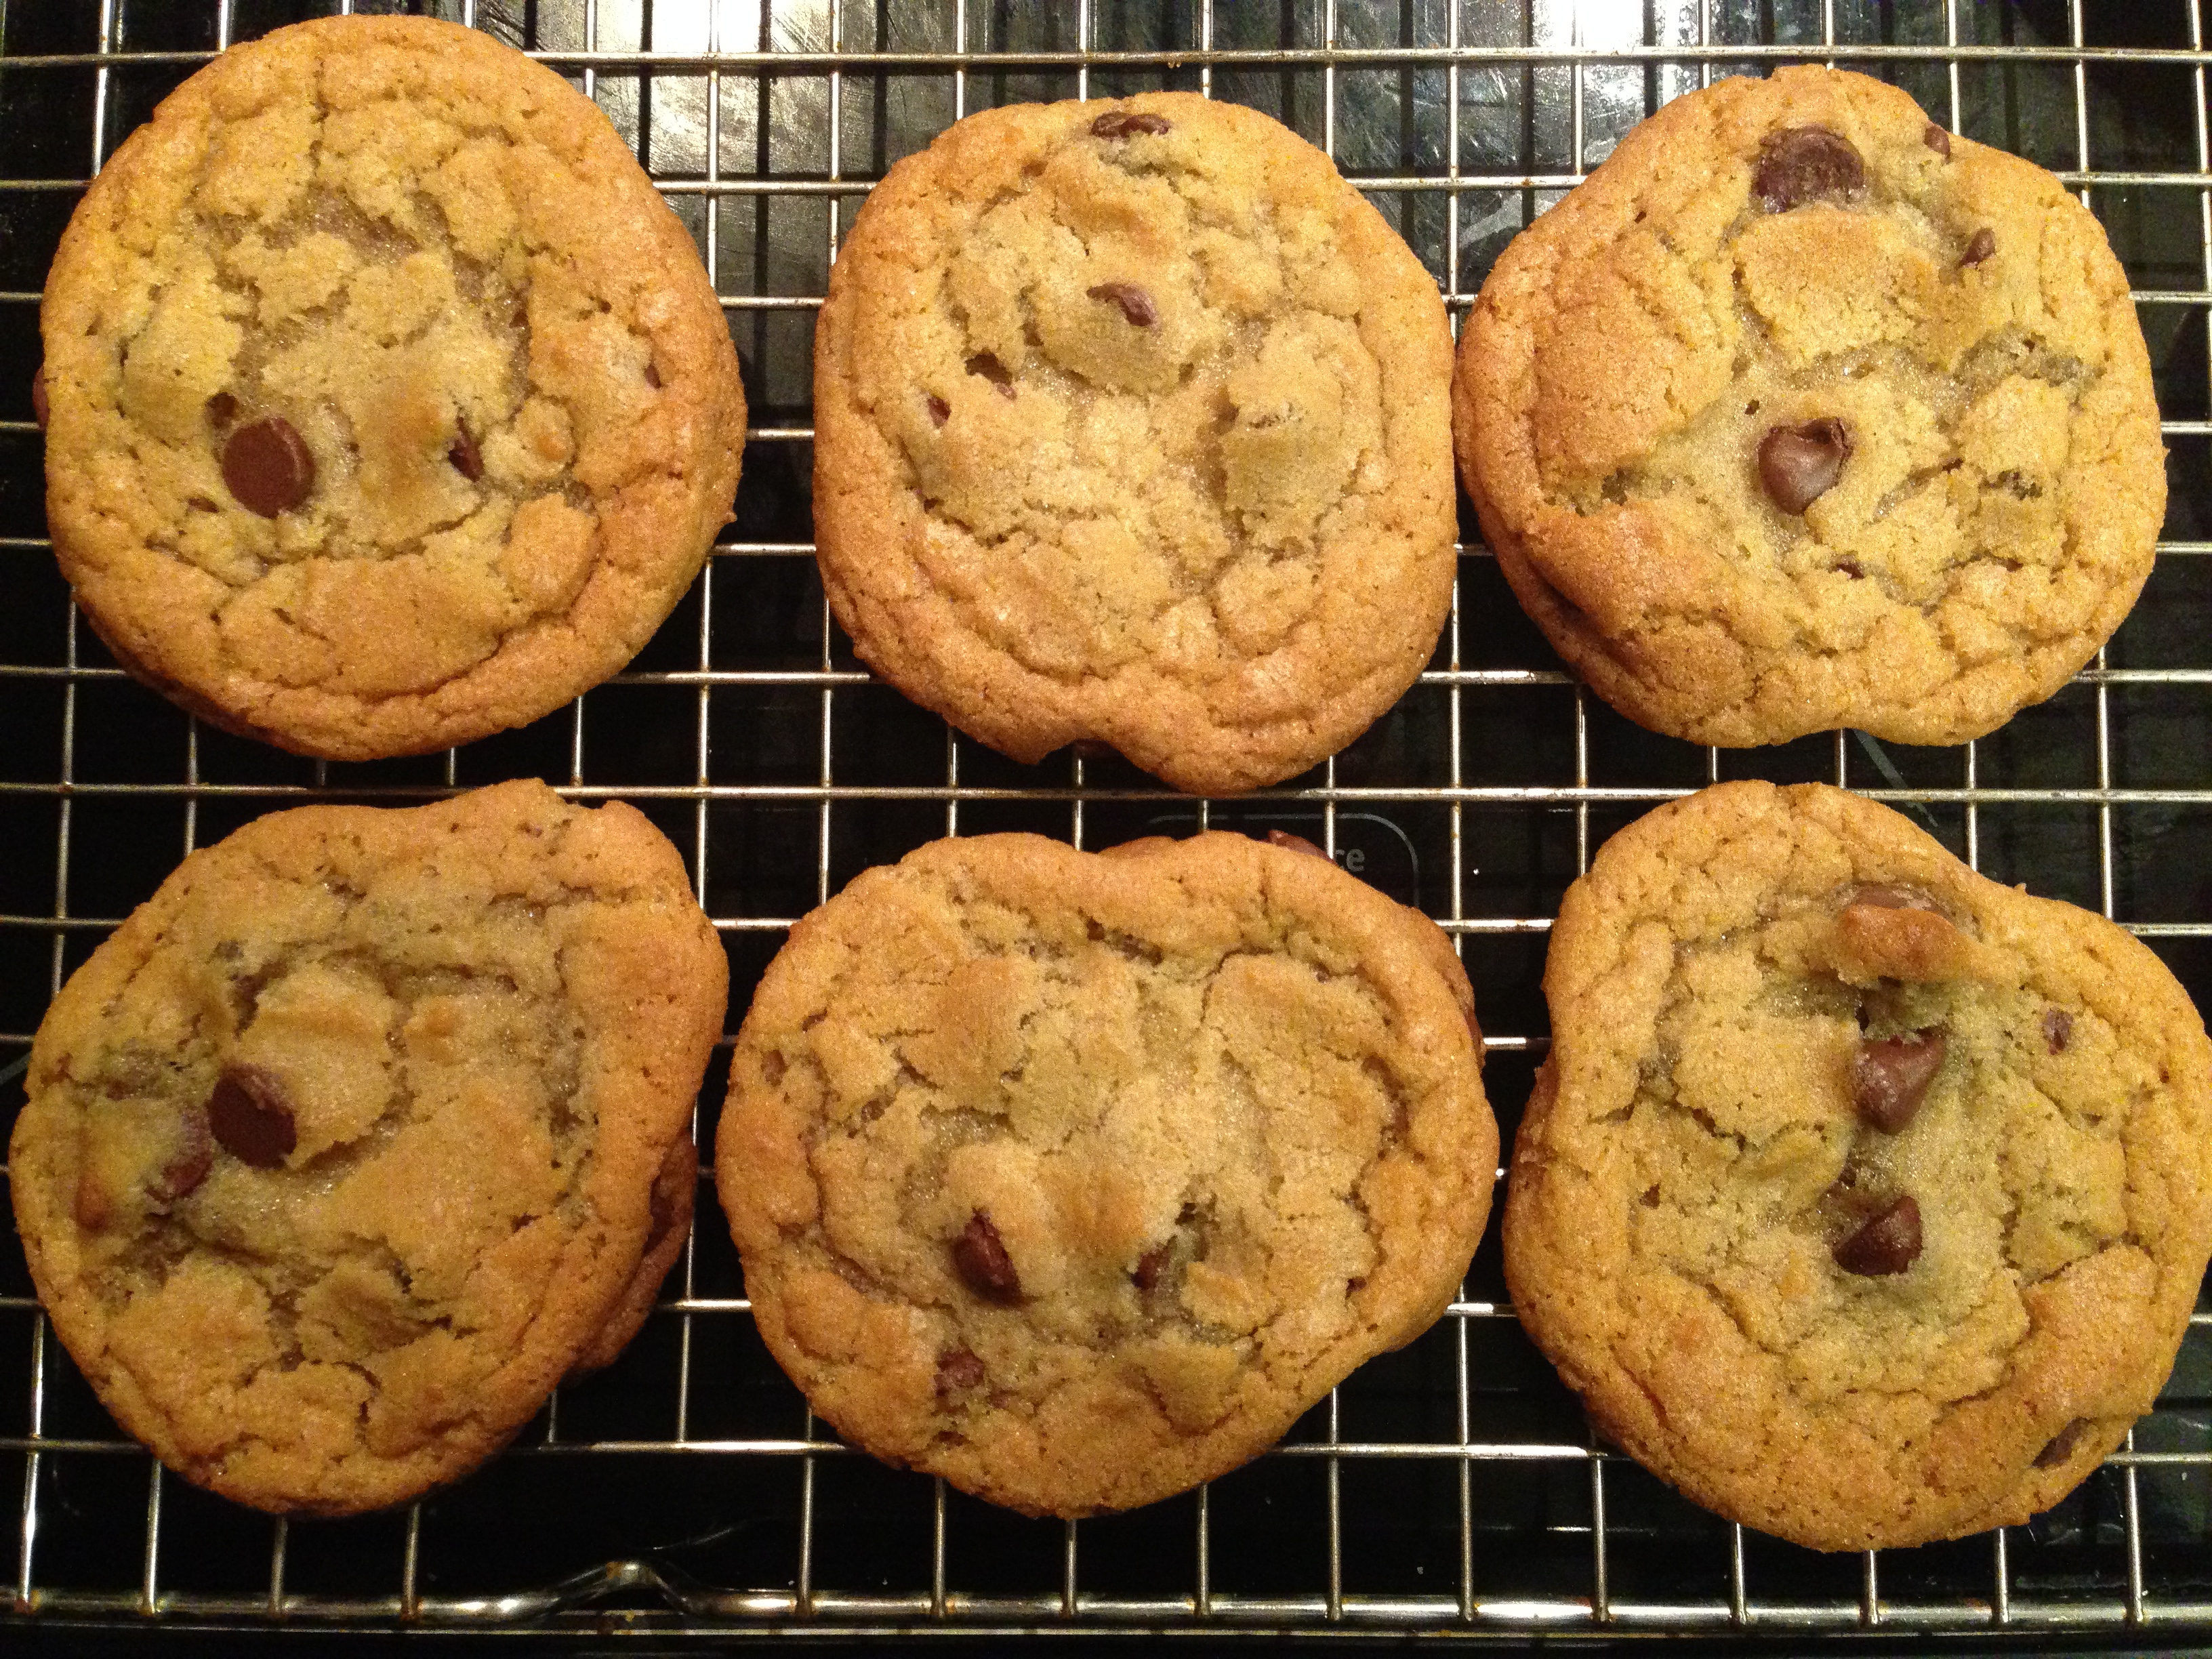
Chocolate Chip Cookies

ChocChipCookies

This is my preferred, above all others, chocolate chip cookie recipe. These are the cookies of my childhood. Bri asked me the other day what my favorite part was: the dough or the cookie. I love them both and cannot choose between one or the other. I enjoy the cookies fresh from the oven; though once they’ve cooled, my preferred way of eating them is to freeze them, retrieving a few and dunking them in milk, soaking it long enough that it gets nice and chewy.

Ingredients:

  • 1 cup unsalted butter at room temperature
  • 1 cup Crisco
  • 2 1/2 cups brown sugar
  • 1 cup sugar
  • 4 eggs
  • 1 tbsp. vanilla extract
  • 2 tsp. salt
  • 2 tsp. baking soda
  • 4 1/2 cups flour
  • 2 cups semisweet chocolate chips

Preparation:

Preheat oven to 375 degrees. Cream together the butter and sugars. Beat in eggs and vanilla. Stir in the salt, soda, and flour, mixing until combined. Add in the chocolate chips; stir to incorporate.

Drop by rounded tablespoons and bake 9-10 minutes, or until golden brown.

Posted in Cookies | Leave a comment

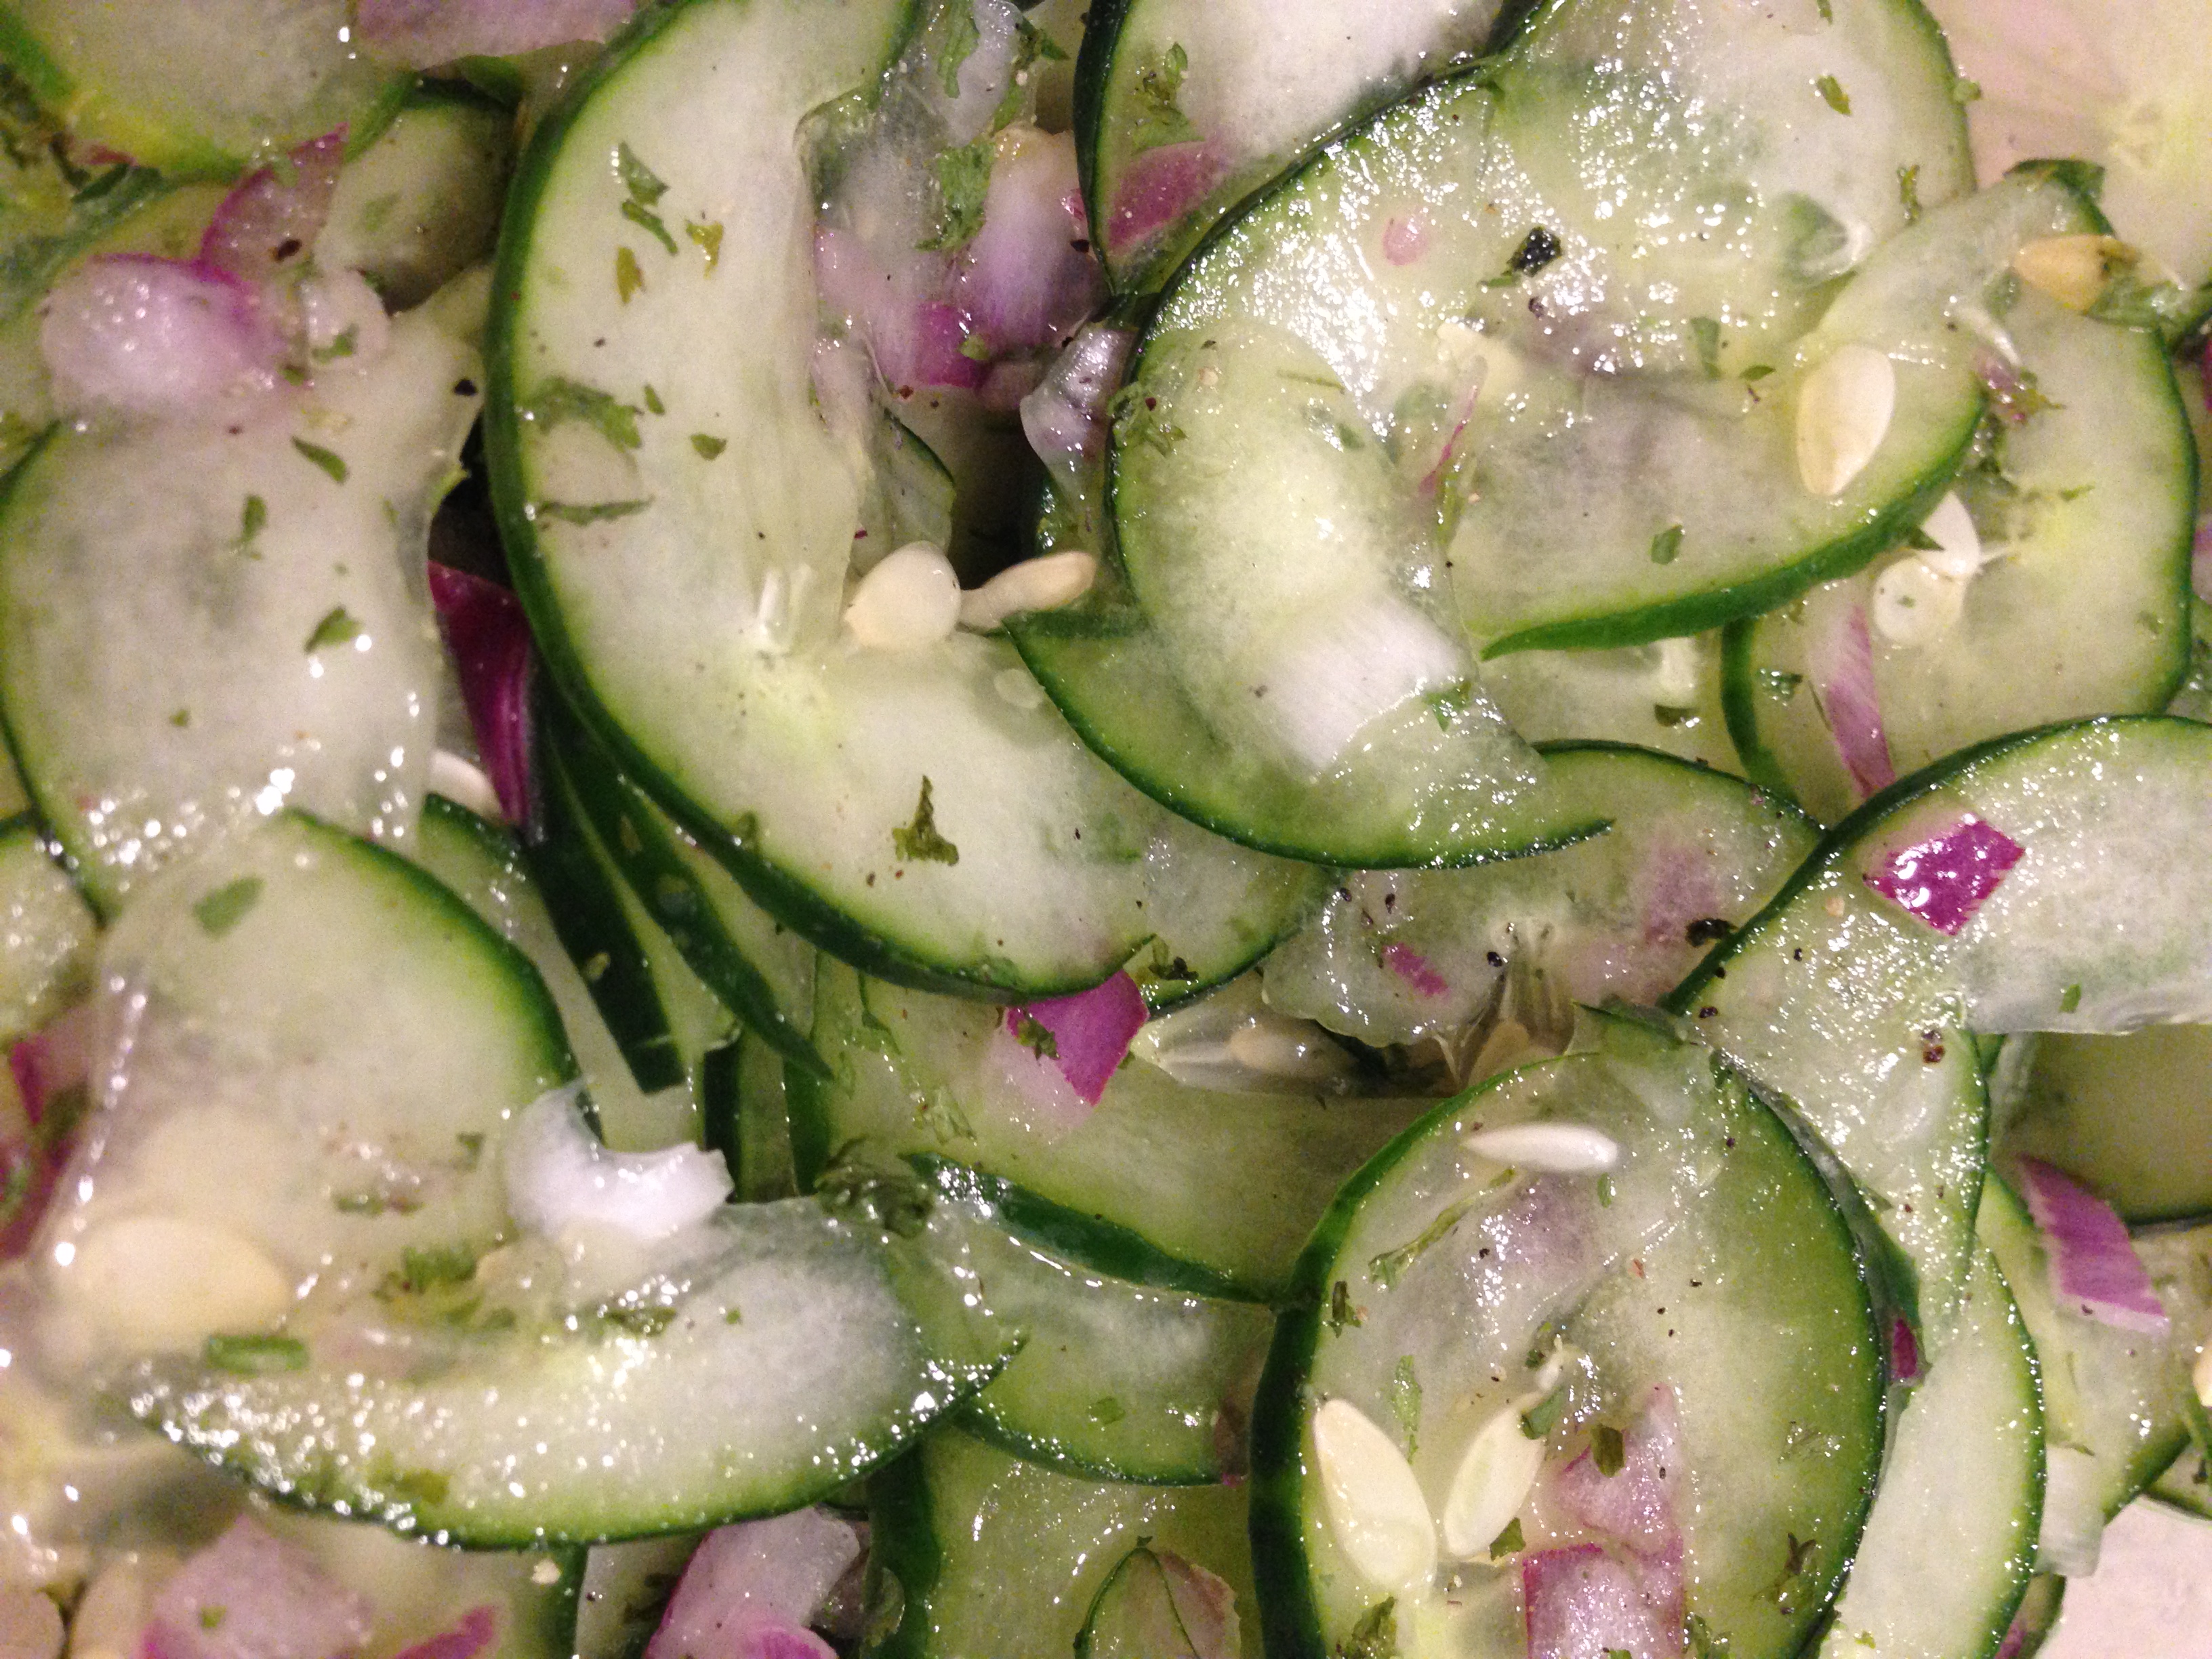
Wilted Cucumber Salad

Cucumber Salad

I know, I know. Wilted? I debated about putting that in there, but that’s what my  mom’s recipe card reads. The trusty recipe card that’s so old it’s yellowed with time and the edges are tattered. You know those are the good ones, right? Tried and true, tangy, and it comes together in a pinch.

Ingredients:

  • 2 cucumbers, sliced thin
  • 1/3 cup white vinegar
  • 2 tbsp. sugar
  • 1/2 tsp. salt
  • 1/4 tsp. pepper
  • 1/4 cup diced onions
  • 1/4 dried parsley

Preparation:

In a medium sized bowl, mix all ingredients together until well incorporated. Refrigerate.

Told ya it was easy!

Posted in Sides, Vegetables, Vegetarian | Leave a comment