Mom’s Apple Crisp

Apple Crisp

I don’t know about you, but there are some foods that remind me solely of home and growing up. This is one of those. I can’t remember the last time I made this; probably a good ten years or more. Chris prefers just a handful of desserts and is content to rotate among them. It’s possible the first time I made this, it was met with a “meh” response from him so I promptly filed it away. It resurfaced last night because my parents are in town. The girls liked it and my memory didn’t disappoint.

Ingredients:

  • 2 cups all-purpose flour
  • 1 1/2 cups brown sugar
  • 1 tbsp. cinnamon
  • 2 sticks butter, softened
  • 1/2 tsp. salt
  • 8 – 10 baking apples, peeled, cored and sliced

Preparation:

Preheat oven to 375 degrees. Butter bottom and sides of 9×13 glass baking dish. Arrange the apples in the baking dish. It may look as though there’s not enough room and/ or the apples are overflowing, but the apples will decrease in size when baking.

Combine the flour, sugar, cinnamon, butter and salt until crumbly. Add crumble mixture to the top of the apples, distributing evenly. Bake for 40-45 minutes.

Serve warm with vanilla ice cream.

NOTE: Additional options include mixing 1 tbsp. of lemon juice in with the apples to prevent browning. Decrease the cinnamon by a tsp. and replace with nutmeg. Add a tsp. or two of vanilla extract to the crumble mixture for added flavor.

Posted in Desserts | 1 Comment

Homemade Pizza Sauce

Homemade Pizza Sauce

I suppose there’s nothing wrong with store bought pizza sauce, although the color of homemade is so much more vibrant, but really why buy it when you can make it at home much cheaper and a whole lot fresher? Plus, even though it’s been a long time since I’ve used store bought, it always seemed like there was so much left over. Yes, I know you can freeze it and use it at a later date, but it always ends up being something that’s a) not labeled and by the time you need the sauce it resembles something like a U.F.O (Unidentified Food Object) or b) pushed back into the deepest, darkest, most frostbitten part of the freezer and otherwise completely forgotten about.

Ingredients:

  • 1 tbsp. olive oil
  • 1 small onion
  • 4-5 garlic cloves
  • 1 4oz. can of tomato sauce
  • 1 small can of tomato paste
  • 1 tsp. dried oregano
  • 1 tsp. dried basil
  • 1 tsp. Italian seasoning
  • 1/2 tsp. Kosher salt

Preparation:

In a small sauce pan, heat oil to medium heat. In the meantime, quarter the onion and place it and the garlic in the Ninja and pulse until chopped. Transfer to heated oil and sauté until soft, about 4 minutes. Add the tomato sauce, tomato paste, seasonings and salt, stir together and bring to a boil. Reduce heat to low and continue to cook for another 10 minutes.

NOTE: I’ve used canned tomatoes before, but the family says it makes the sauce too watery. The combination of the sauce and paste seem just about right.

Posted in Homemade Spices/ Sauces & Mix, Vegetarian | Leave a comment

Glazed Lemon Zucchini Bread

Glazed Lemon Zucchini Bread

This bread is light and refreshing.

Ingredients:

For the bread:

  • 2 cups all-purpose flour
  • 2 tsp. baking powder
  • 1/2 tsp. salt
  • 2 eggs, at room temperature
  • 1/2 cup coconut oil, melted and cooled (or use Canola)
  • 2/3 cups sugar
  • 1/2 cup buttermilk
  • Zest of 1 lemon
  • Juice of 1 lemon, or tbsp. lemon juice
  • 1 cup grated zucchini

For the glaze:

  • 1 cup powdered sugar
  • 2 tbsp. lemon juice

Preparation:

Preheat oven to 350 degrees. Grease a 9×5 loaf pan, set aside.

In a large bowl, whisk together the all-purpose flour, baking powder, and salt.

In a medium bowl, slightly beat the eggs. Add oil and sugar, blend well. Add the lemon zest and juice. Stir in the zucchini and mix until thoroughly combined. Incorporate into the dry ingredients, stirring until just combined.

Pour batter into prepared loaf pan. Bake for 40 minutes or until toothpick inserted in the middle comes out clean. Allow bread to cool in pan for 10 minutes before removing to complete cooling on wire rack. While it’s cooling on the rack, prepare the glaze by mixing the powdered sugar and lemon juice together and then spread over the loaf. Note: I usually place a silicone mat under the cooling rack to catch the glaze that drips down the loaf which makes for easier clean up.

Adapted from: http://nancycreative.com/2012/03/25/lemon-zucchini-loaf-with-lemon-glaze/

Posted in Bread/ Muffins, Breakfast | Leave a comment

Pinto Beans

Beans

Easy, flavorful, and diverse.

Whenever I make Mexican food, you can pretty much guarantee these accompany the meal. Later in the week, I puree it (no need to refry) in the Ninja to make bean and cheese burritos which I wrap individually, place in a gallon size bag and add to the freezer so the family can take them out as necessary. Or, if Nachos are on the menu later on, I’ll puree some and spread on tortilla chips and top with desired ingredients.

Ingredients:

  • 1 two lb. bag of pinto beans, sorted and rinsed
  • 3-4 slices of bacon, uncooked and chopped and/ or bacon grease
  • 2-3 tbsp. Tex-Mex seasoning, or as much as desired

Preparation:

Using a crockpot, add in beans, bacon, and desired Tex-Mex seasoning and fill with water. I confess: I don’t measure out the seasoning because this is another instance where I do the *sniff* test. Cover with lid and cook on high all day, 6-8 hours, or until beans are tender, and no longer firm.

Posted in Mexican, Sides | Tagged | Leave a comment

Tex-Mex Spice

Tex-Mex Seasoning

The essential spice for nearly all Mexican food. *I usually double the recipe listed below so that I always have it on hand.

Ingredients:

  • 3 tbsps. plus 2 tsps. ground cumin
  • 3 tbsps. granulated garlic
  • 2 tbsps. salt
  • 1 tbsp. coarse ground black pepper Source

Mix all ingredients together and store in an airtight container.

Source: We purchased this book years ago in downtown San Angelo, TX.

Book

Posted in Homemade Spices/ Sauces & Mix, Mexican | Leave a comment

Chicken Enchiladas with Corn Tortillas

chicken enchiladas

I first started making these way back when Chris and I were first engaged. I was going to school full time in Greeley finishing up my bachelor’s degree in Psychology, working full time on the psych unit, and living with Gino and crew in the house on Cranford Place. Chris was living in Denver going to A&P school full time, working evenings full time as an armed federal security guard, and renting a room from Josh and his dad, Gib. I would make this dish and rotate it out with a few other dishes, prep it in Greeley, travel the hour south and bake it at the apartment when I would stay the night at the bachelor pad. They were a happy bunch of guys when I brought real, home cooked food.

Since I’ve been making it for so long, there’s no “formal” recipe to base it off of. And, as I’ve made it through the years, you can be certain I’ve tweaked it along the way. I tried to pay more attention to specifics when I made this on Sunday, and like most things I cook, I base it off of taste and smell as I’m prepping. Hopefully, you’ll get the gist, & by all means, modify accordingly based on your preferred taste.

Ingredients:

  • 4 boneless/ skinless chicken breasts, boiled and shredded
  • package of white corn tortillas
  • refined coconut oil or canola oil, for frying
  • 1 small can of diced green chili
  • 1 small red onion, chopped
  • 1 jalapeno, deseeded & chopped
  • 4 – 6 garlic cloves, chopped
  • 2-3 tbsps. cilantro, chopped
  • 2 15 oz. cans green enchilada sauce
  • cumin
  • red pepper flakes
  • S&P
  • Colby Jack Cheese

Preparations:

Boil the chicken breasts until cooked all the way through.  A fryer and/ or the meat from a rotisserie chicken, also works well. Once cooled, shred the chicken.

In a Ninja or other food processor, quarter the onion, toss in the garlic (I always buy a big bag of ready to use peeled garlic), deseeded & halved jalapeno, and cilantro and pulse a few quick times. Mix this into the shredded chicken, toss in the green chili, and season with S&P, cumin, & red pepper flakes. This is where I do my first taste testing to see if I’m happy with the level of seasoning – notice how I don’t have measurements for these. Once I’m satisfied, I pour about half a can of the green enchilada sauce into the chicken mixture. This prevents the chicken from drying out during the baking process. Set aside. Pour the remaining enchilada sauce in a 9×13 pan and spread across the surface.

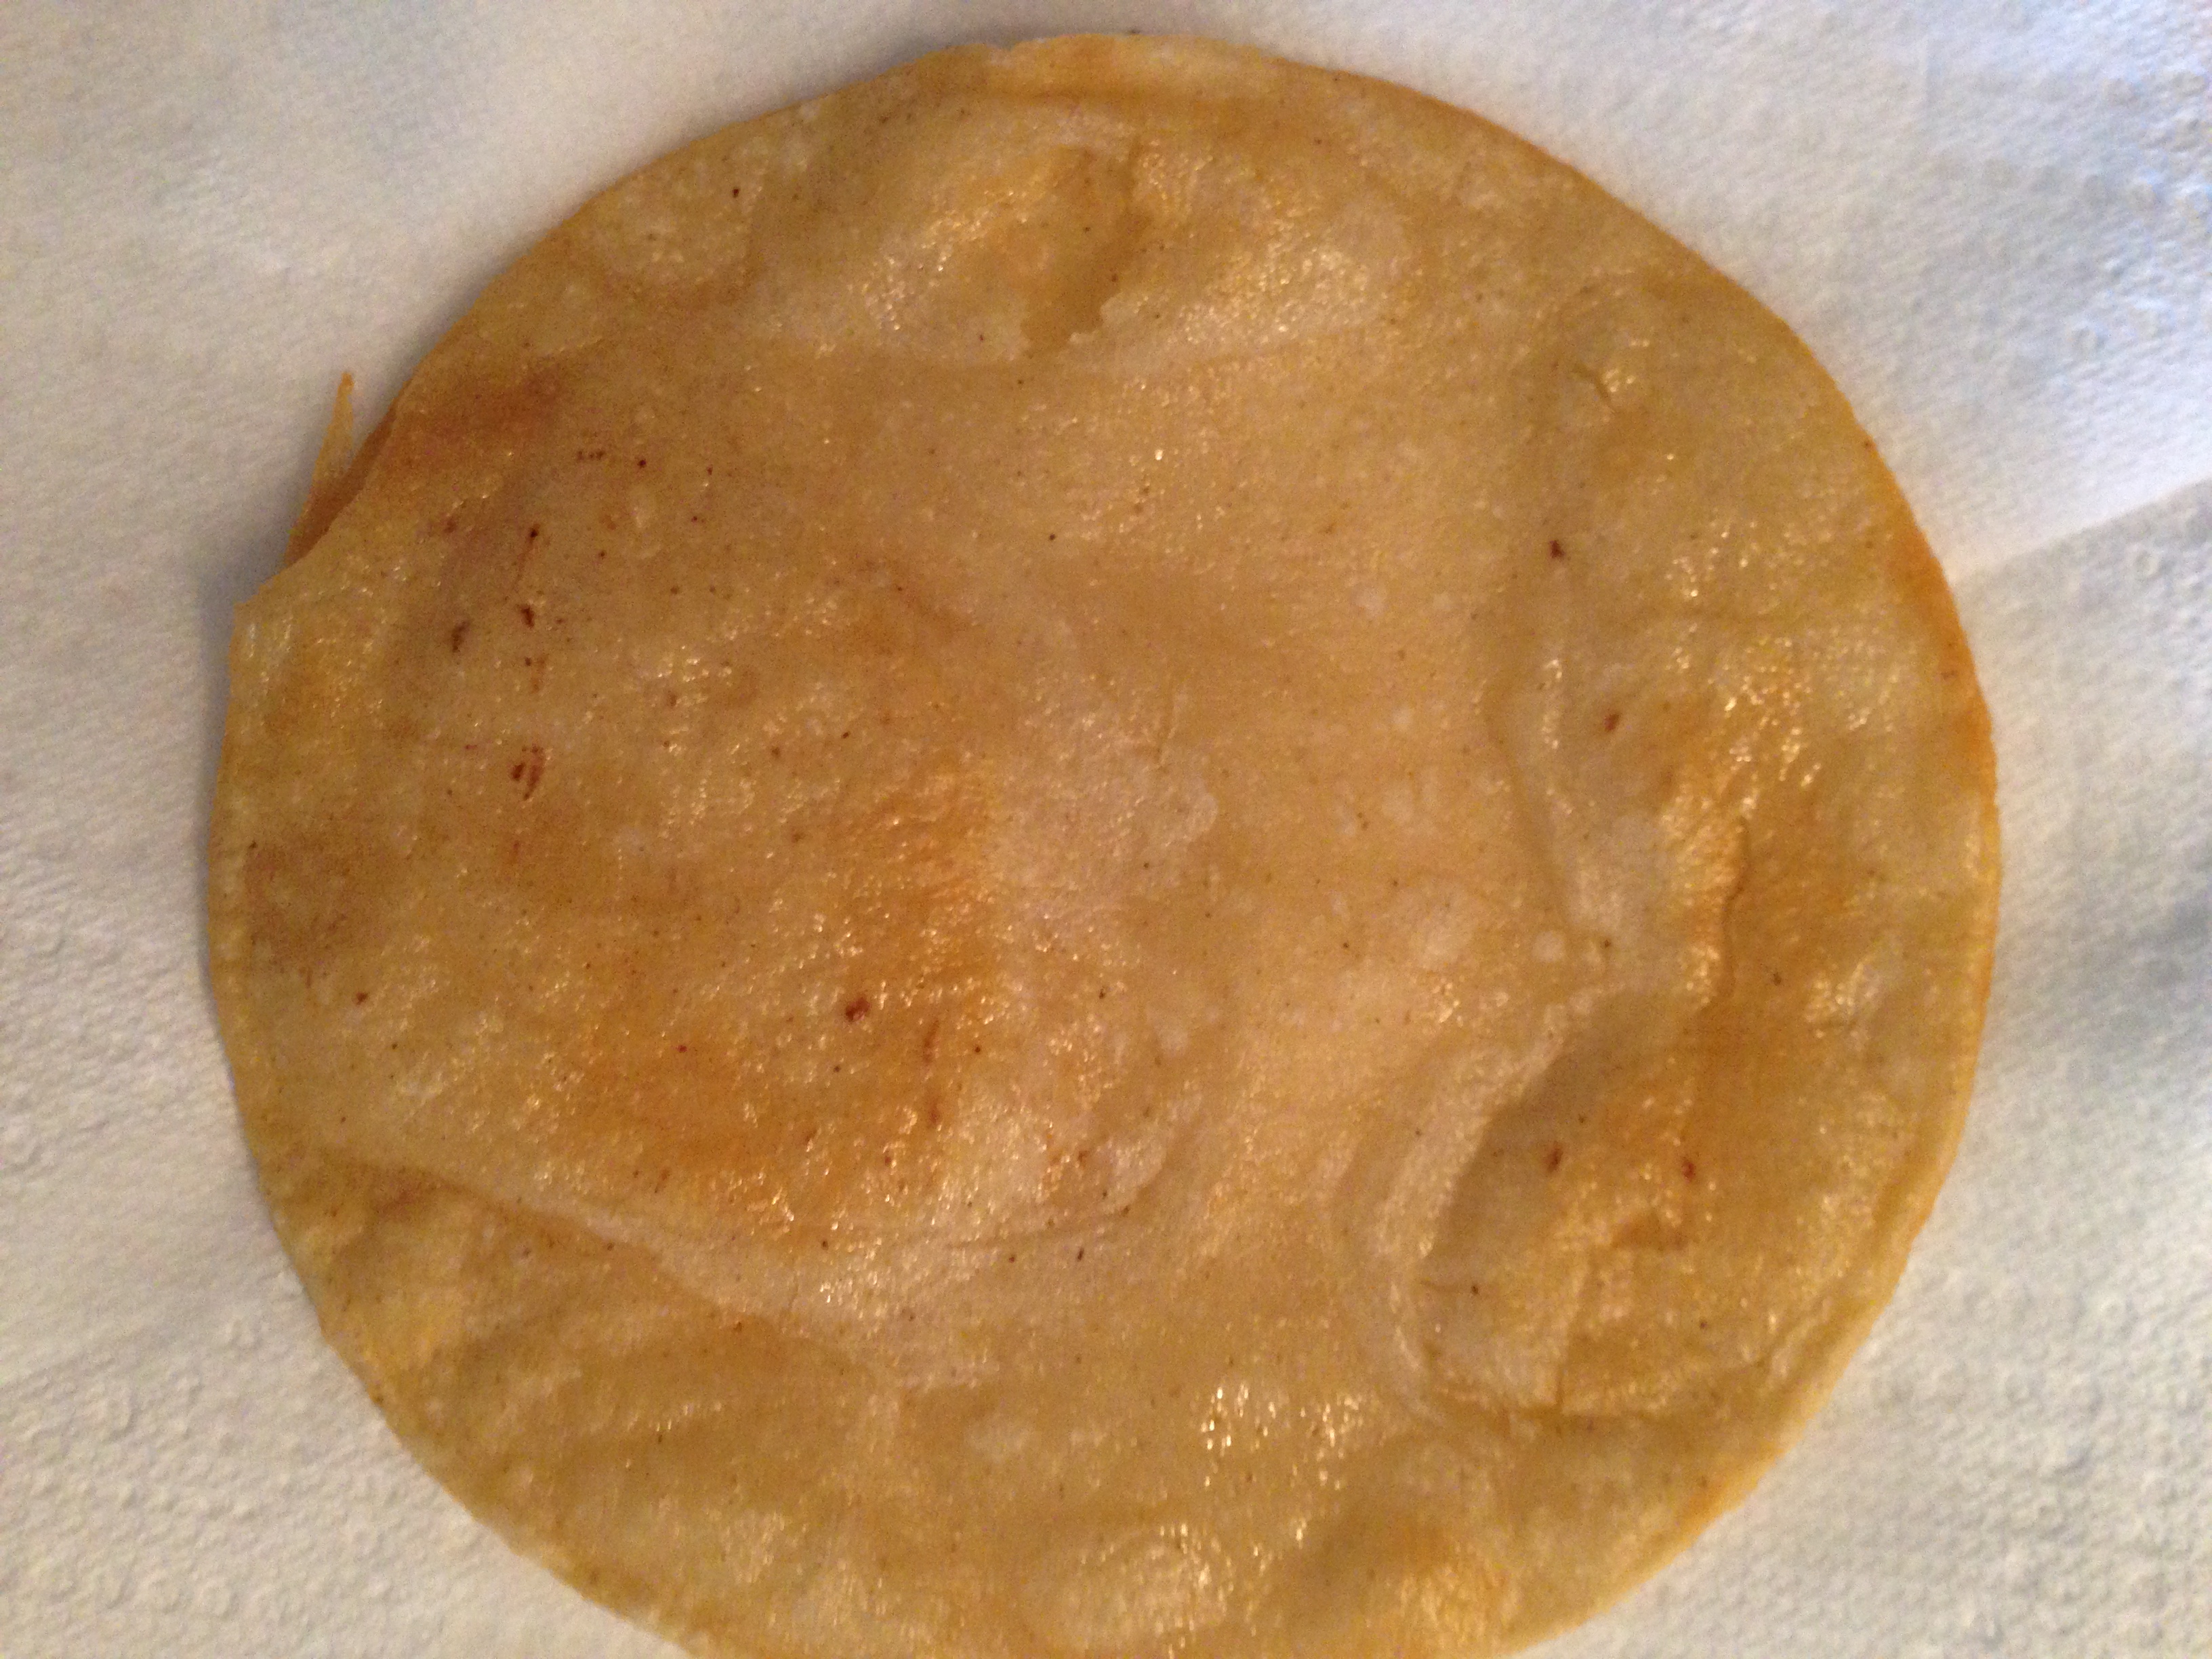
In a small skillet, heat and melt a few tbsps. of refined coconut oil (the refined oil eliminates the coconut taste) or use Canola oil over medium heat. While heating, prep a large plate with a few paper towels to soak up any extra oil on the bottom of the tortilla and have a few on hand to dab up the oil as well from the top side of the corn tortillas. Once the oil is heated, submerge a corn tortilla, one at a time, and fry until golden brown and crispy. It should look like so:

corn tortilla

After frying one or two, it will have cooled enough so that you can begin to assemble and roll the enchiladas all the while frying the tortillas as you go. For each tortilla, place approximately a 1/4 cup or 1/3 cup of the chicken mixture on the edge of the tortilla, roll, and place into the 9×13 pan. Repeat until you have no chicken left.

At this point, you can bake or cover and place in the refrigerator or even the freezer for a later date, thaw completely before baking. If you’re ready to bake, preheat the oven to 350 degrees. Bake uncovered for 25 – 30 minutes. Remove from oven, top the enchiladas with the remaining can of green enchilada sauce and spread with cheese. Return to oven and bake for another 10 minutes or until cheese is melted. Once melted, turn on broil to low to toast the cheese a light golden color. Garnish with additional chopped cilantro, if desired.

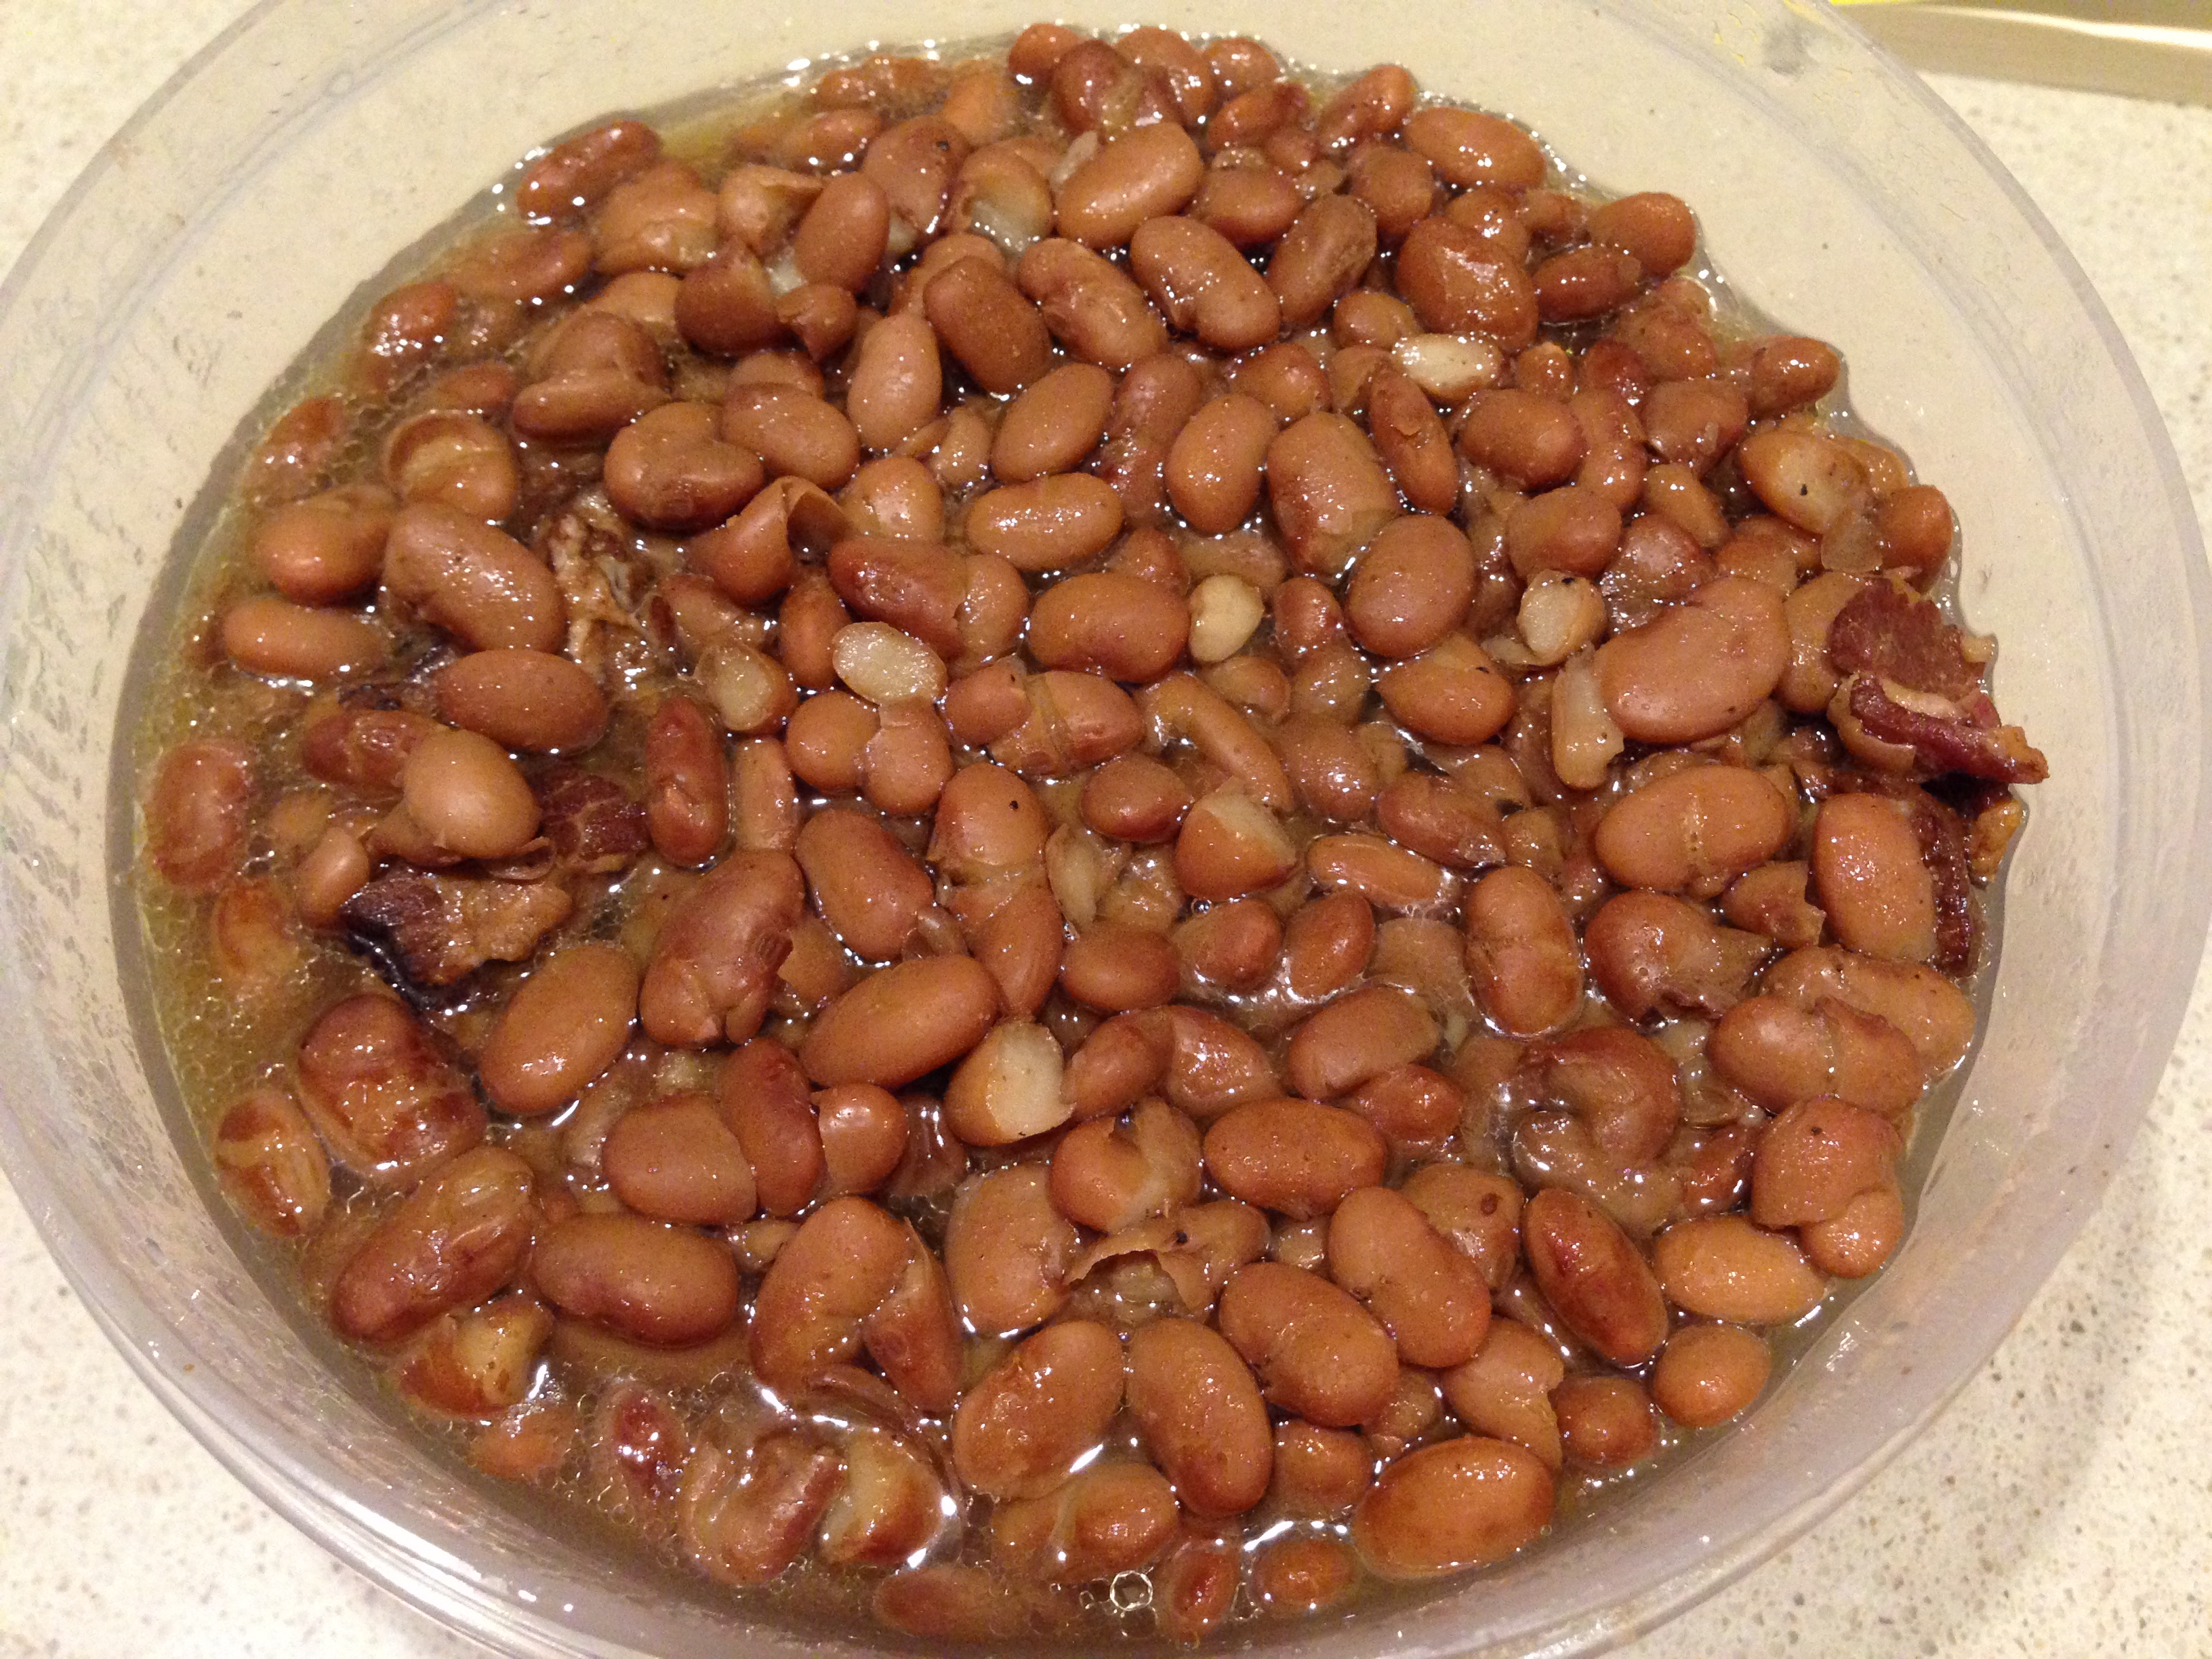
Serve with beans and rice.

Posted in Chicken, Mexican | Leave a comment

Banana Bread – With or Without Nuts

Banana Bread

Oh, banana bread. How I love thee and all your diversity. What’s not to love about being able to use fruit that is past its prime? In fact, the browner the better. Not ready to use those browning beauties? Toss ’em in the freezer until you need them or the mood strikes. The mood struck when I opened the freezer and there were frozen “bad” bananas in every cubby of the door.

Ingredients:

  • 2 1/2 cups all-purpose flour
  • 2 cups sugar
  • 2 tsps. baking soda
  • 1 tsp. salt
  • a handful of whole walnuts, toasted & chopped
  • 1 tsp. vanilla extract
  • 6 ripe bananas (thawed, if pulled from the freezer)
  • 1 cup butter (2 sticks), at room temperature
  • 4 eggs, slightly beaten

Preparation:

Raise the lowest oven rack up a level. Preheat oven to 325 degrees. *Most recipes I’ve seen for bread lists 350 degrees for optimal baking. I have found, loaf after nearly burned bottom loaf, that it works best to raise the rack and lower the temp.*

Grease a loaf pan, or two, depending upon desired height of loaf and set aside. With this particular recipe, I’ve made one big loaf and six muffins, and I’ve also made two loaf pans with a smaller loaf height. Your choice.

If using walnuts, toast the desired amount for a few minutes in the preheated oven. Chop when cool.

In a medium size bowl, whisk together flour, soda, and salt until just combined.

In a large bowl, cream together butter, sugar, and vanilla extract. Add in eggs, one at a time, beating well after each addition. Add the bananas (tossing any liquid that may have accumulated if using bananas that were frozen) and mix well. Slowly incorporate dry mix into the creamed mixture, until just combined. Stir in toasted walnuts.

Pour into prepared loaf pans or muffin tins with papered liners. I sometimes sprinkle the top of the loaves with a little brown sugar before baking.

If baking muffins, bake for 17 – 20 minutes. For the loaves, bake for 60 minutes and/ or until set and when a toothpick inserted into the middle comes out clean. Baking in additional 5 minute increments, as needed.

Notes/ Adjustments:

With this particular photo, the bread is darker than usual because I used coconut sugar in lieu of regular granulated sugar and this, in my experience so far of using coconut sugar, is the outcome in all of the baked goods I’ve tried. Also, with this particular photo, I used 1 cup of almond flour and just 1 1/2 cups of all-purpose flour. Any time I use almond flour, I typically have to allow for more bake time. I’ve found using almond flour works best with muffins.

Posted in Bread/ Muffins, Breakfast | Leave a comment

Angel Hair Pasta with Grilled Chicken, Tomatoes, Garlic, & Basil (Chicken Spaghetti)

Angel Hair Pasta

This meal is a family favorite and one of Chris’s top favorite meals. It’s full of tomatoes, garlic, seasoning and flavor. I have to admit, I no longer follow the recipe and even when I did, I did so loosely. Most of the time, I’m cooking by smell, which has to be flavorful, and I heart garlic – big time! It’s not uncommon for me to double, possibly triple, the quantity of garlic and then add an extra clove or two for good measure.  Also, through the years, I’ve definitely upped the amount of tomatoes, using as many as 18 Roma tomatoes and subsequently adjusting the remaining ingredients. More of one ingredient equals more of another. . . you get the idea. By all means, adjust to your taste and preferences.

Ingredients:

  • 1 box Angel Hair pasta
  • 2 tsp. Kosher salt
  • 2/3 cup extra virgin olive oil
  • 1 oz. fresh basil, stems removed, chopped
  • 6 cloves garlic, peeled
  • 8-10 Roma tomatoes, diced
  • 2 tsp. Kosher salt
  • 1 tsp. freshly ground black pepper
  • Grated Parmesan cheese
  • 1 package of already cooked grilled chicken strips, cut into bite size pieces

Directions:

In a large skillet, heat oil to medium heat. While oil is heating, using a food processor (I’m a fan of the Ninja) add peeled garlic and fresh basil and pulse a few times until chopped – such a time saver! Transfer garlic and basil into pan and sauté in oil until fragrant, but not browned. Add diced tomatoes, salt, and pepper until tomatoes are soft and heated through. At this point, I usually do the sniff test and find that I’m adding other seasonings. I’m a fan of this:

Oregano for Angel Hair Pasta

If I don’t have fresh basil, I’ve used the Litehouse Basil before and it works just as well. In this case, I had fresh basil and used it, but again, I wanted more of a flavorful taste and added a liberal amount of this Oregano. Incorporate chicken and heat thoroughly.

Bring a large pot of salted water to boil and make pasta according to package directions and then drain. Add desired amount of pasta to a plate and top with tomato/ chicken mixture and top with parmesan cheese.

Posted in Chicken, Italian, Pasta | Leave a comment

Baked Pumpkin Oatmeal

baked oatmeal

It’s always a gamble trying out new recipes for the family and I thought for sure the girls, especially Bri, would like this one. And, no. I got the, “It’s all right, mom.” Translation: I tried a bite and now watch me make some scrambled eggs, so it’s all yours. All mine, indeed. I thought it was great. Wholesome. Toasted Pecans. Pumpkin Spice. It is Fall perfect. After it cooled, I cut the remaining pieces, wrapped them in plastic wrap and put them in the freezer. On those cool mornings, I pop it in the microwave for about a minute, drizzle with some pure maple syrup and voila! I have a hot and hearty breakfast in no time flat.

Ingredients:

  • 1/2 cup pecans, toasted & then chopped
  • 1 cup pumpkin puree or half a 15oz can (not pumpkin pie filling)
  • 3/4 cup milk at room temperature
  • 2 eggs at room temperature
  • 1/4 cup coconut oil, melted & cooled
  • 1/4 cup pure maple syrup
  • 1 tsp. vanilla extract
  • 2 cups old fashioned oats
  • 1 1/2 tsps. cinnamon
  • 1/2 tsp. nutmeg
  • 1/2 tsp. ginger
  • 1/4 tsp. allspice
  • 1/8 tsp. salt

Directions:

Preheat oven to 350. Spray 8×8 pan with non-stick spray and set aside.

Add pecans to a baking sheet and toast for 4-6 minutes. Cool and transfer to a cutting board to chop.

In a large bowl, mix together ingredients pumpkin through vanilla extract, beating until smooth. Blend in spices, oats, and pecans, incorporating well. Transfer to the prepared pan and bake for 20 – 25 minutes or until set and lightly golden on top. Allow to cool for 5 minutes before cutting. Drizzle with pure maple syrup. Enjoy.

Source: http://www.fivehearthome.com/2014/09/04/pumpkin-baked-oatmeal-with-maple-pecans-dairy-free/

Posted in Breakfast, Pumpkin, Vegetarian | Leave a comment

Salted Caramel Cupcakes with Caramel Buttercream Frosting

Salted Caramel Cupcakes

Sweet caramel & a touch of salt to offset the sweet. Yes & yes.

For the cupcakes:

  • 1/2 cup of butter (one stick), softened
  • 4 oz. cream cheese, softened
  • 1 1/4 cups sugar
  • 3/4 cup brown sugar
  • 1 tbsp. canola oil
  • 4 eggs
  • 1 tsp. vanilla extract
  • 3 cups all-purpose flour
  • 1 tsp. baking powder
  • 1/2 tsp. baking soda
  • 1/2 tsp. salt
  • 1 cup buttermilk

For the frosting:

  • 1/2 cup of butter (one stick), softened
  • 3 oz. cream cheese, softened
  • 2 tsp. vanilla extract
  • 3 3/4 cups powdered sugar
  • 4 tbsp. milk, divided
  • 15 Kraft caramels, unwrapped
  • sea salt
  • additional caramels, halved for topping the cupcakes

For the cupcakes:

Preheat oven to 350 degrees and line 24 muffin tin with cupcake liners.

Cream together butter, cream cheese, sugar, brown sugar, and oil until lightly and fluffy, 3-4 minutes. Add eggs one at a time, beating well after each addition. Add vanilla, baking powder, baking soda, and salt; mix well until combined.

Beginning and ending with flour, alternate flour and buttermilk, mixing between each addition.

Distribute batter evenly amongst the cupcake liners. Bake for 17 – 20 minutes until inserted toothpick in the middle of the cupcake comes out clean.

Cool completely on wire rack before proceeding with frosting.

For the frosting:

Beat together butter, cream cheese, and vanilla extract until light and fluffy, approximately 3 – 4 minutes. Add powdered sugar and 3 tbsp. of milk, beating well for 2 minutes. Cover and refrigerate.

Meanwhile, melt the 15 caramels and the remaining milk in the microwave at 30 second intervals, until caramels are completely melted. Set aside to cool. Once the caramel is cooled enough so that it is soft and pliable, mix into frosting; combining well.

Refrigerate frosting for about 30 minutes prior to frosting to help set up. Frost cupcakes, place halved caramels on each cupcake, and sprinkle with sea salt.

Source: http://www.thekitchenismyplayground.com/2012/11/salted-caramel-cupcakes.html

Posted in Cupcakes, Desserts | Leave a comment